

The Marketplace makes it quick and easy to add powerful, ready-made widgets to your Dashboard. Skip building every metric from scratch—just browse, pick, and instantly connect widgets to your live data.

Let’s walk through finding, adding, and managing Marketplace widgets on your Dashboard.
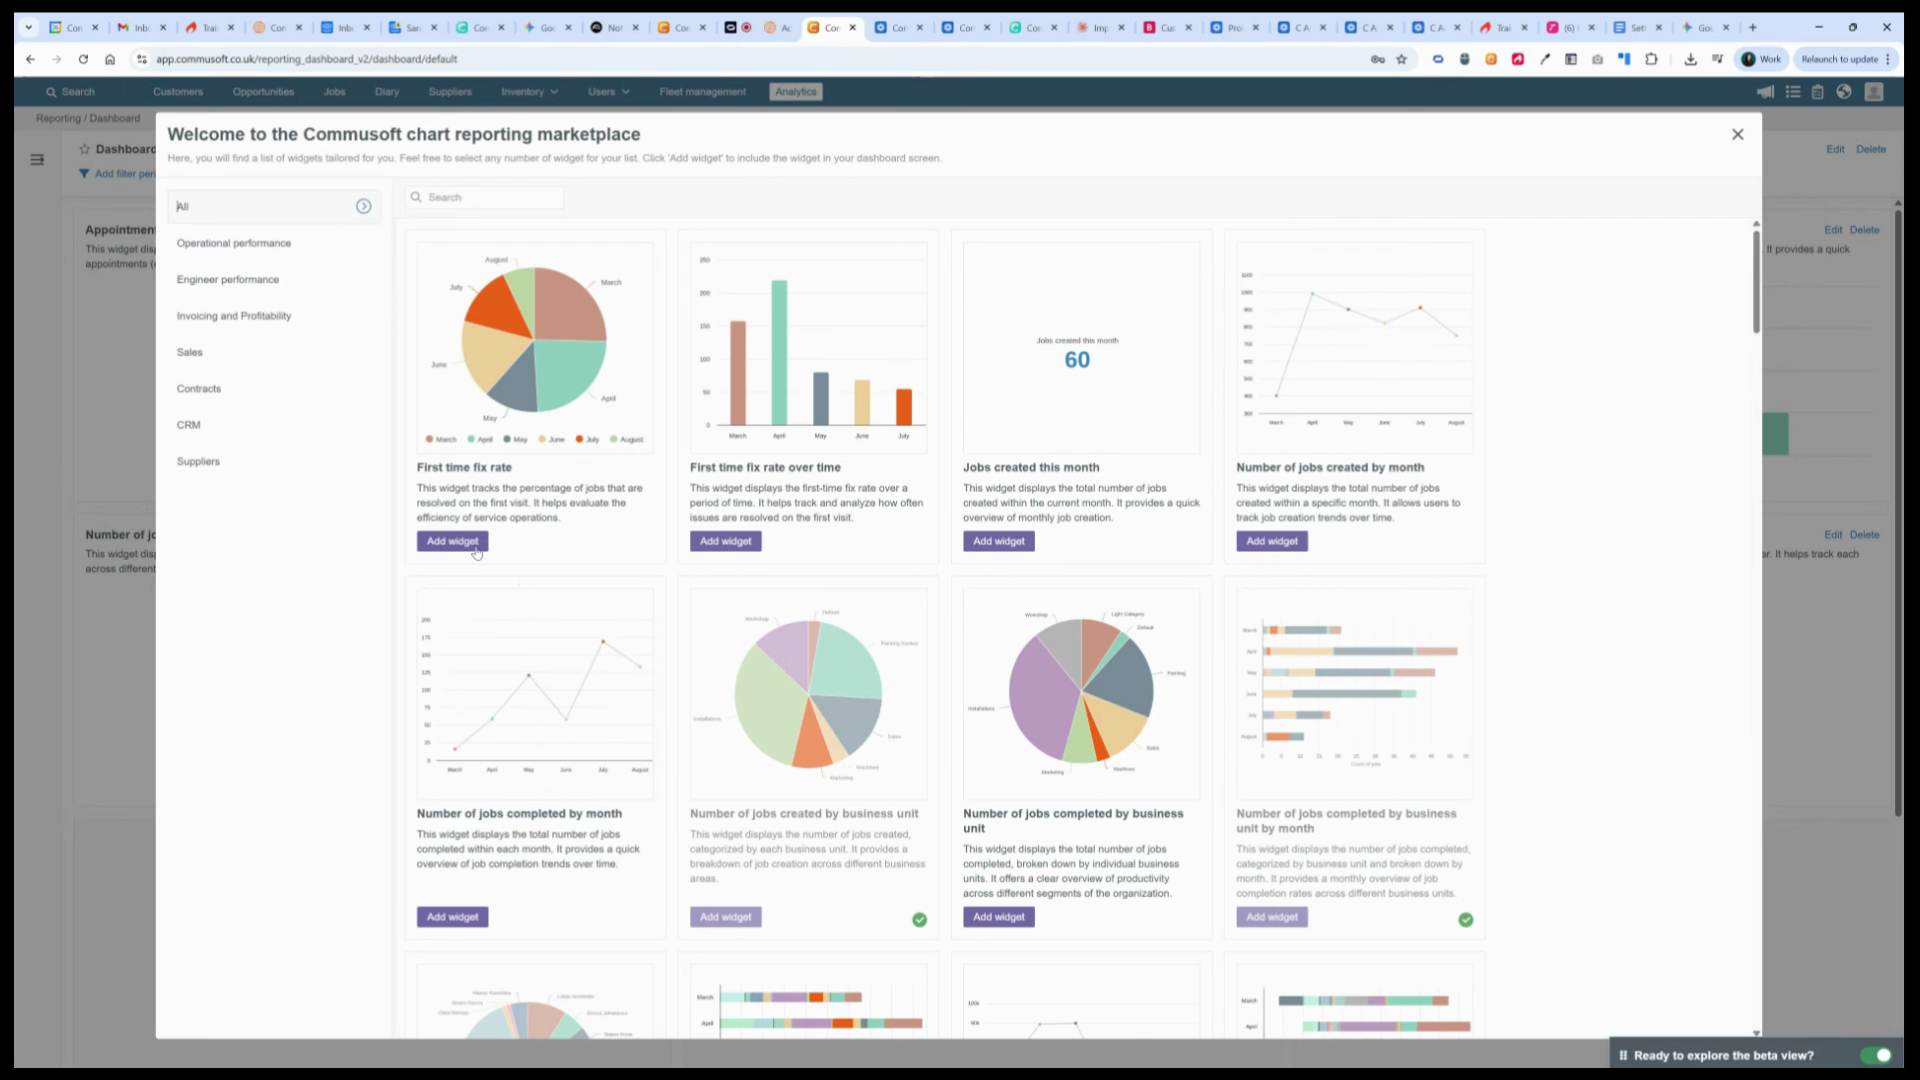
Step 1: Click Add from Marketplace on your Dashboard.
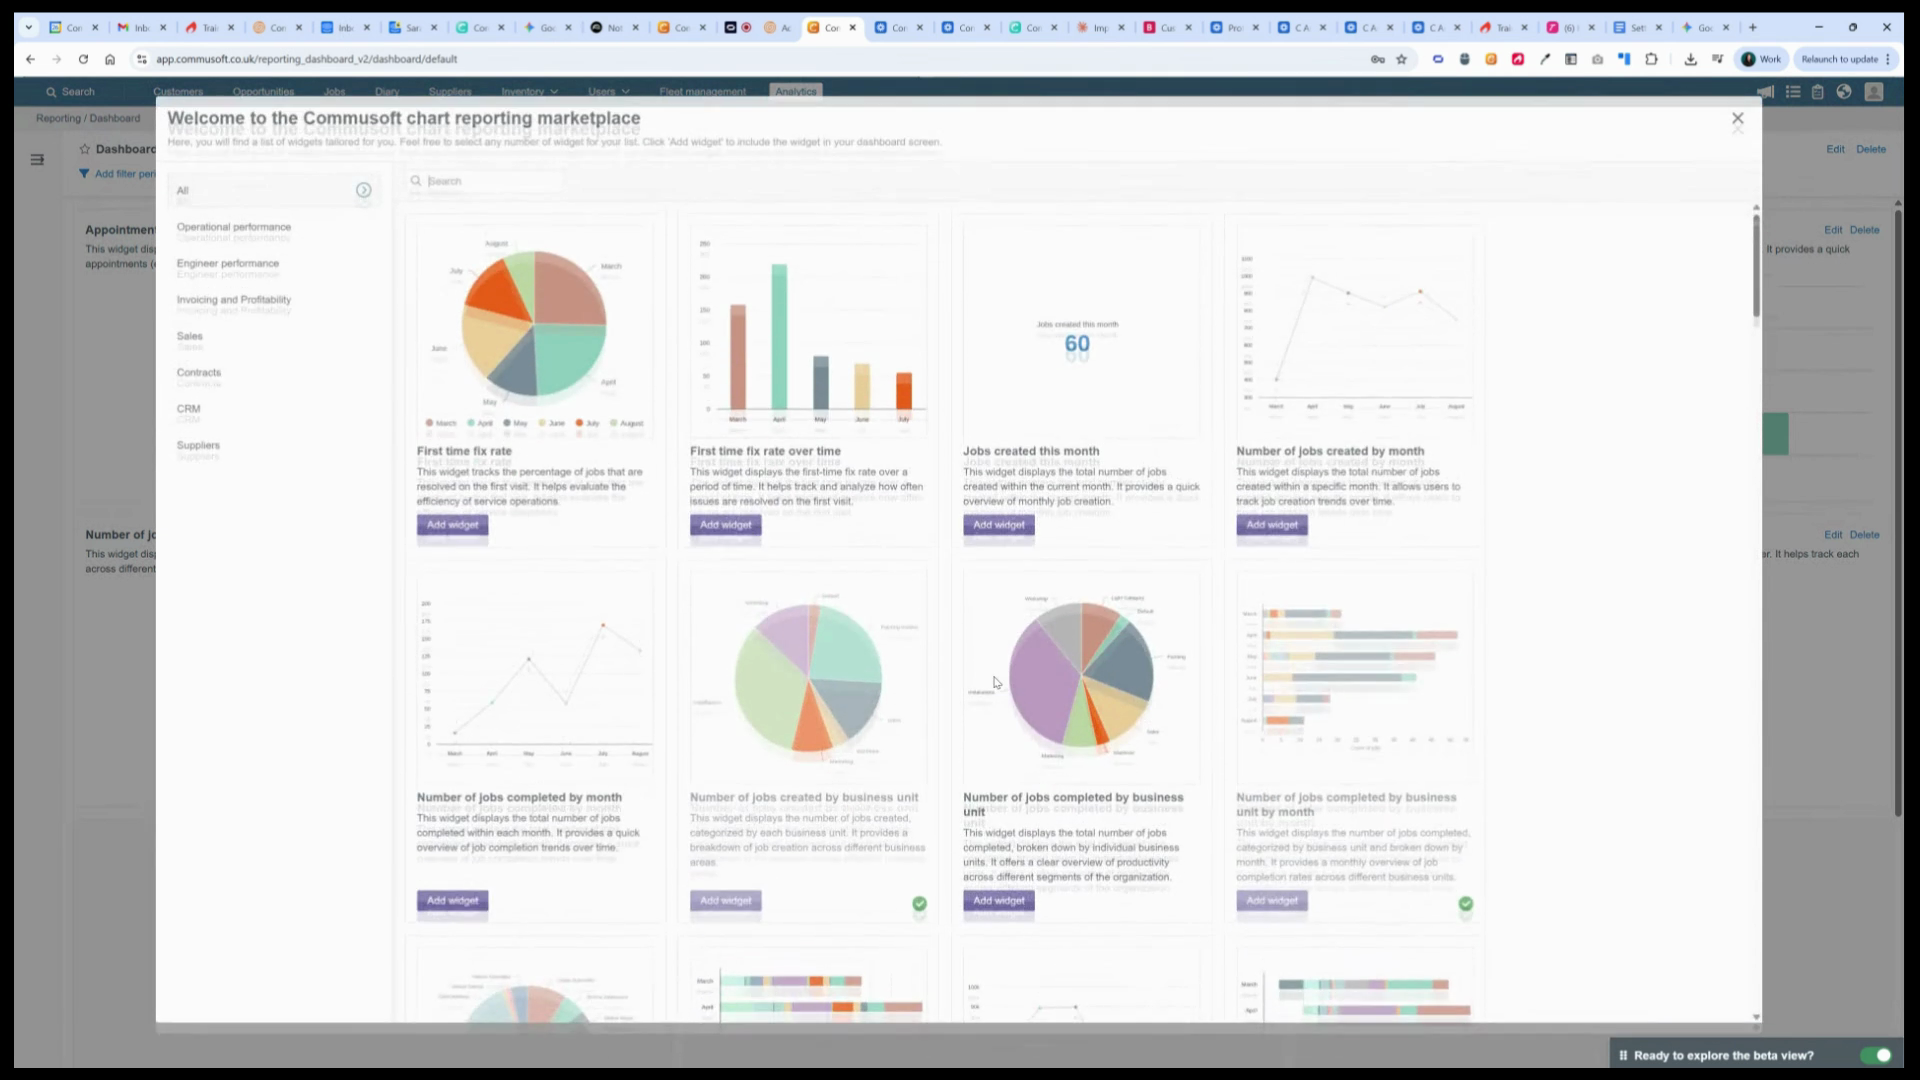
Step 2: Browse categories on the left panel, like Operational Performance, Engineer Performance, Invoicing and Profitability, Sales Contracts, or CRM.
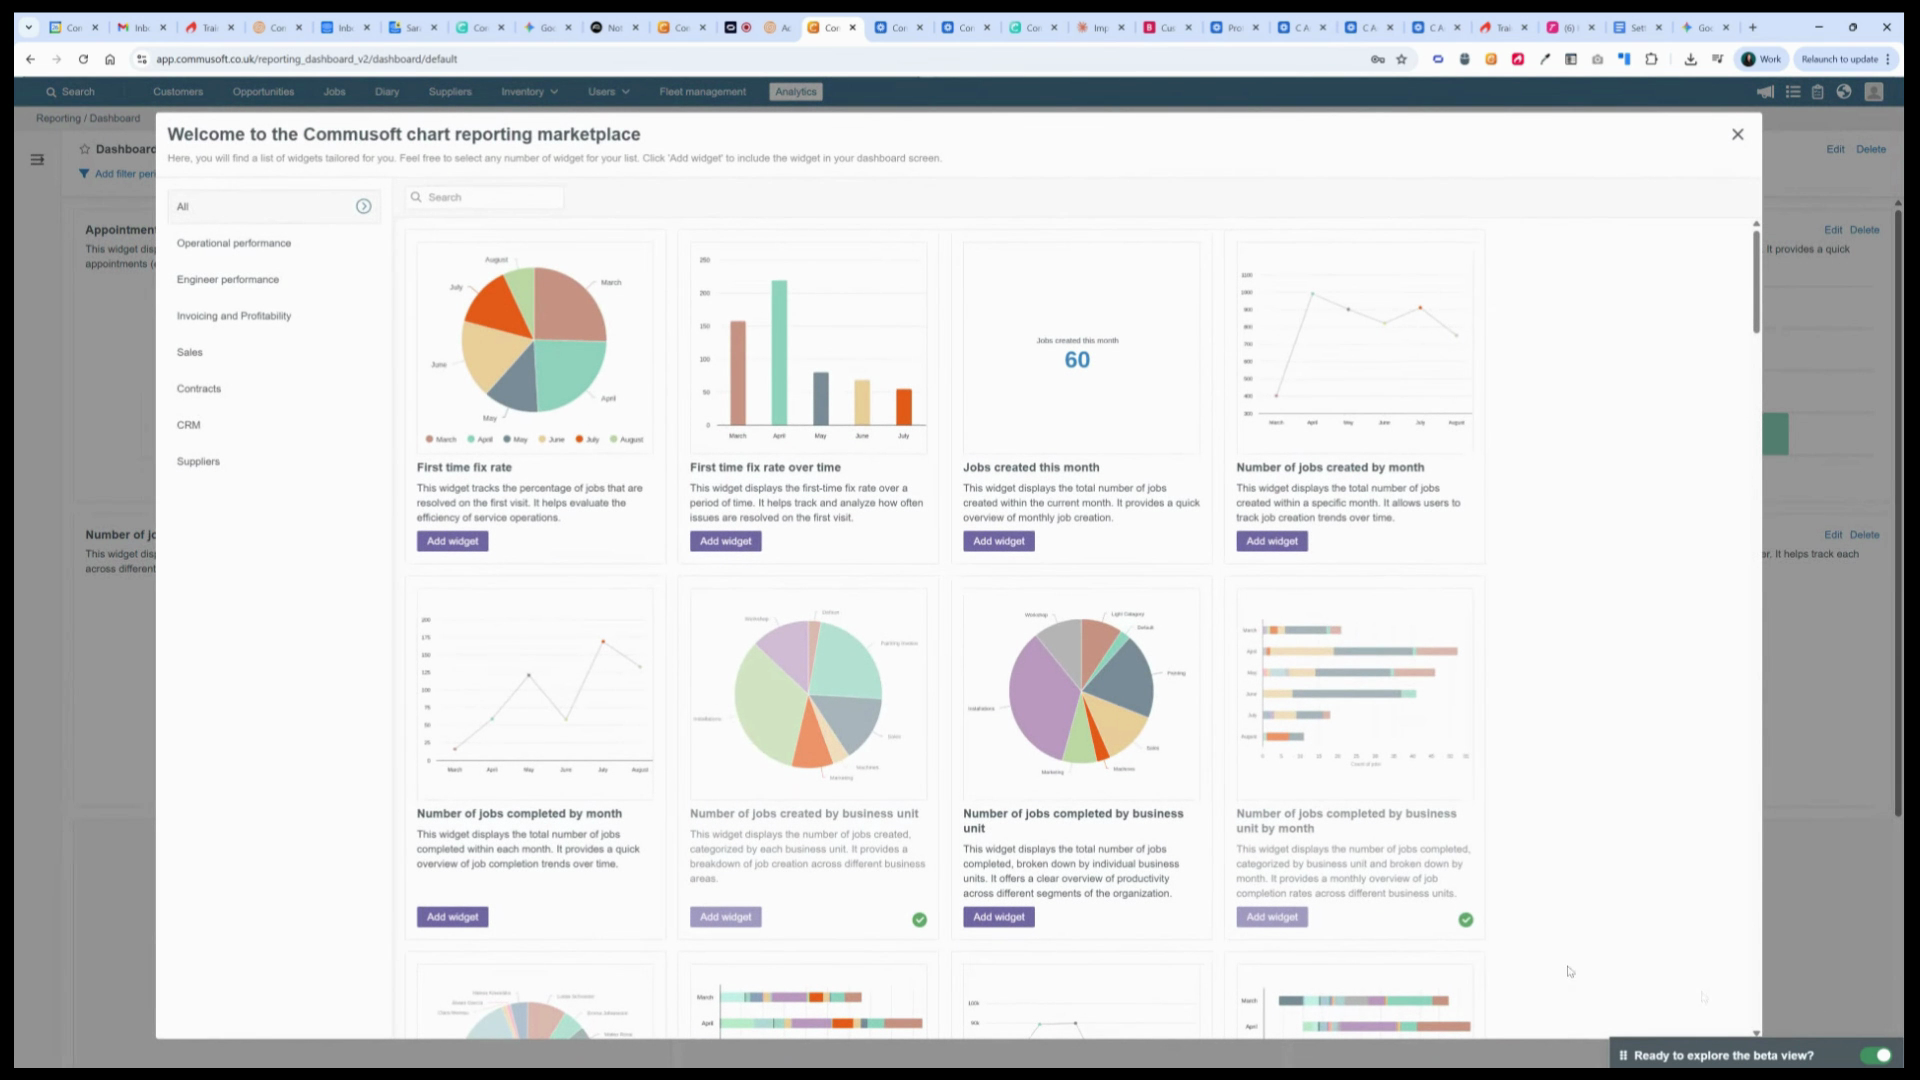
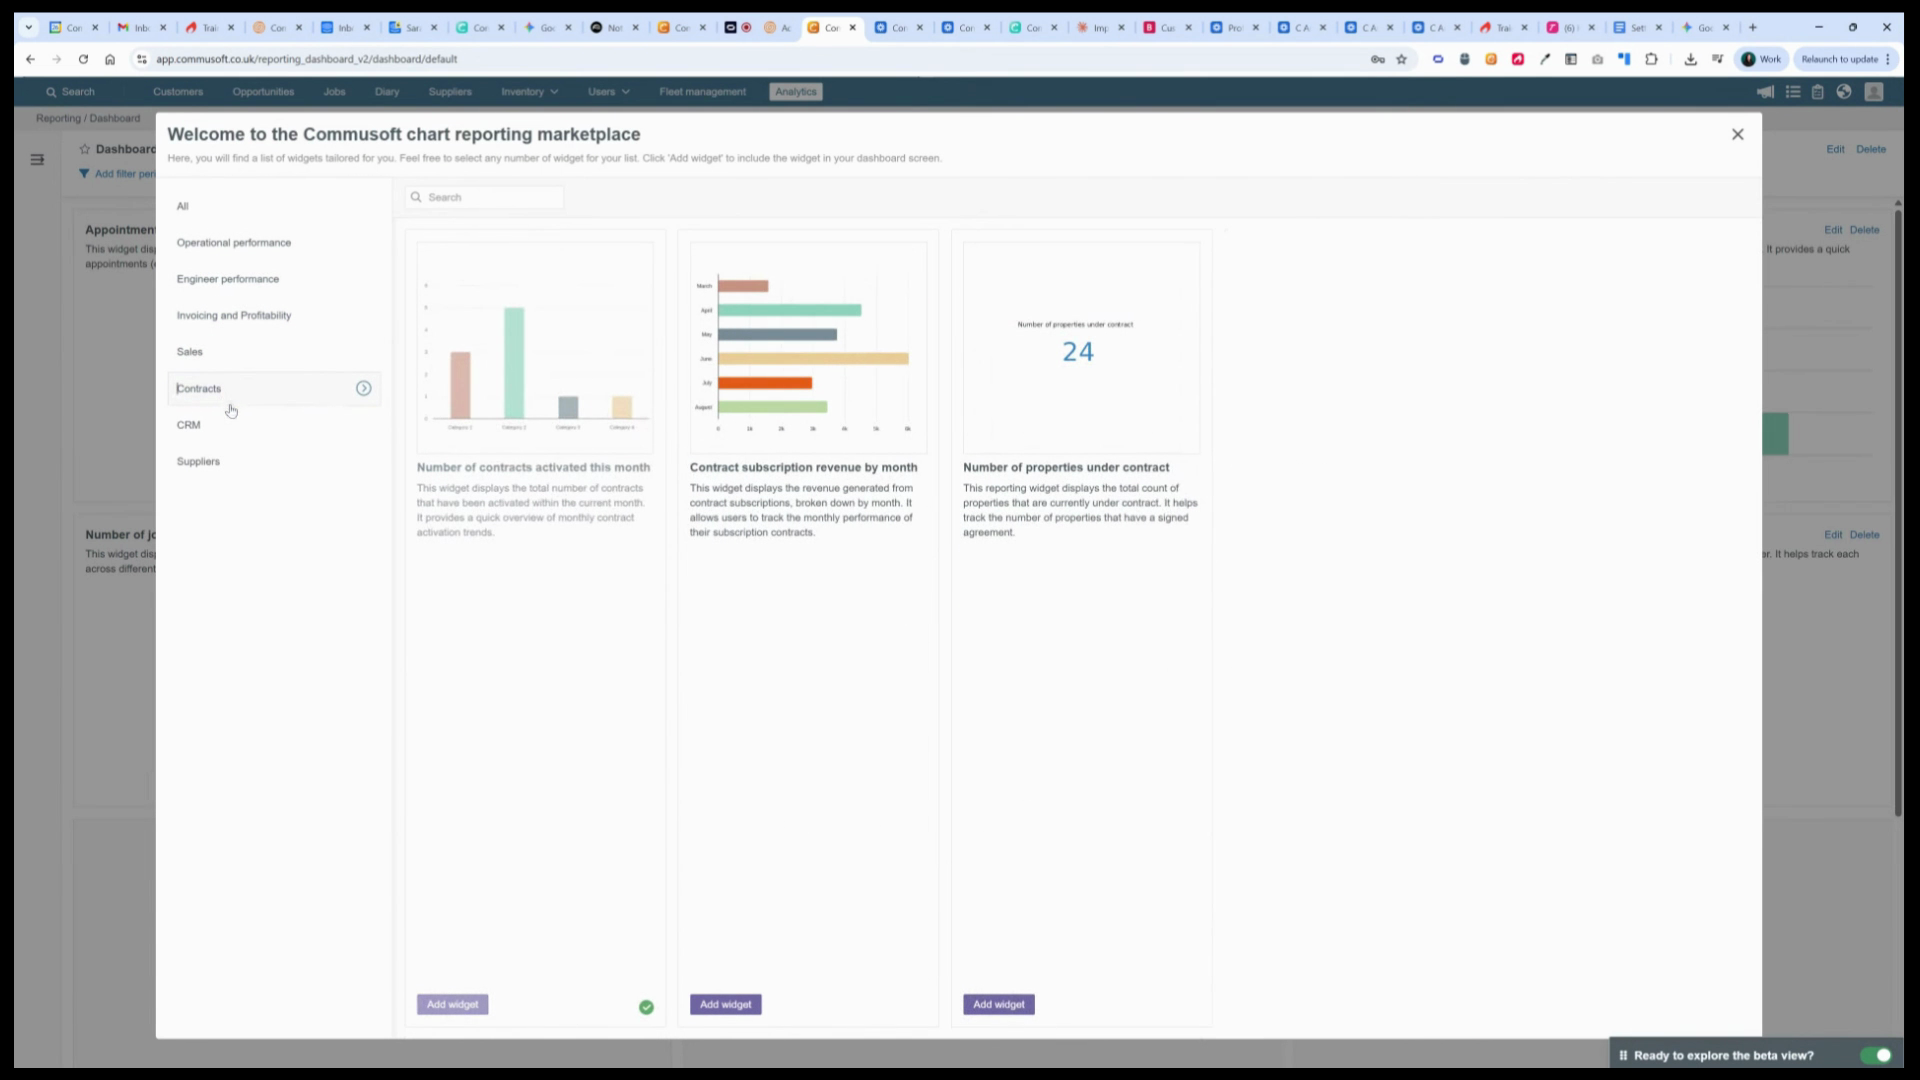
Step 3: Pick a category to filter widgets, or use the search bar at the top to find a specific widget.
Step 4: Review the widget cards, which show a chart preview, name, and short description.
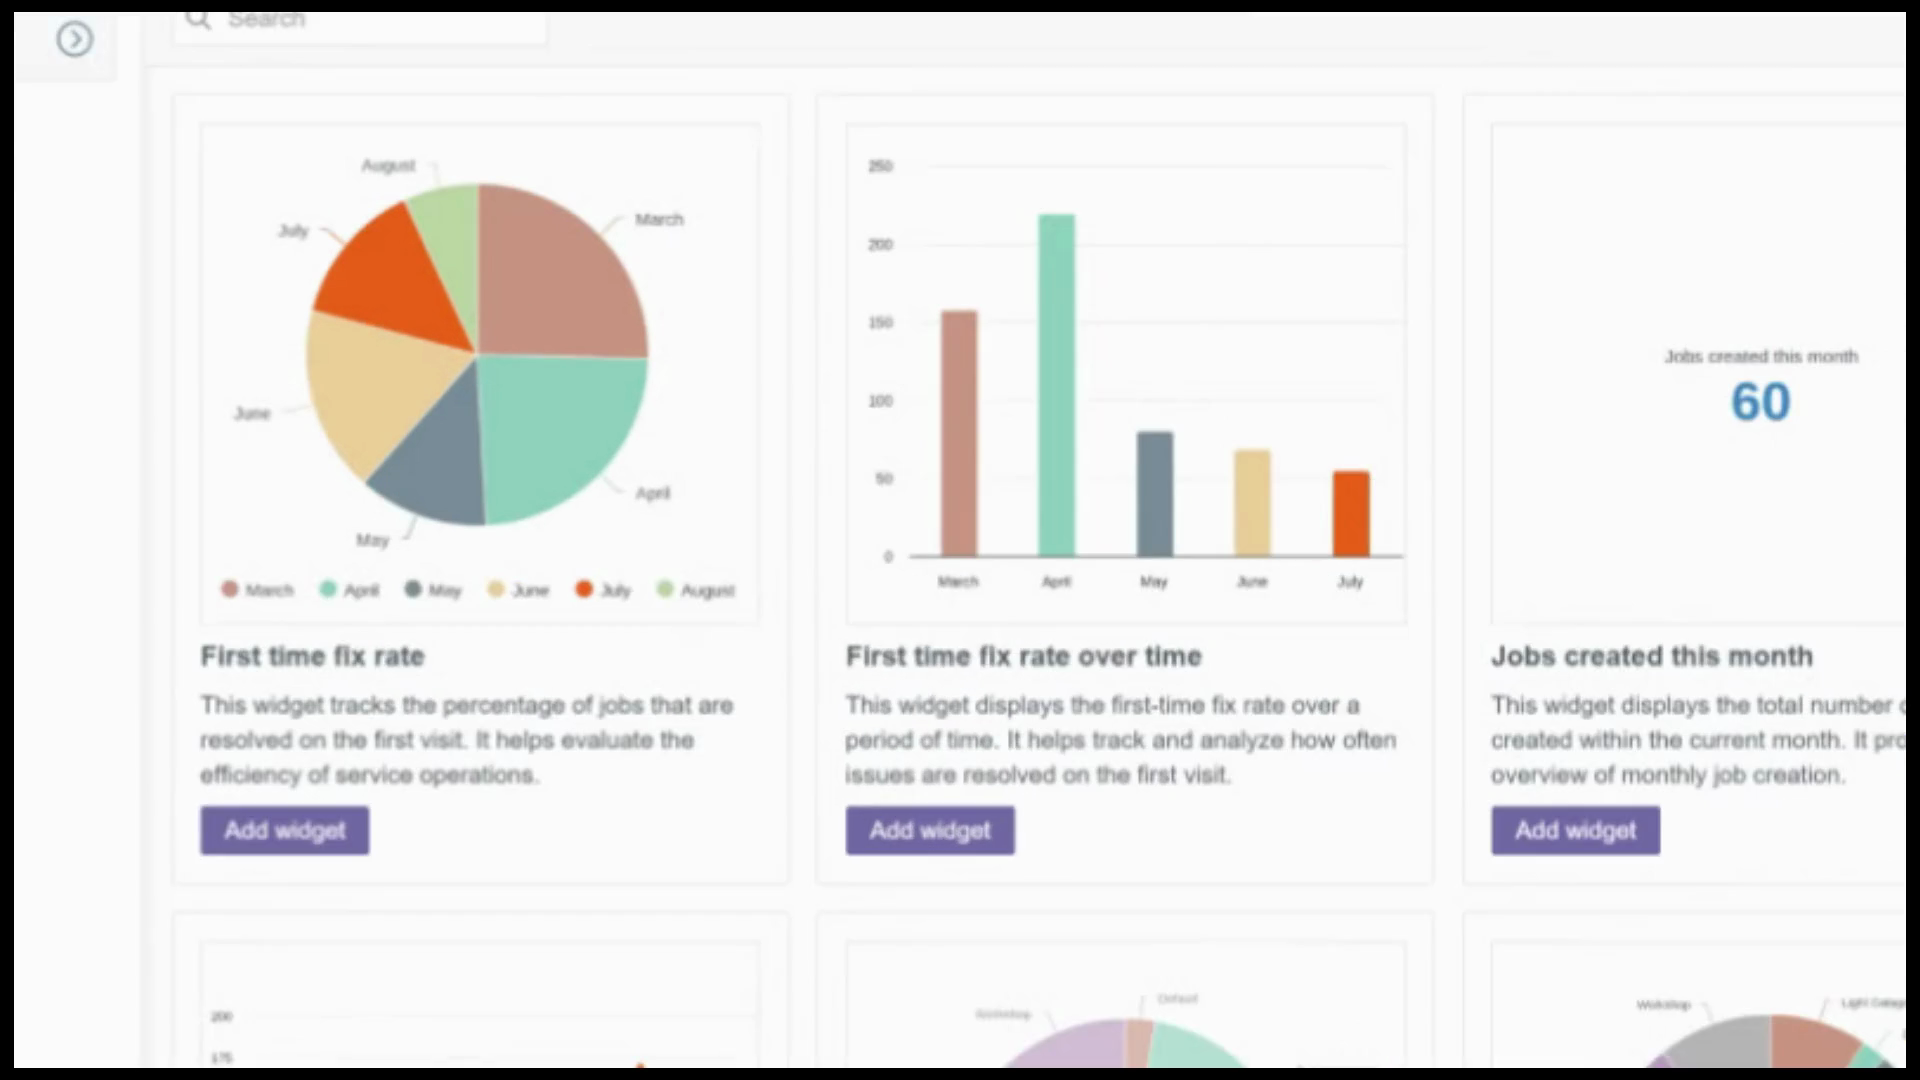
Step 5: Take your time to browse different metrics—widgets cover everything from first time Fix Rate to jobs created this month to Invoice status distribution.
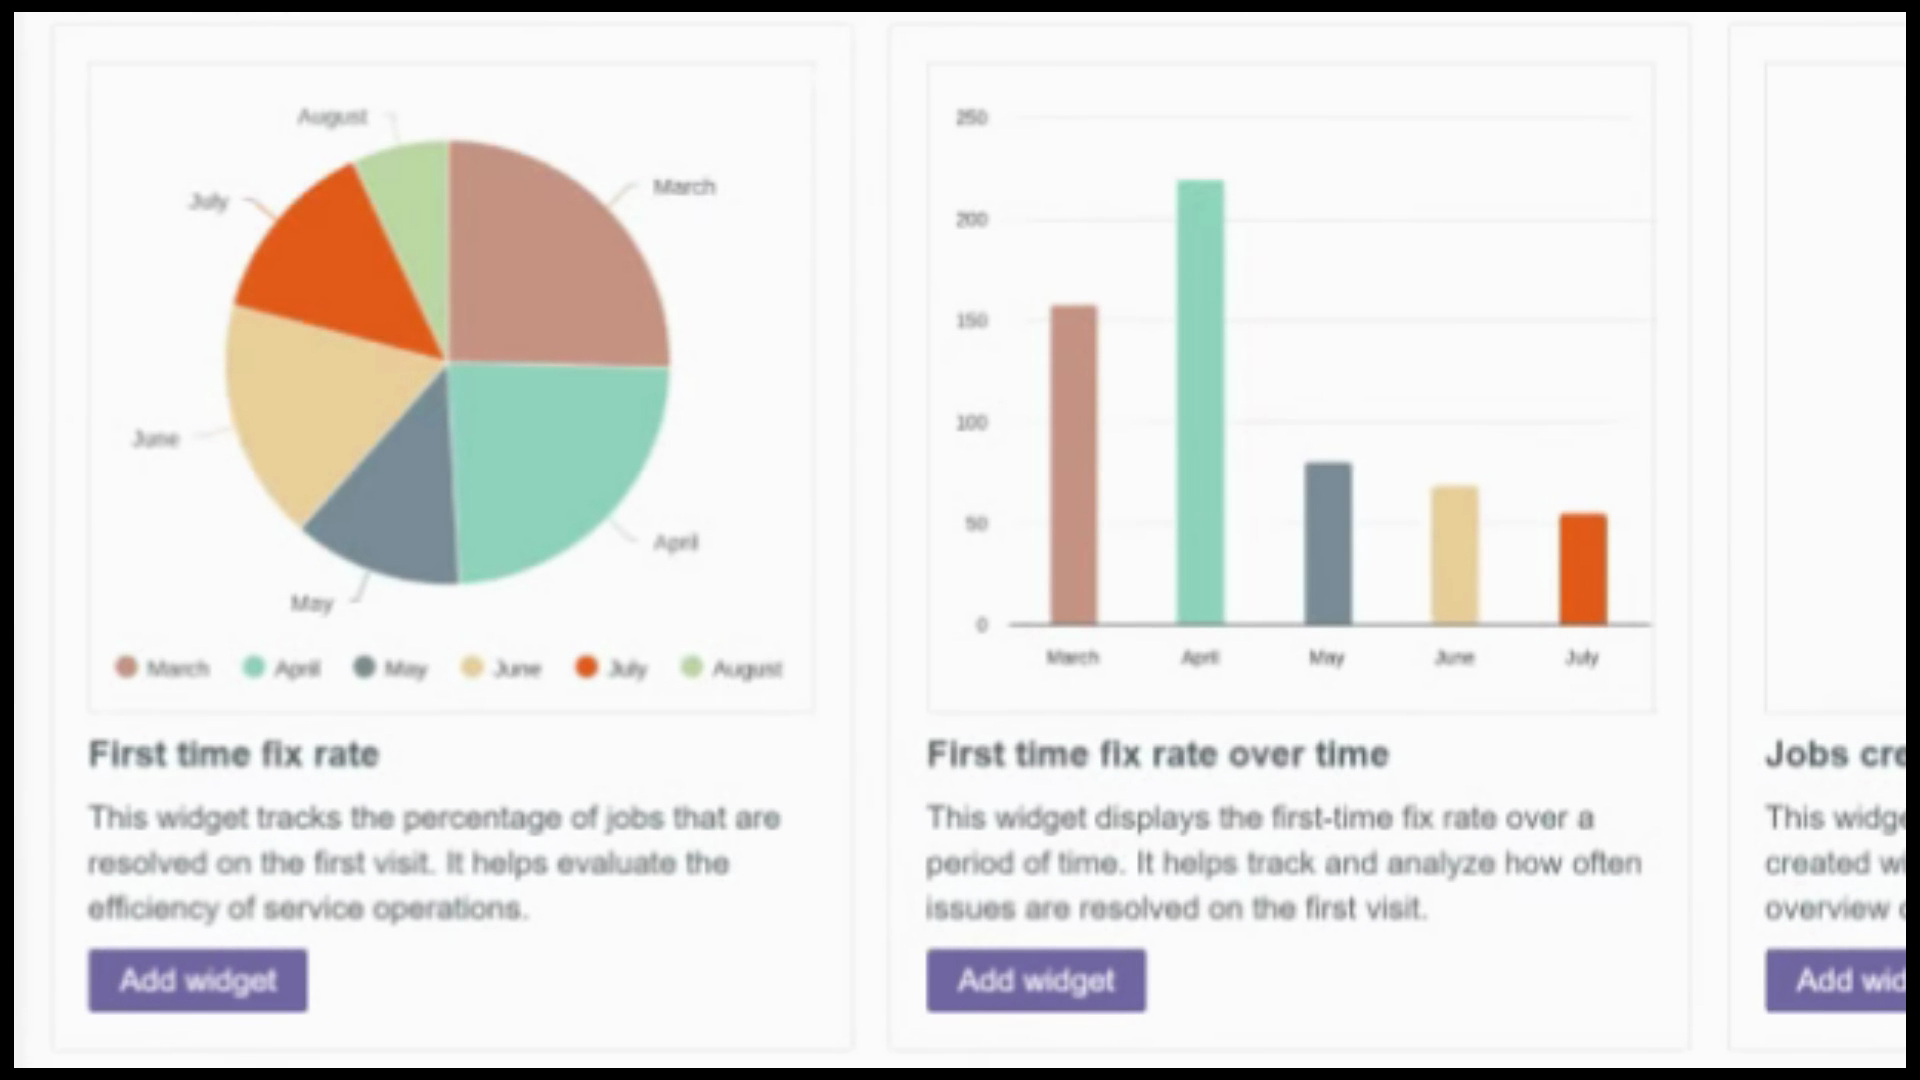
Step 6: Click Add Widget on the one you want.
The widget appears instantly on your Dashboard, already linked to your live data.
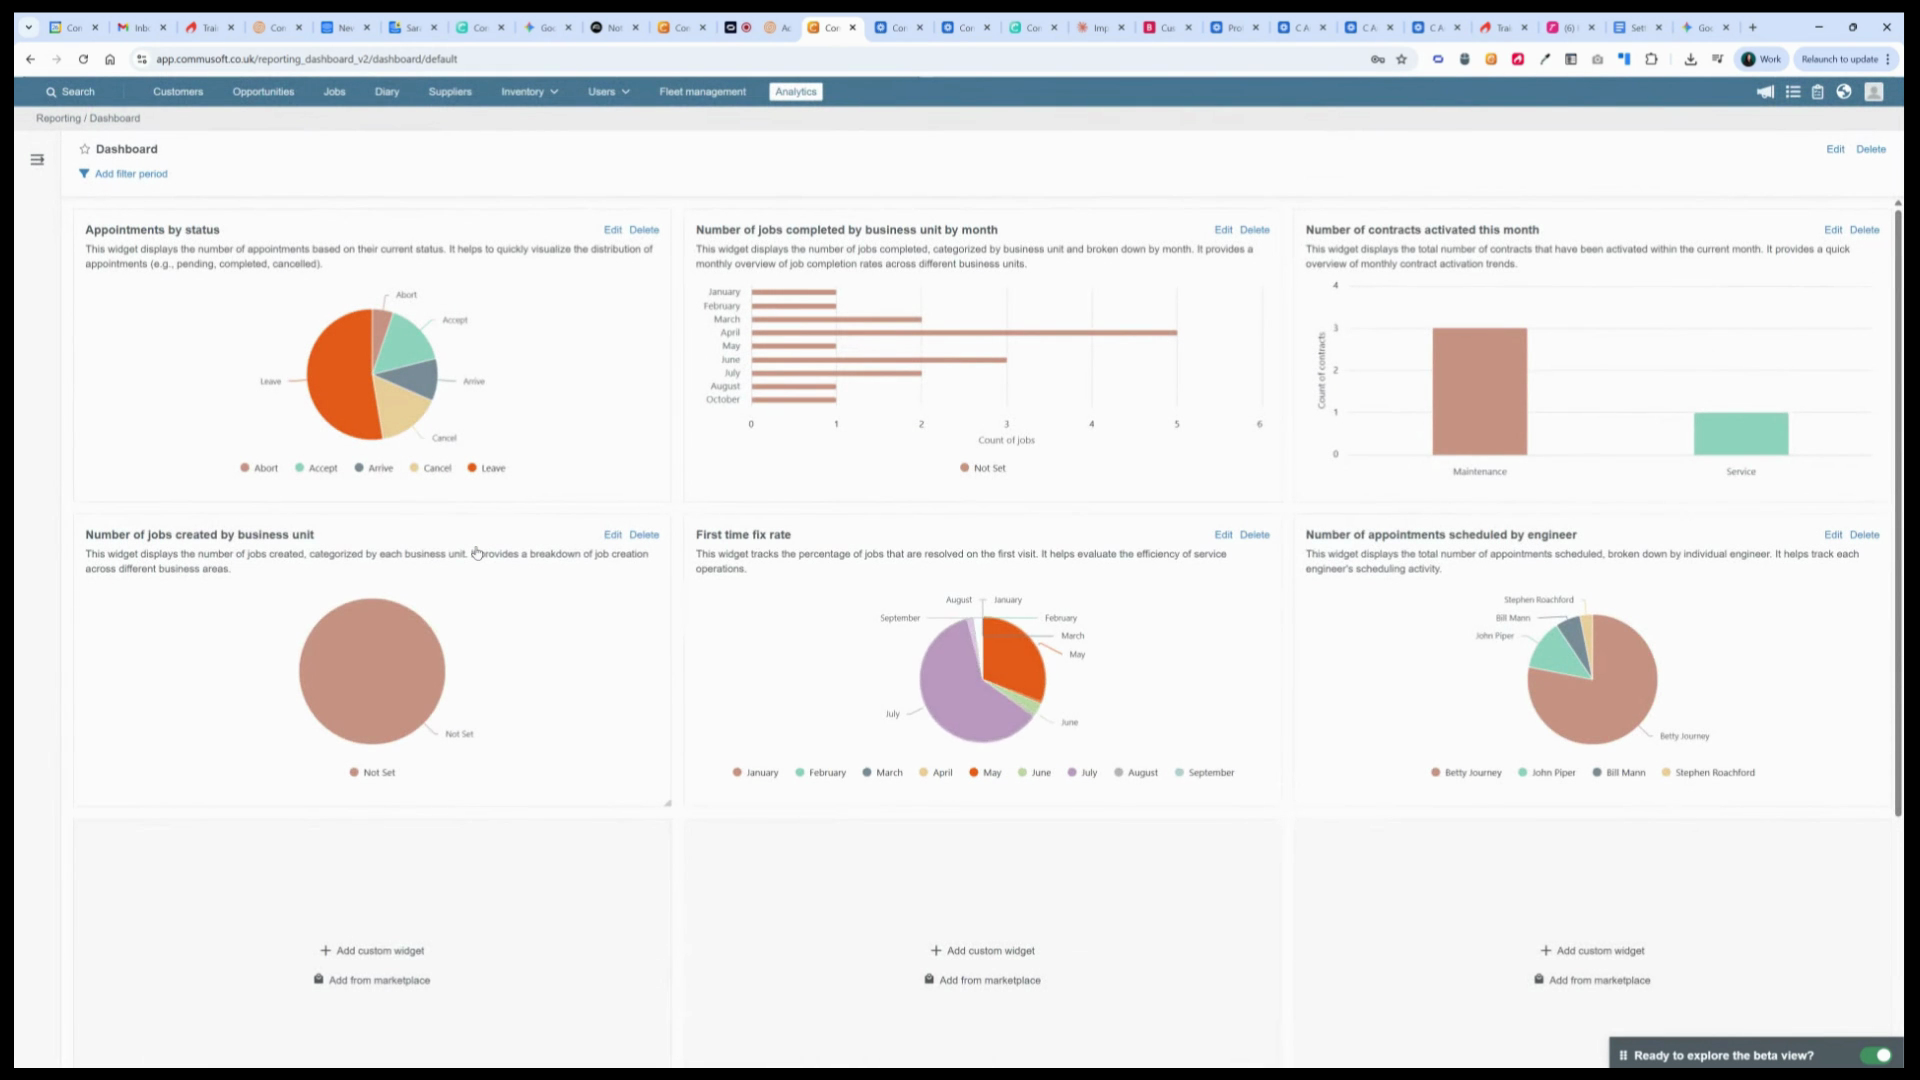
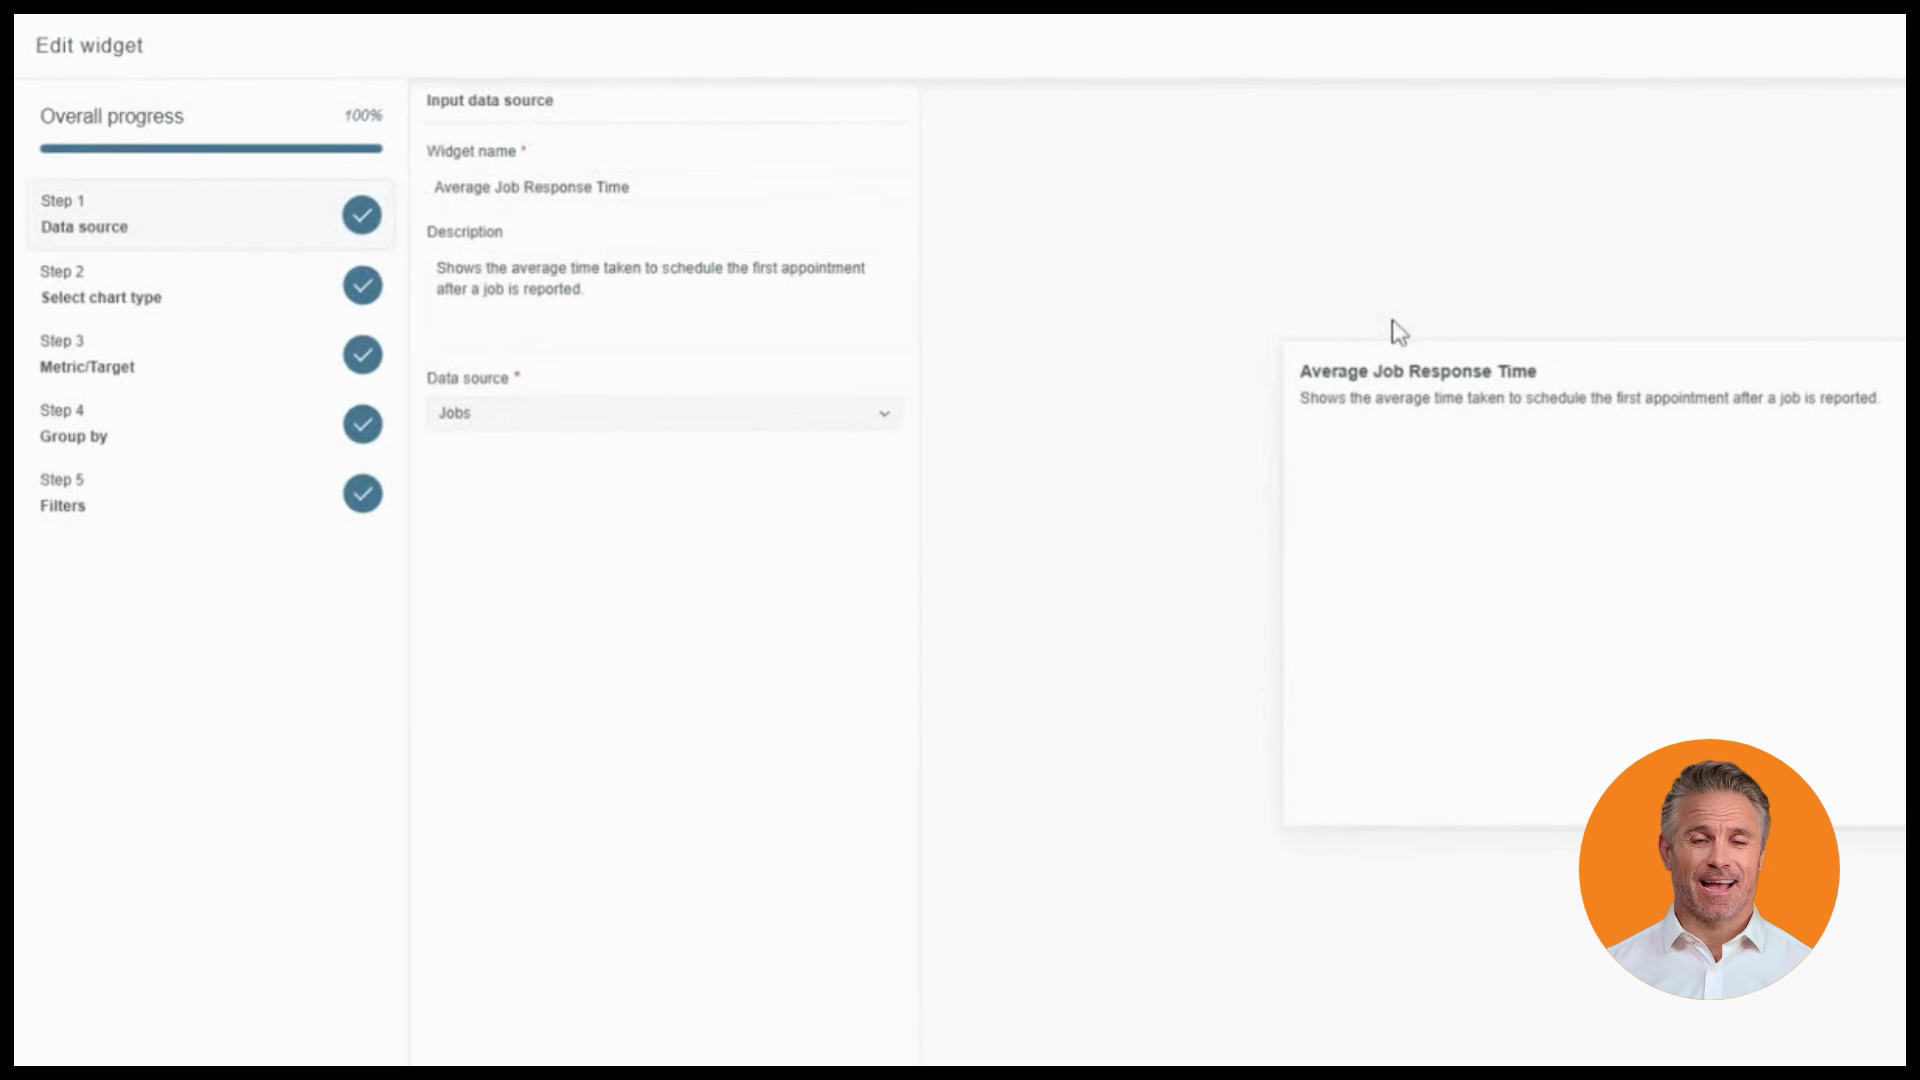
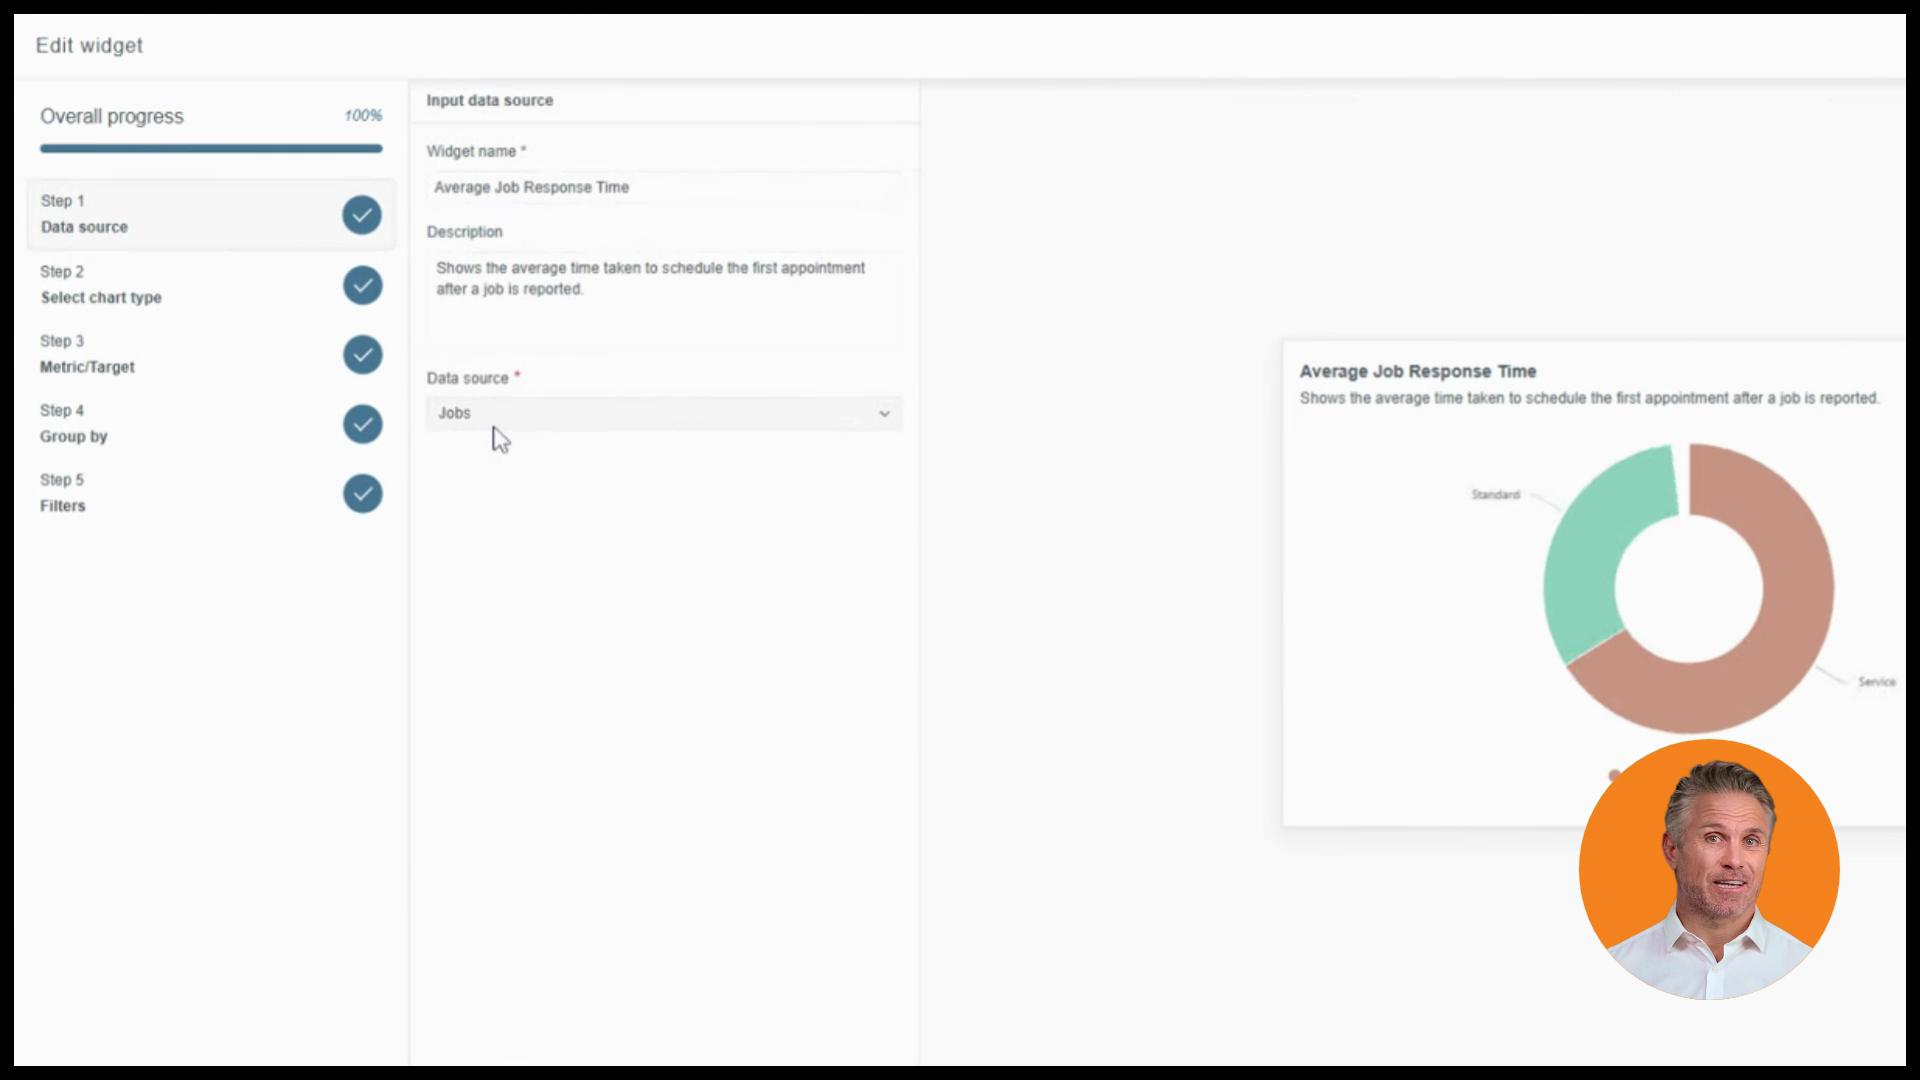
Step 7: Edit your widget any time—change its name, chart type, metrics, groupings, or filters.
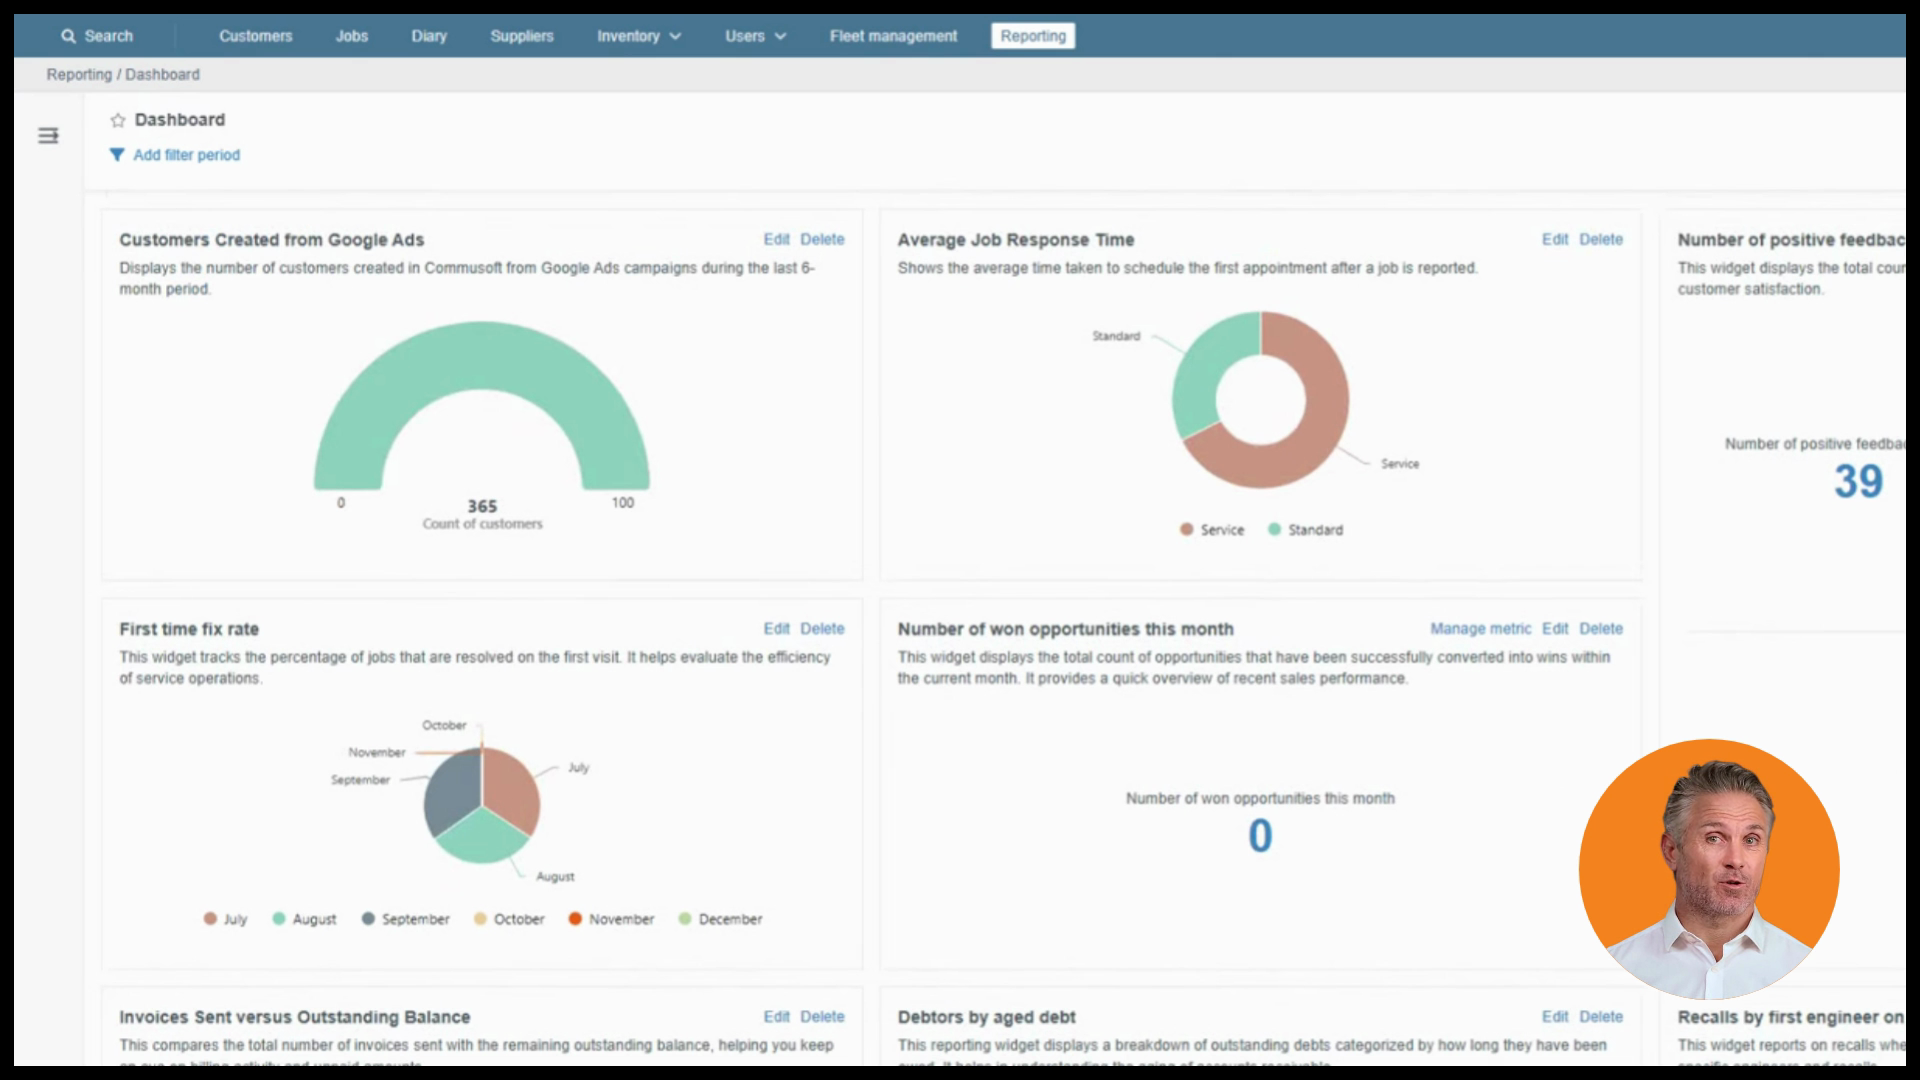
Step 8: Only the data source is fixed after saving the widget. To use another data source, add a new widget.
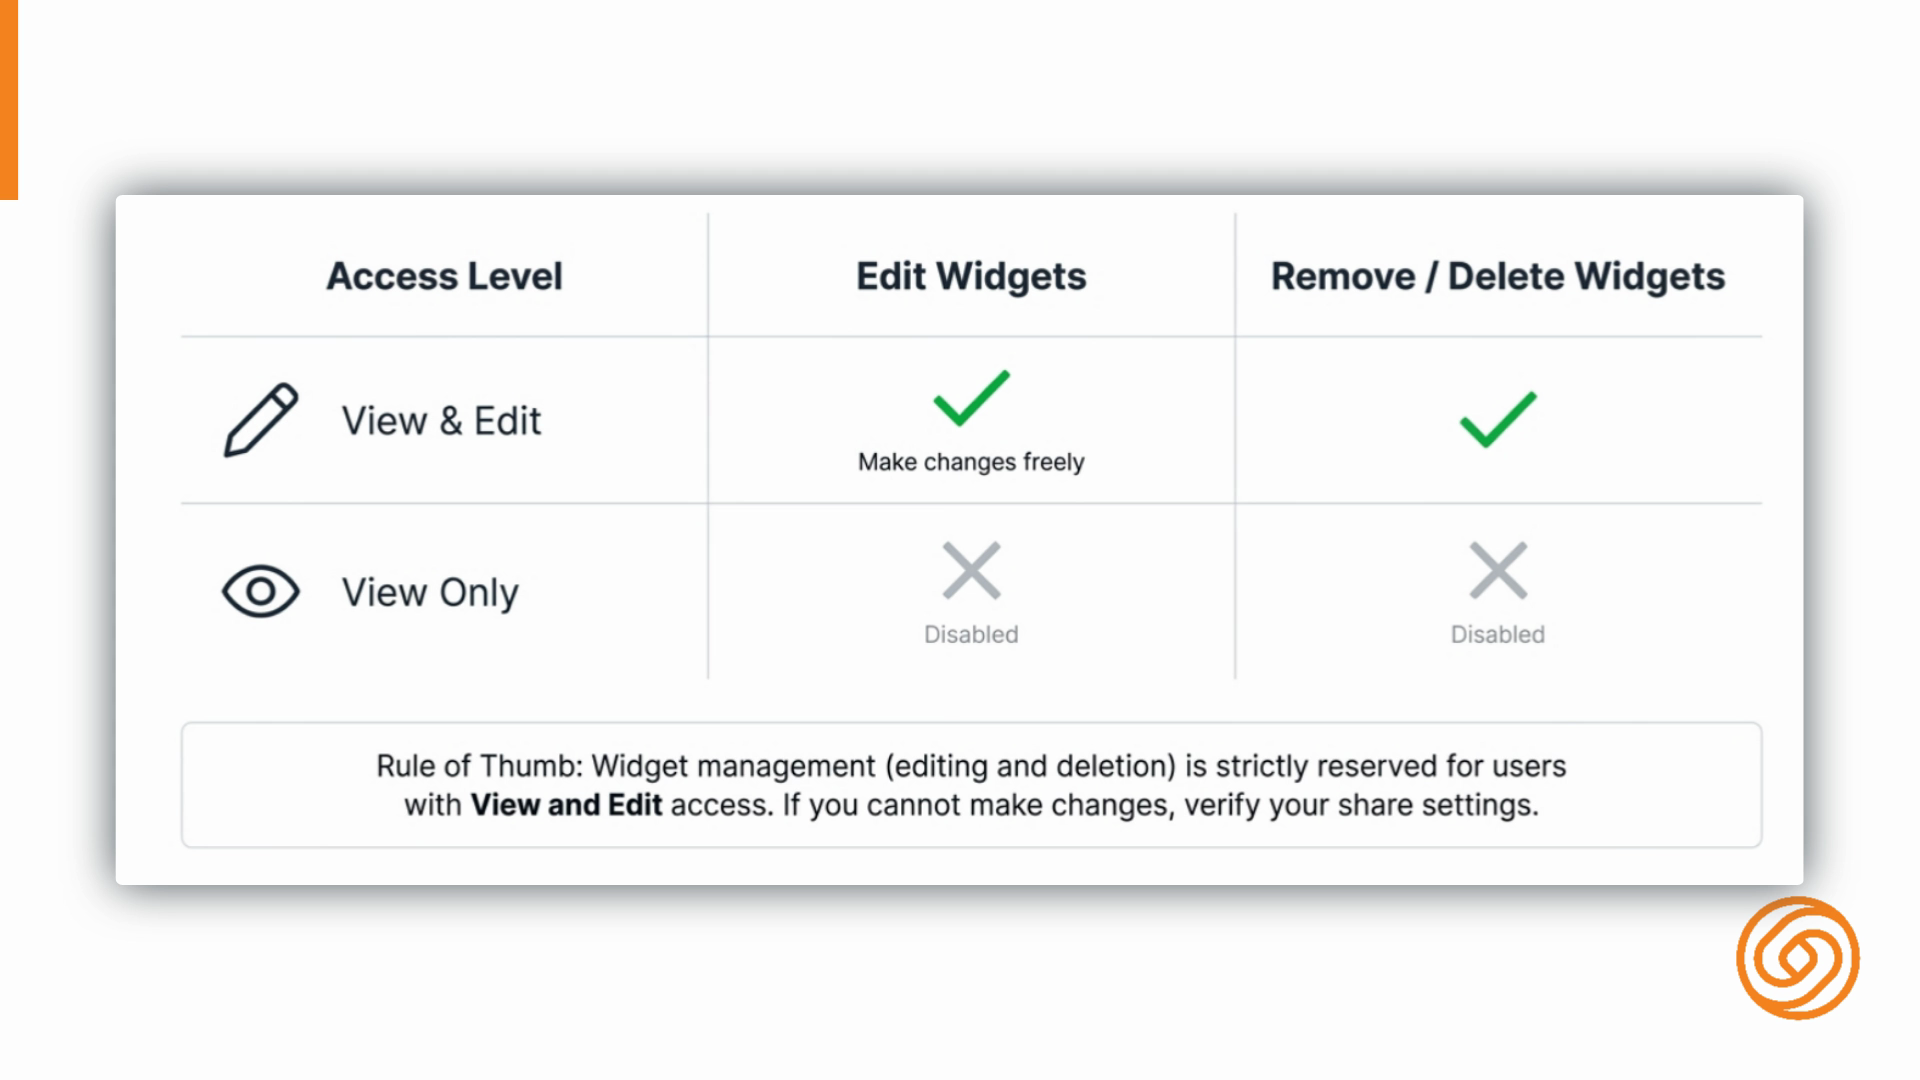
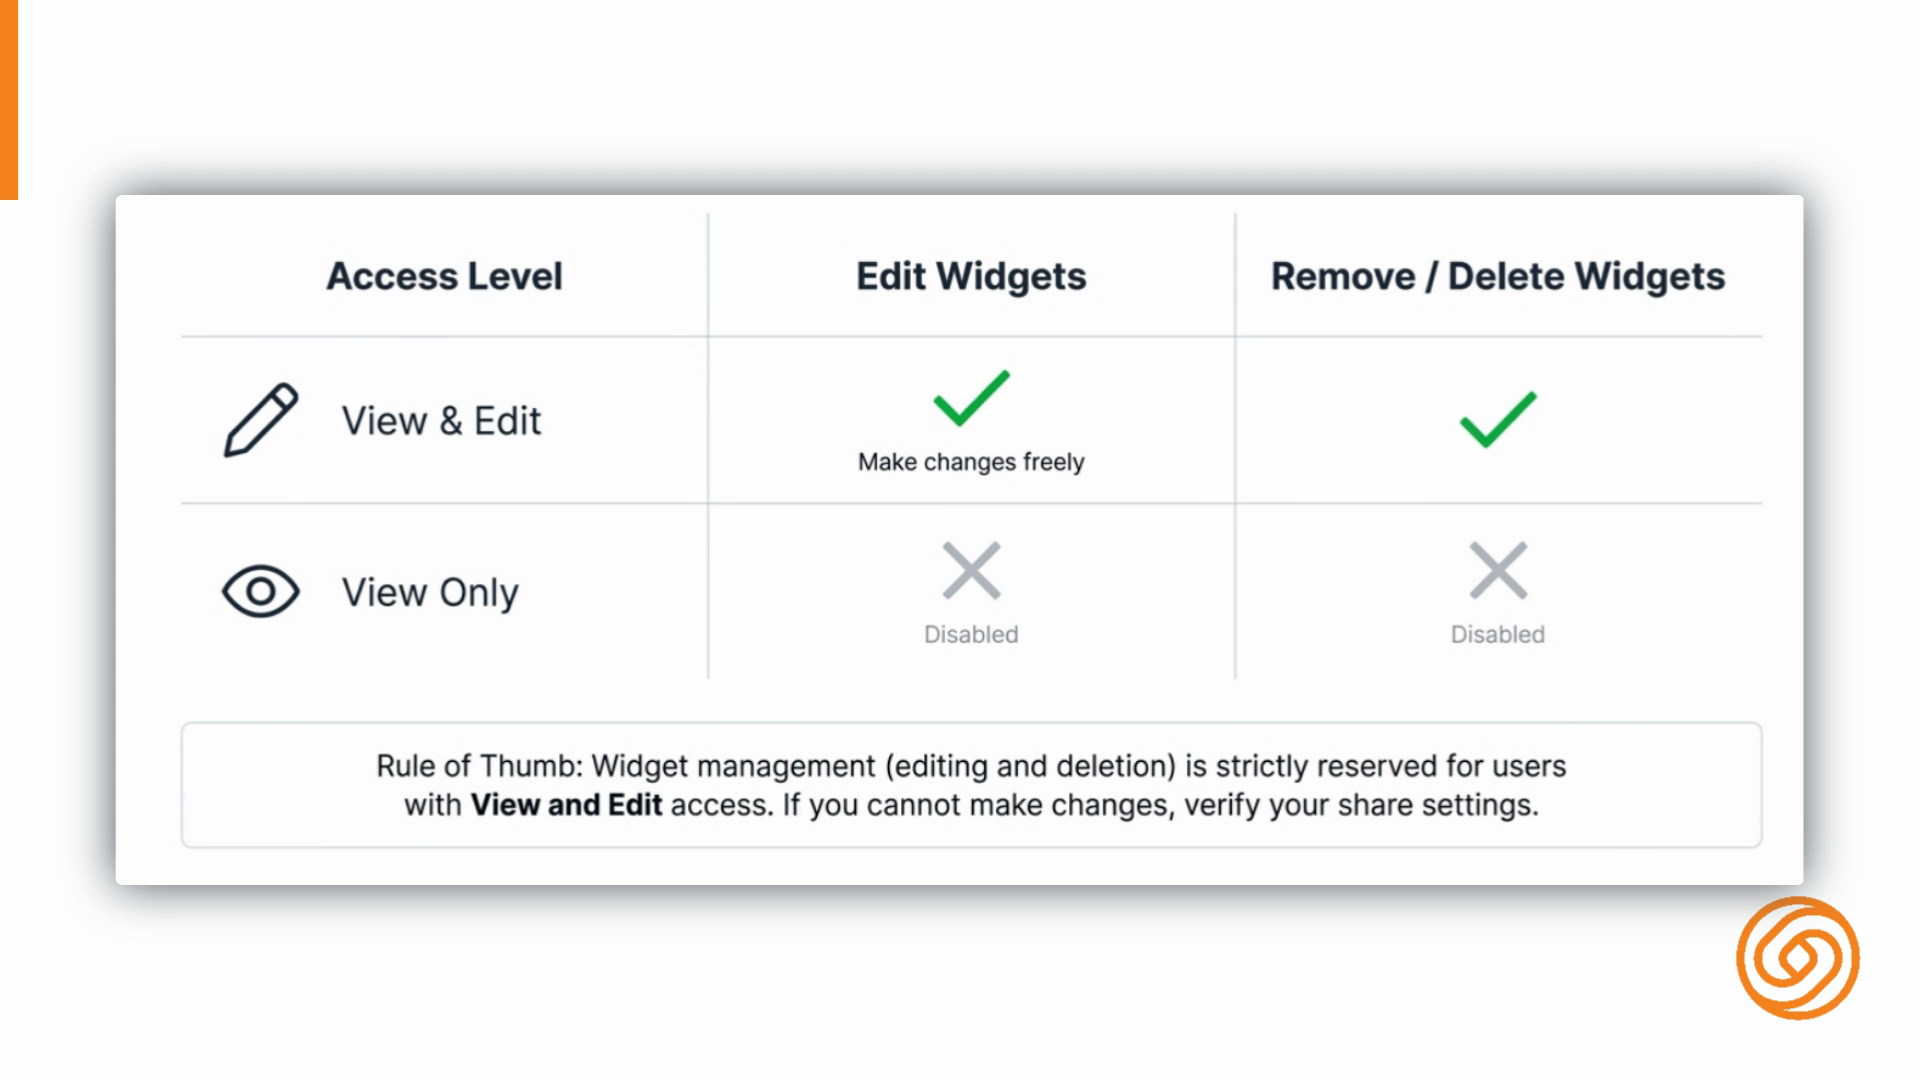
Step 9: Your ability to edit or remove widgets depends on your permissions.
If you have View and Edit access, you can update or delete widgets. With View only, those options are disabled.
Marketplace widgets help you get useful, live insights onto your Dashboard fast—without manual setup. Try adding a few to speed up your reporting and keep your metrics in clear view.
Created on
Did you find this article helpful?