

We are going to
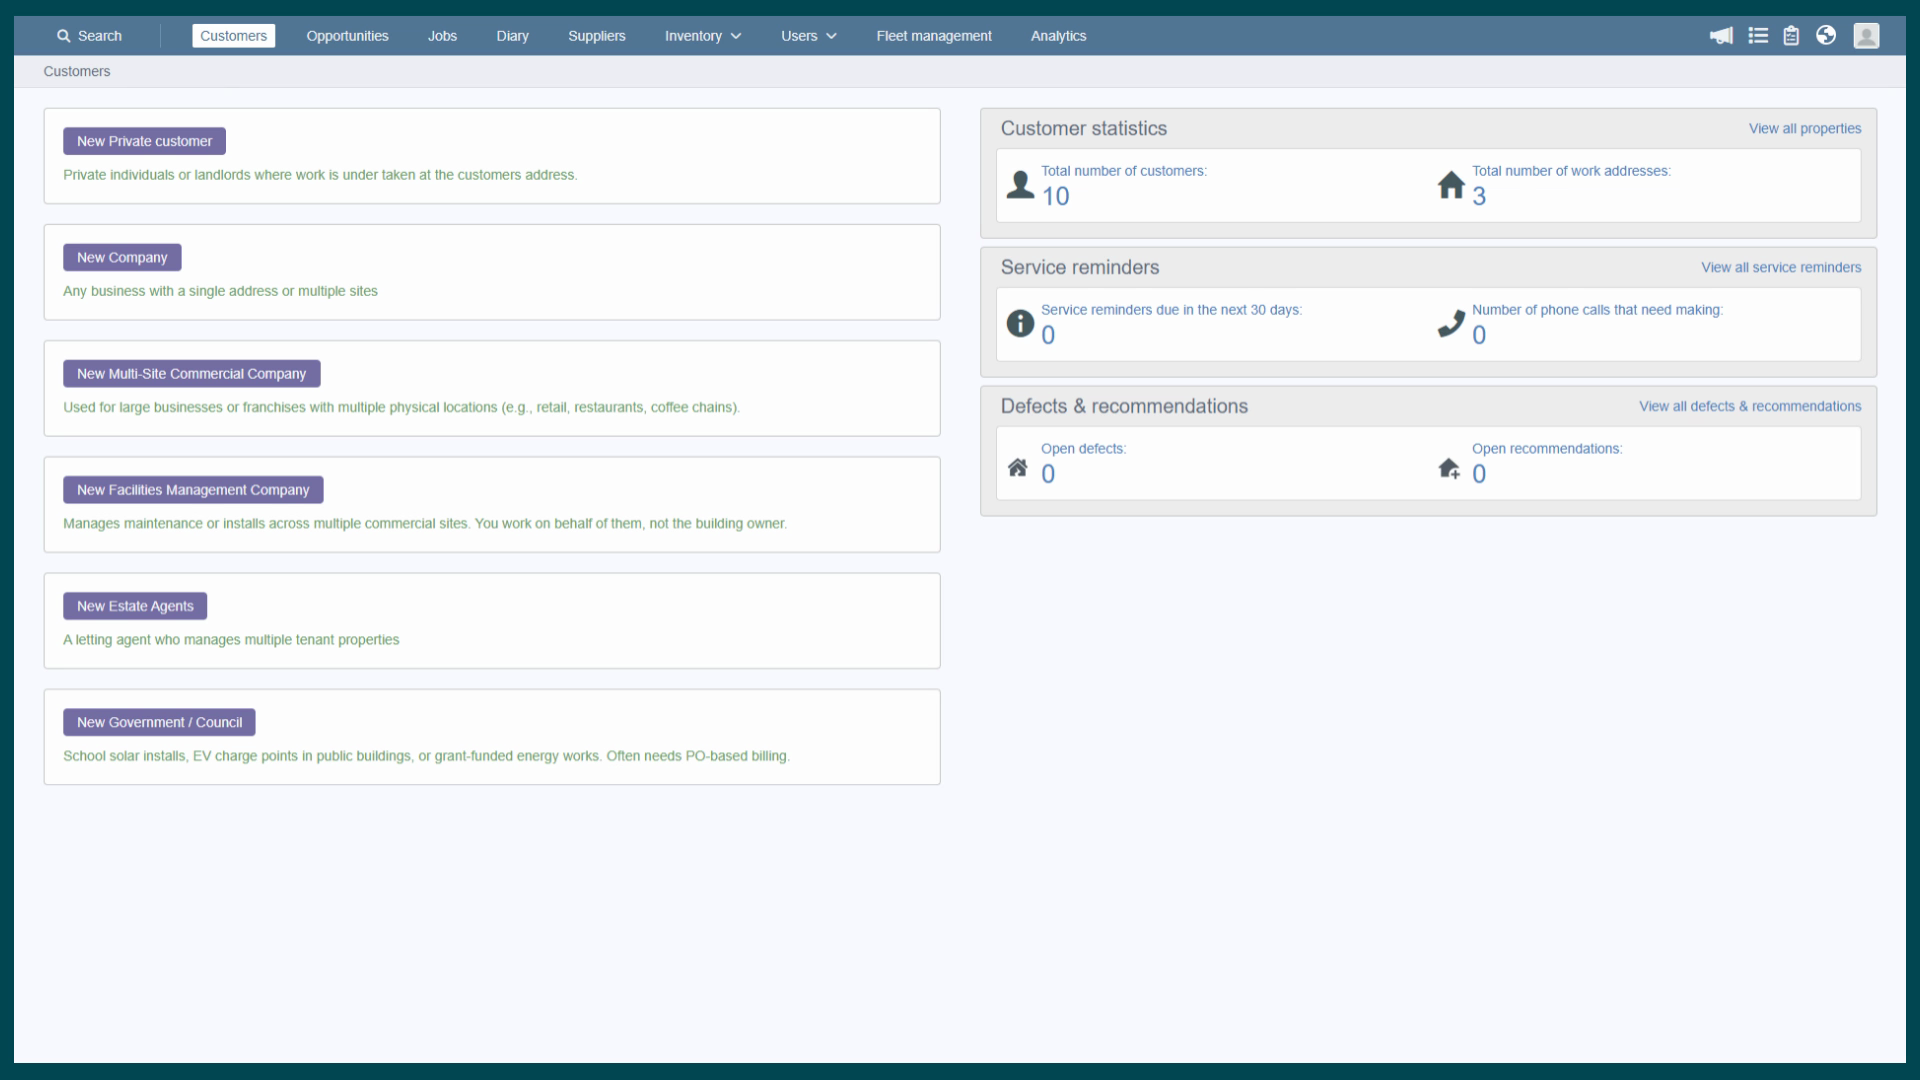
create a customer record. You could use your home address or even the business address for this. To get started, head to the Navbar at the top of your screen and
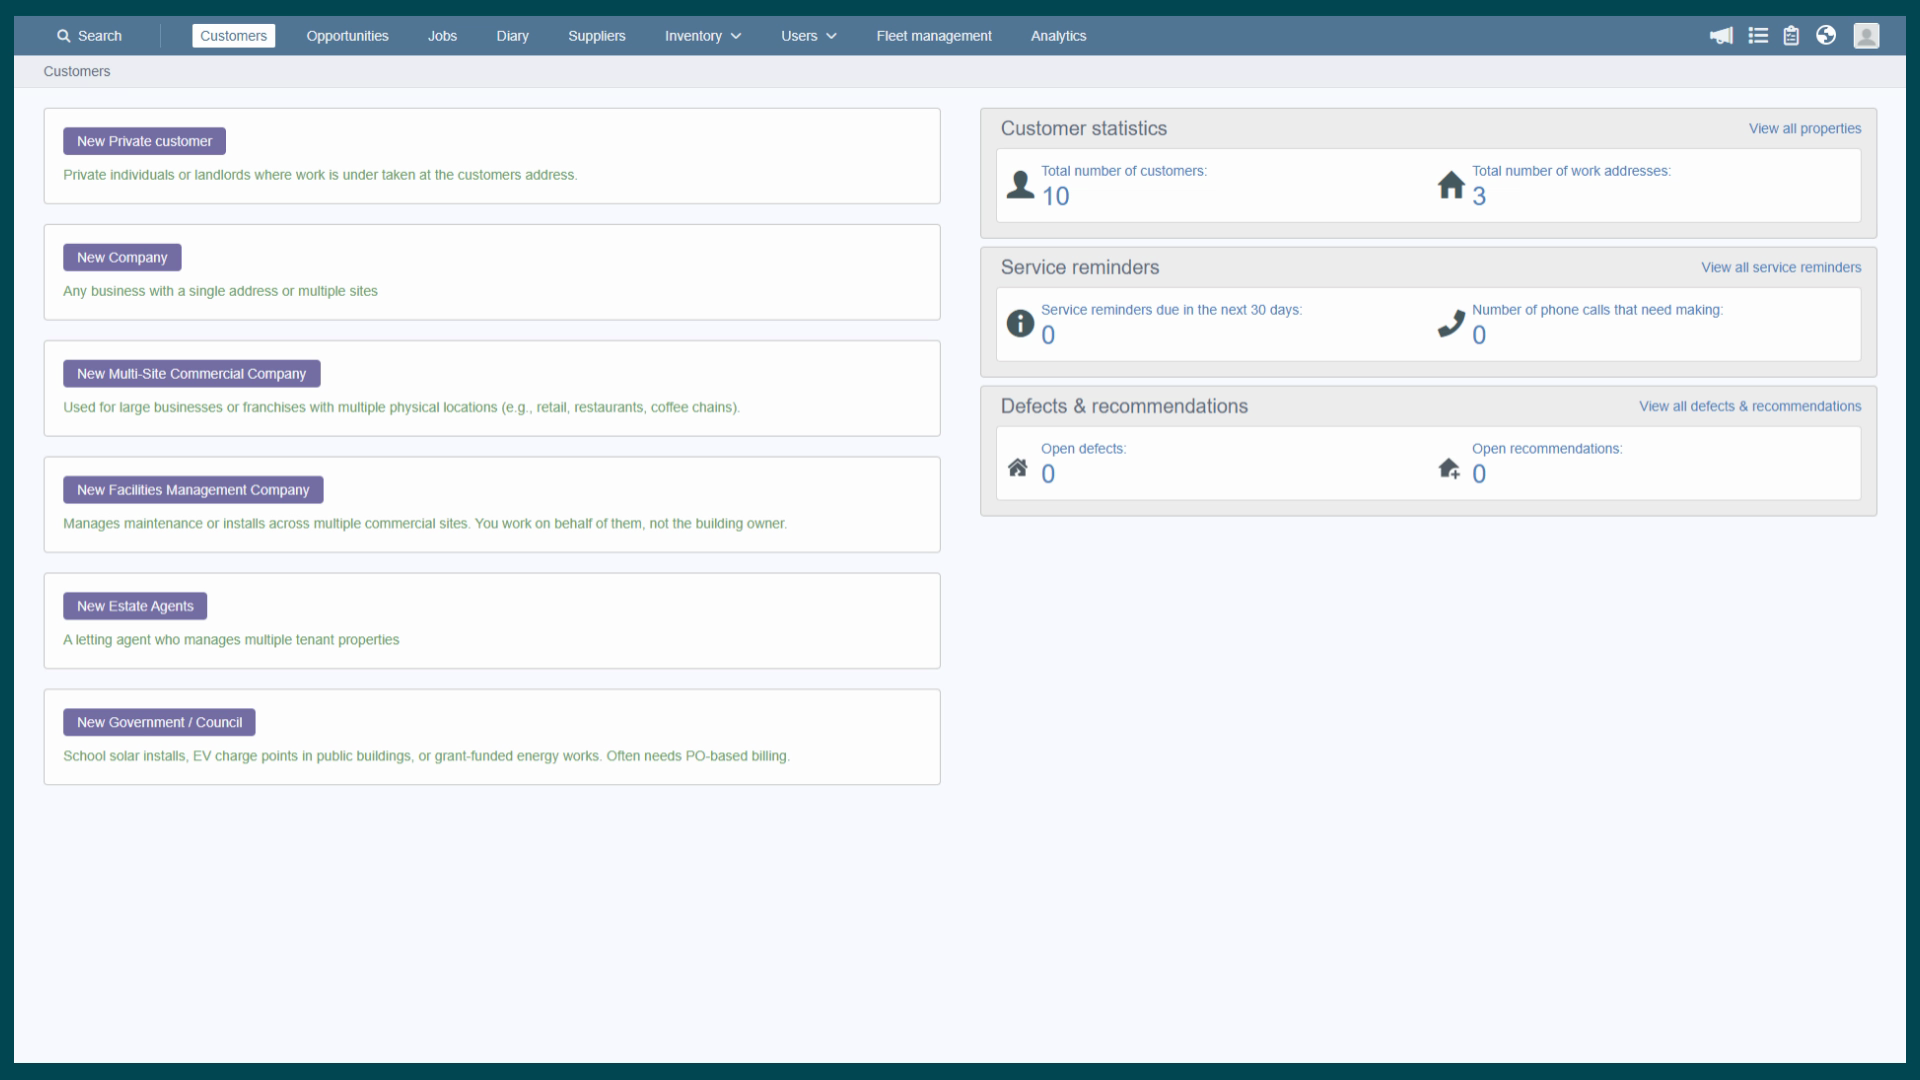
select the Customers tab. You will see a series of options on the left. These represent the different customer types configured in your system such as private customer, company or estate agents. These help the system know how to handle billing and site structures later on. Lets start by
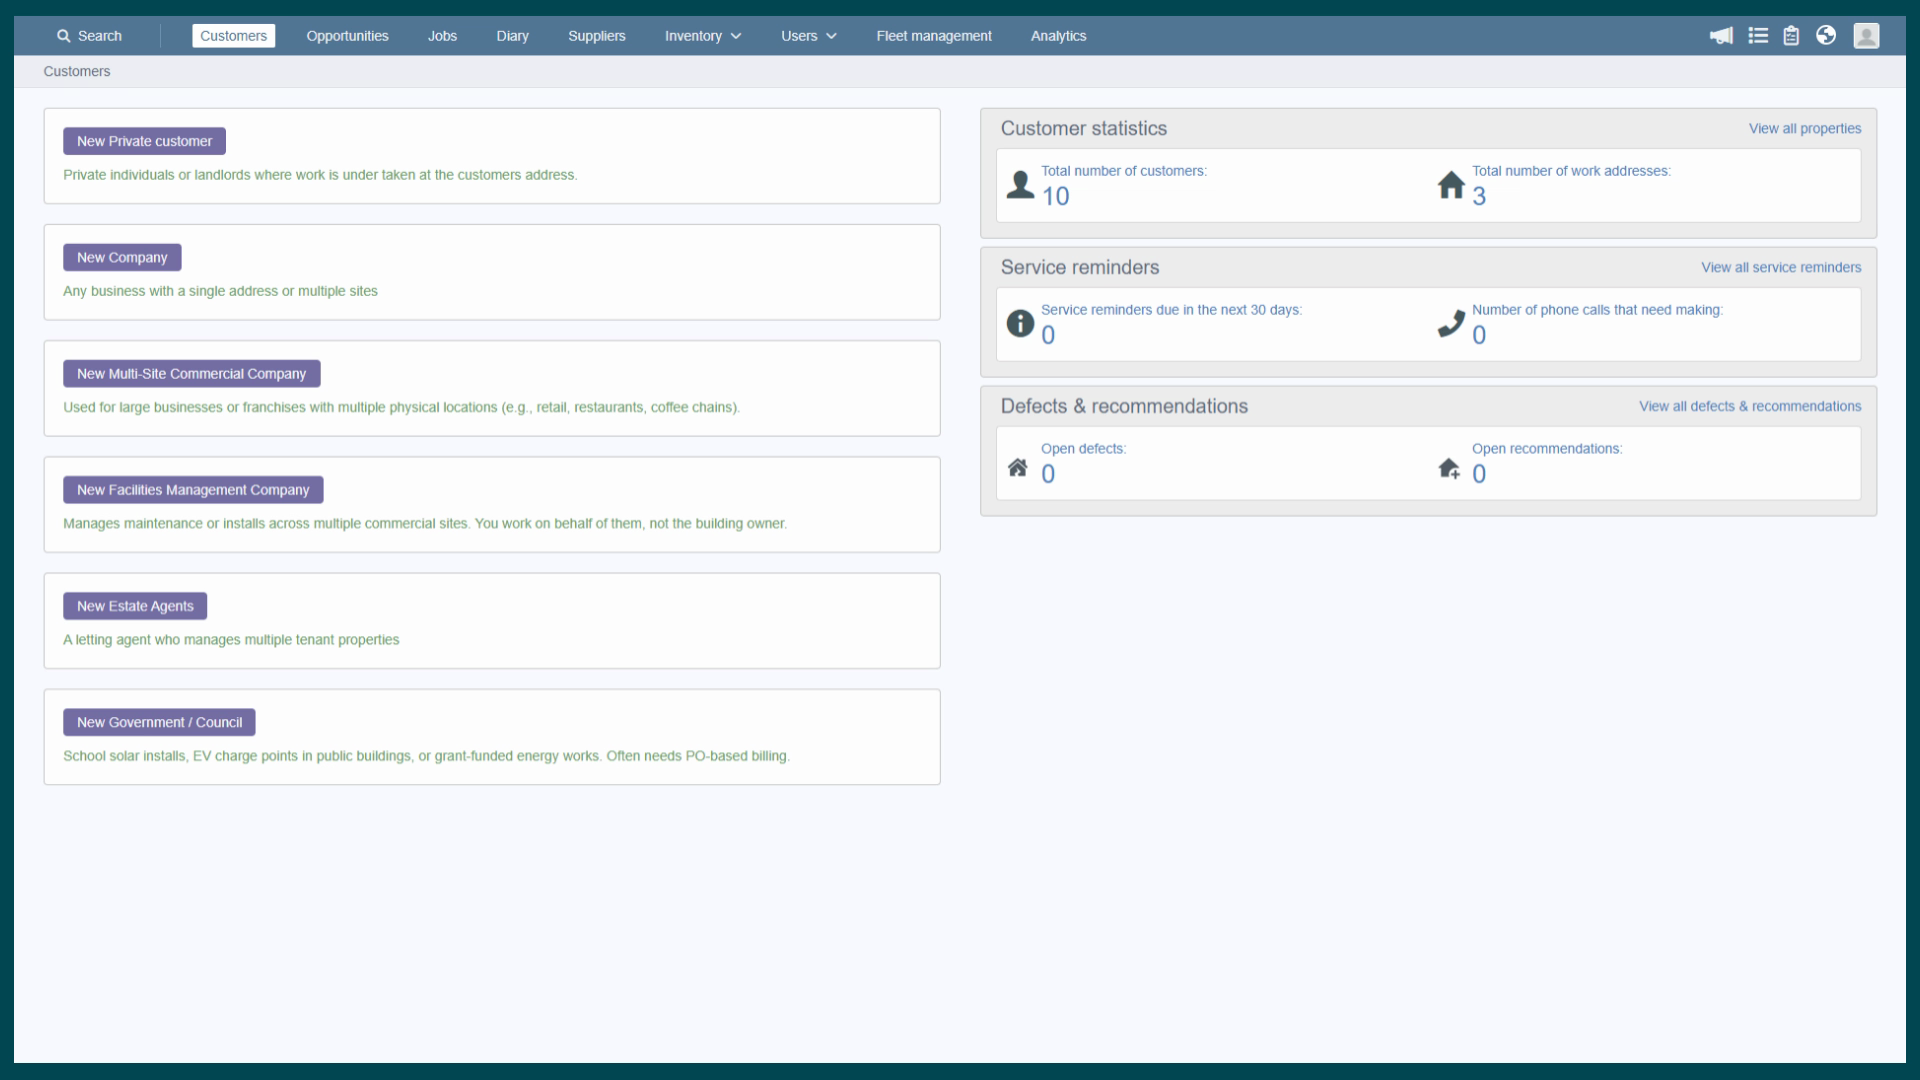
clicking the button for New Private Customer. As we look at the screen, notice the
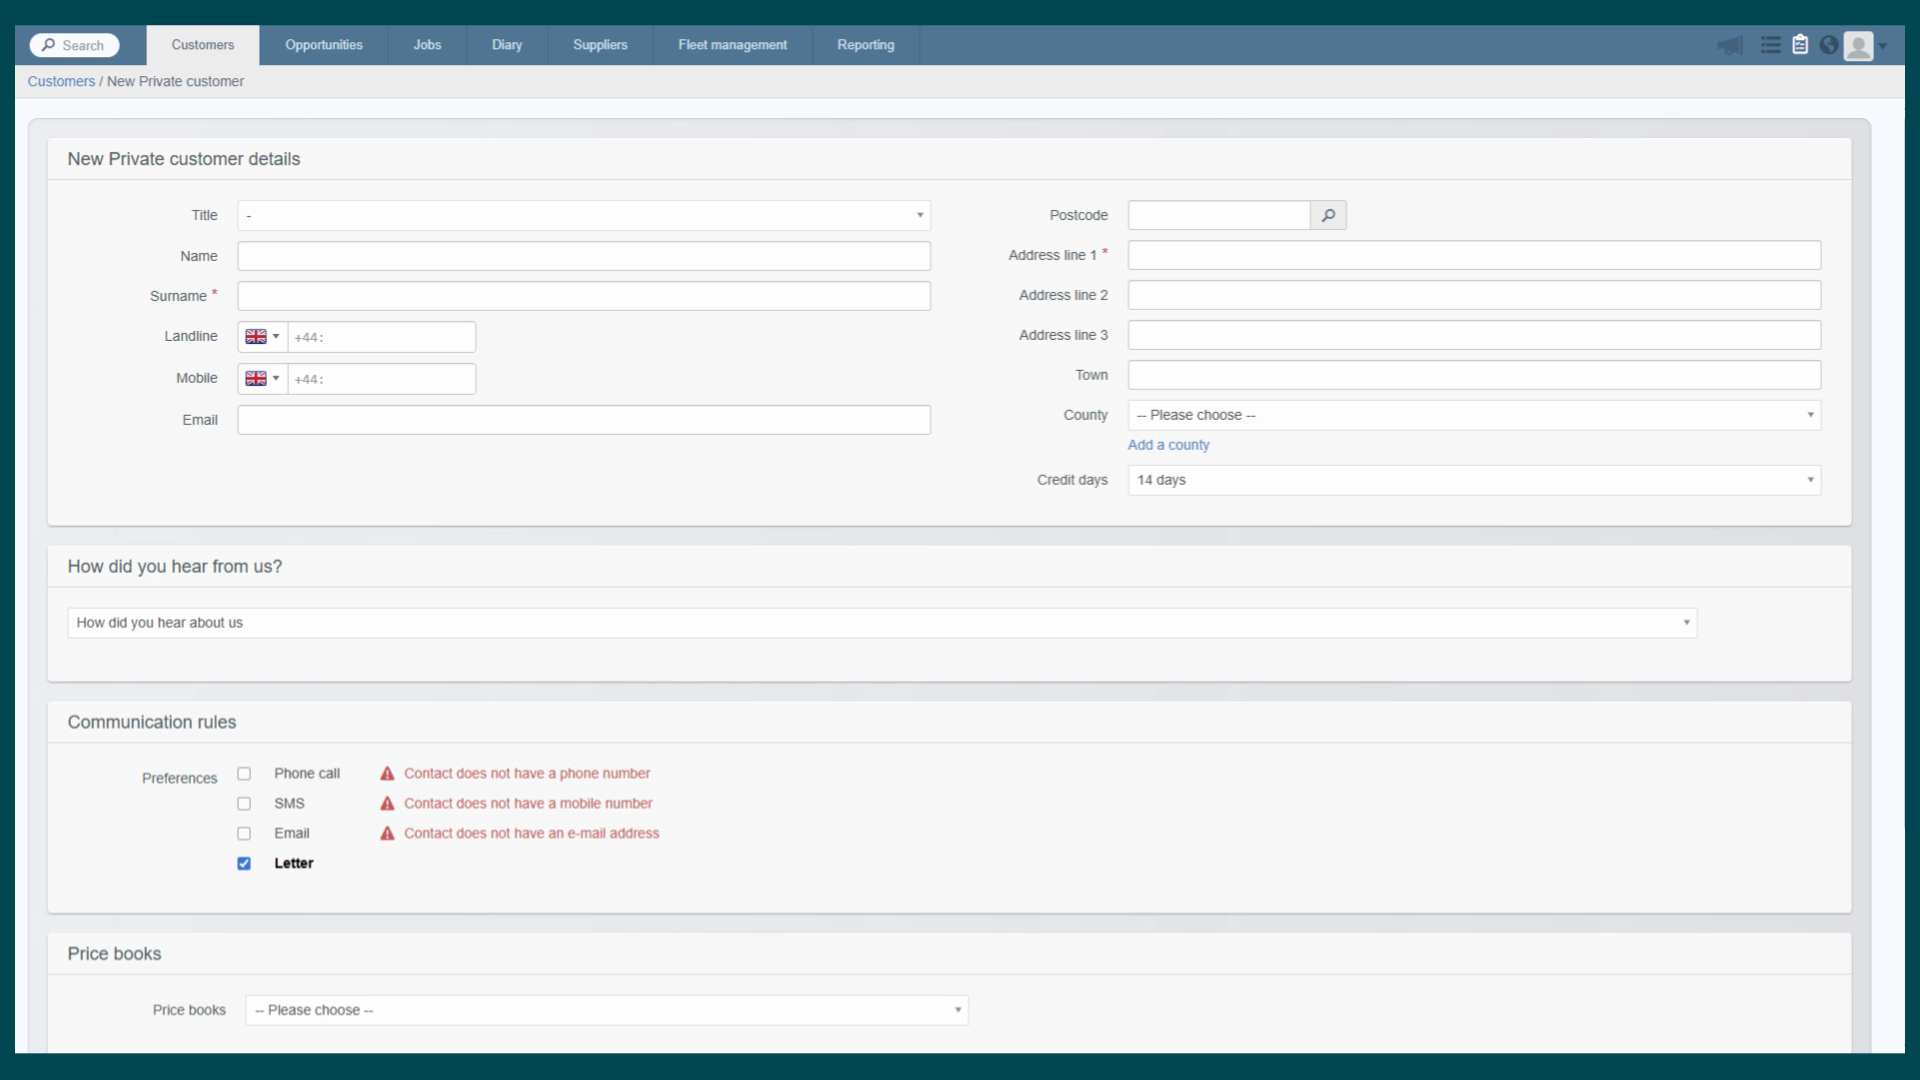
red asterisks next to the fields Surname and Address line one. These are your mandatory fields, meaning the system will not let us save the customer record until these are filled in. Now let's
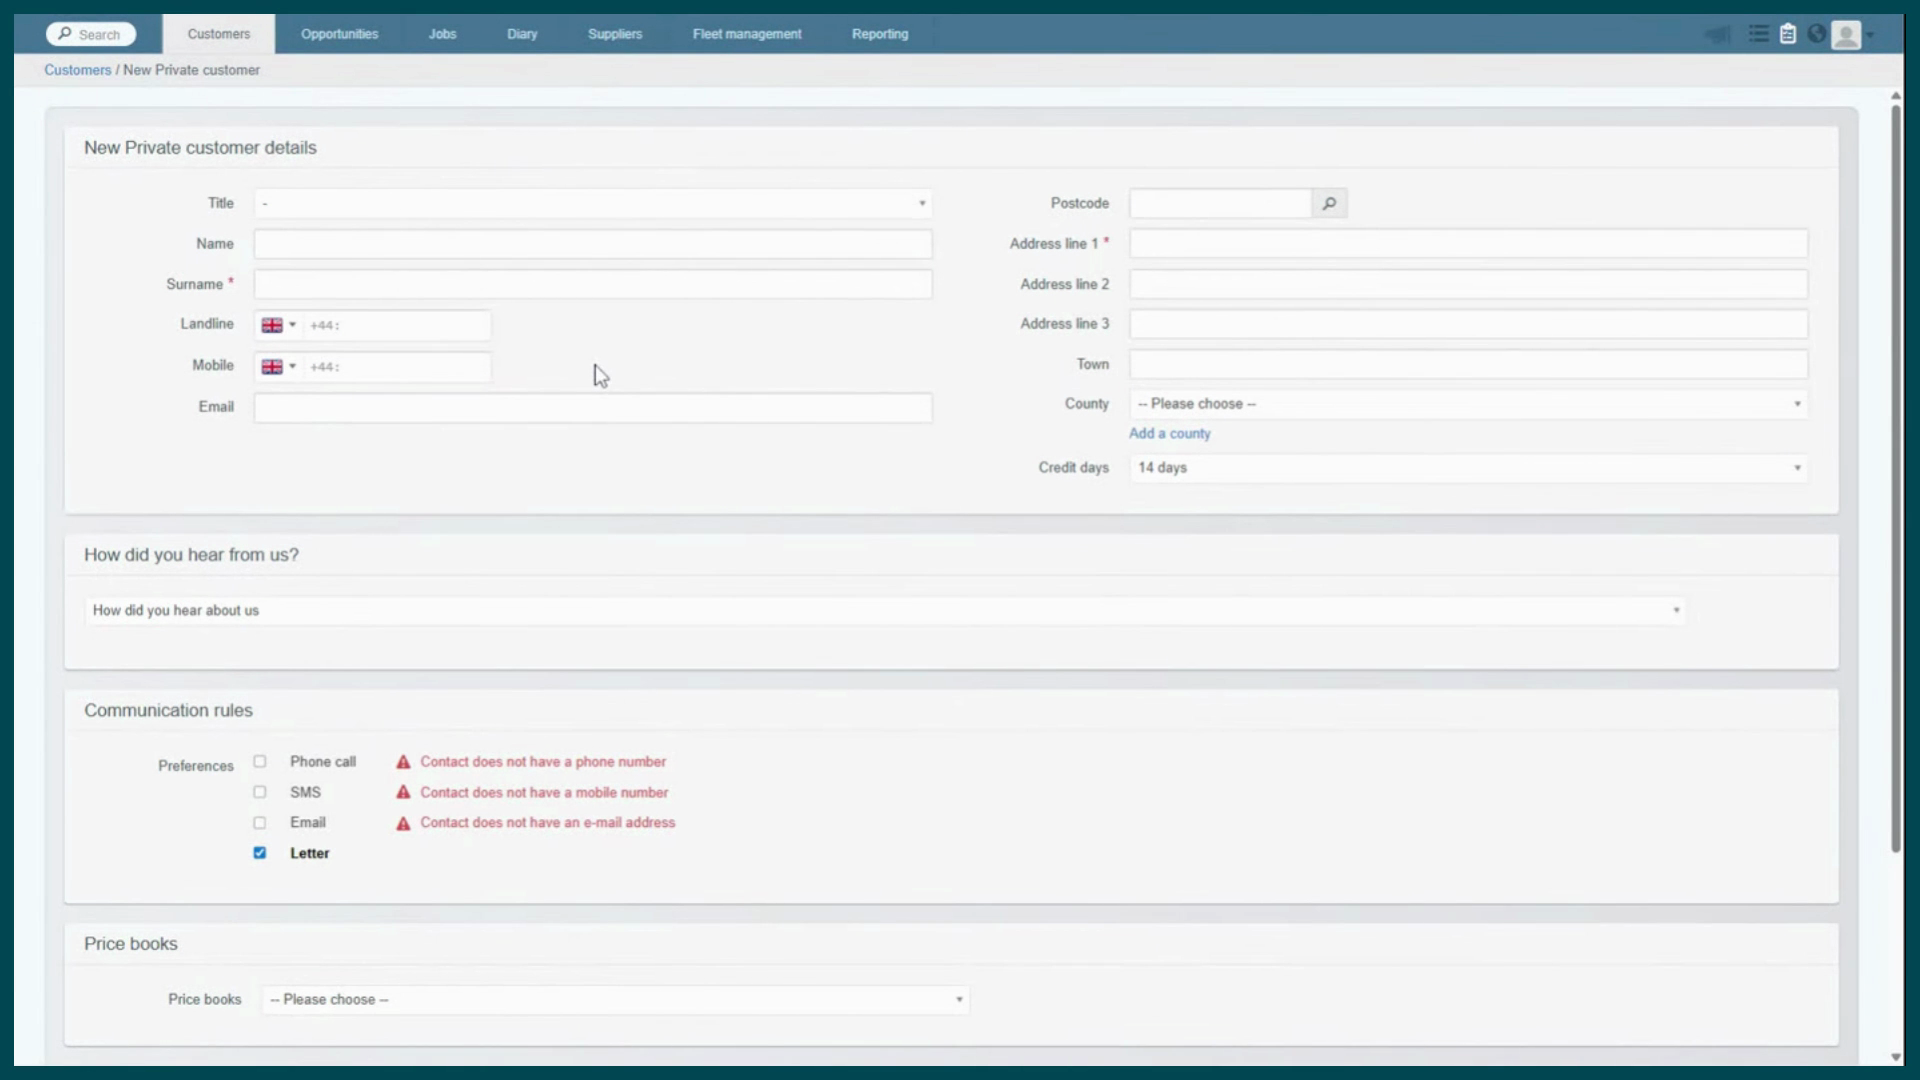
enter the name and surname. You can also select a title from the
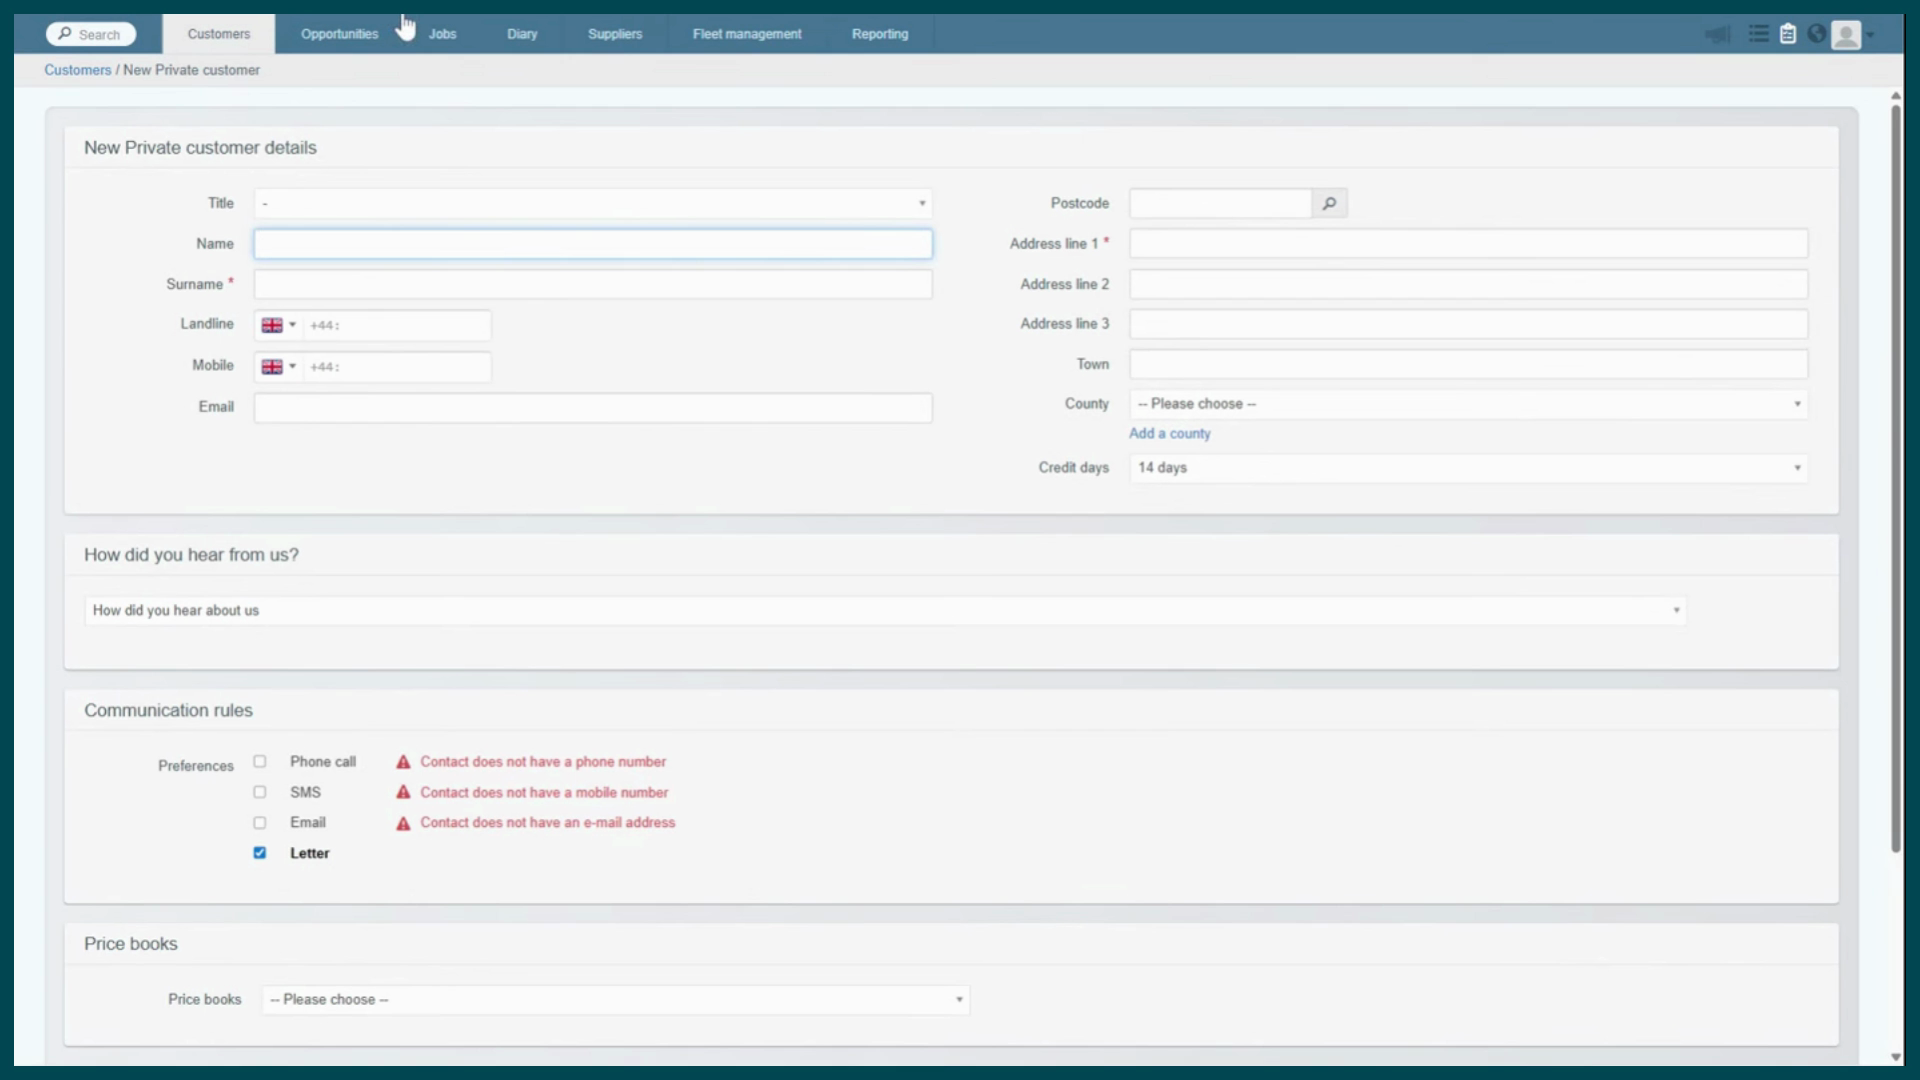
drop down menu if required. Keep in mind that these fields personalize every message the system sends, so any spelling or formatting errors here will make all future communications look unprofessional. Once the name is set, we are ready for the contact numbers. Notice the
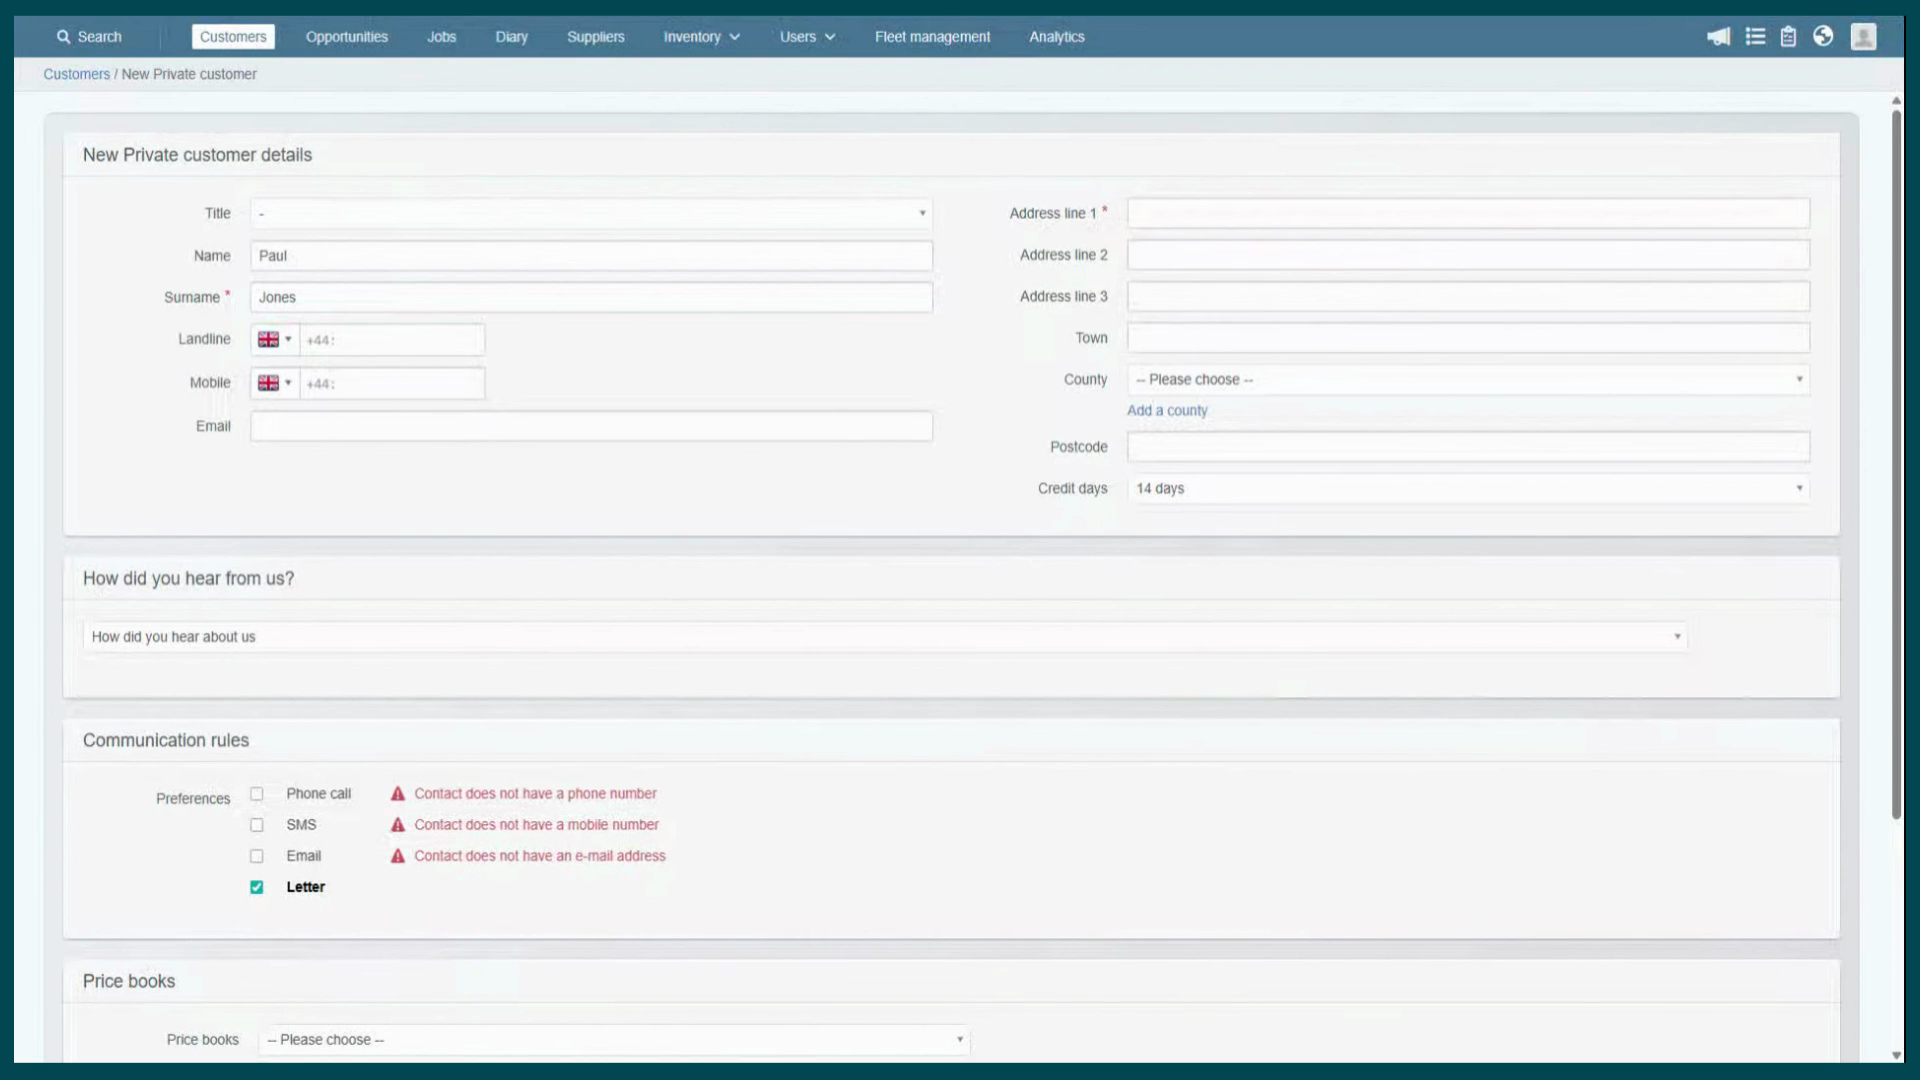
flag icons next to the landline and mobile fields as we
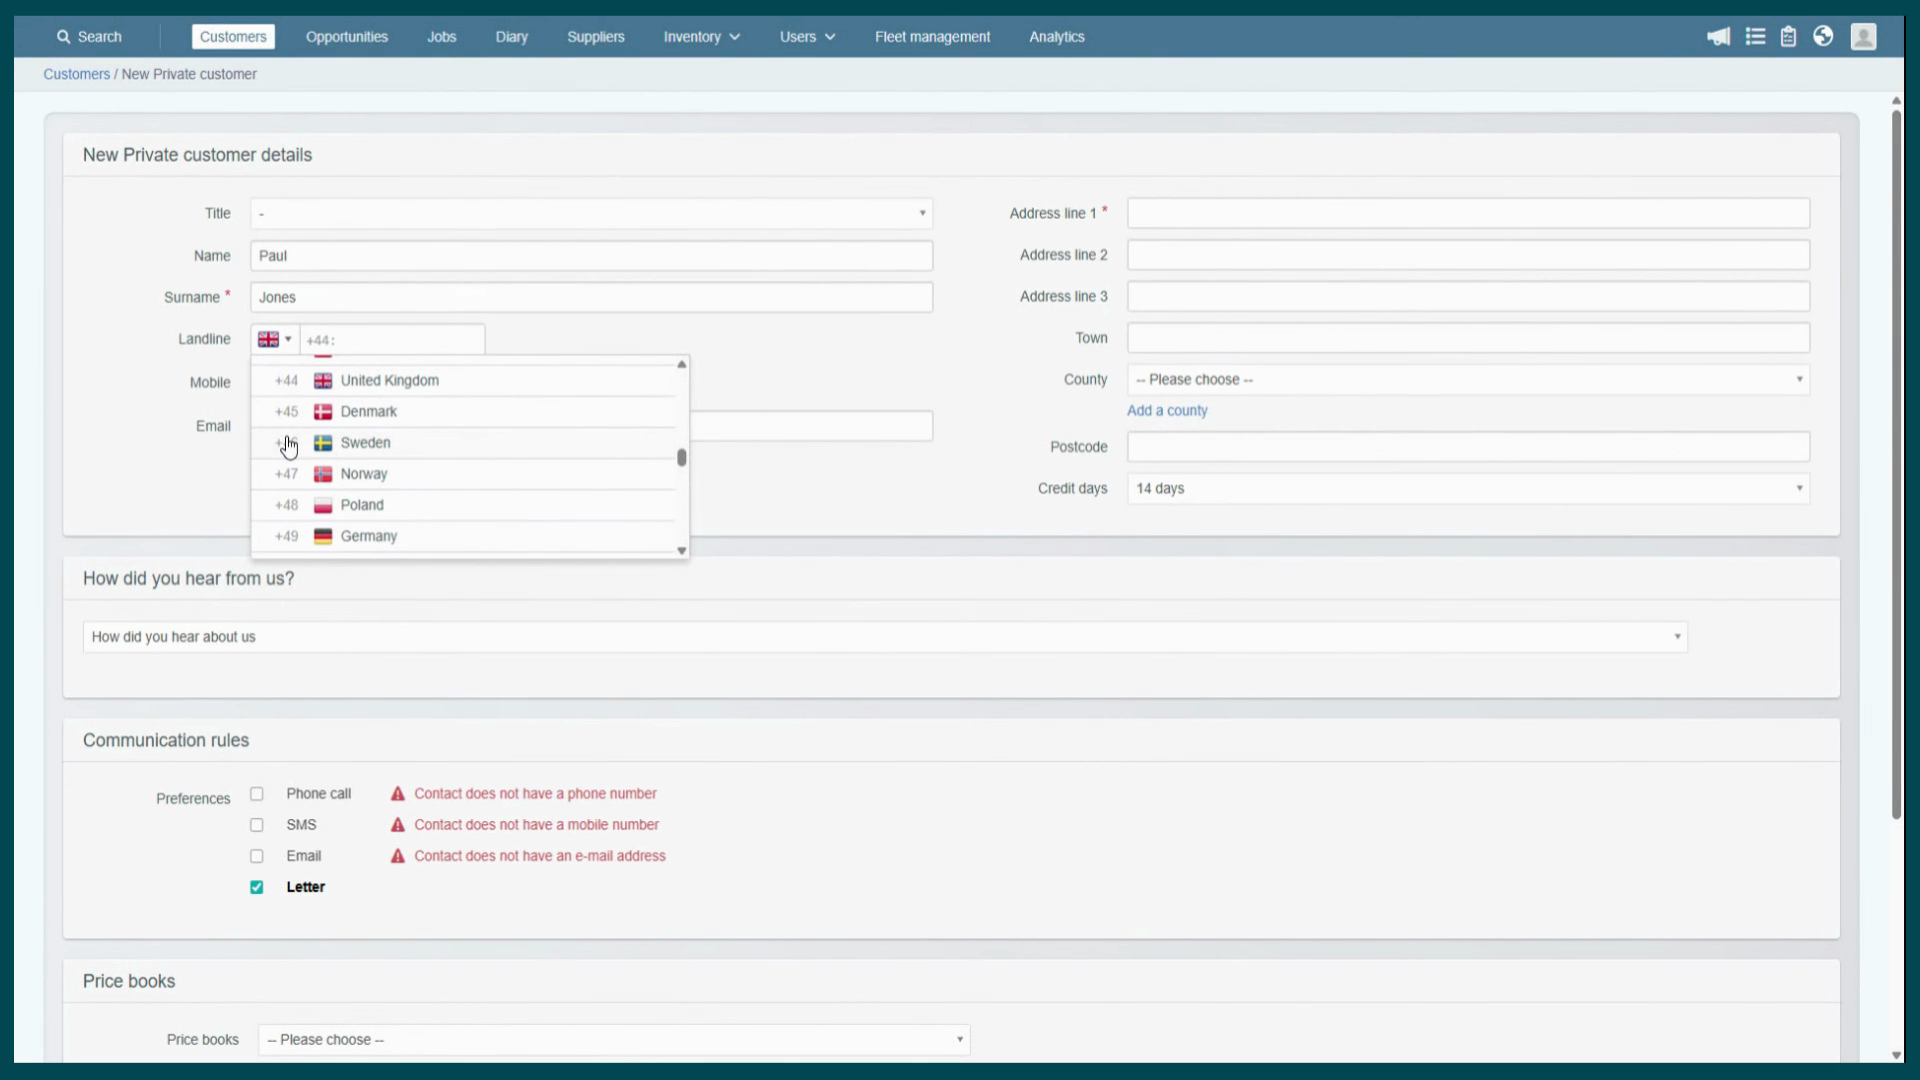
select the correct flag for the UK or any country we need to use, the system helps us format the number correctly for our clients in the UK and Ireland. Remember to
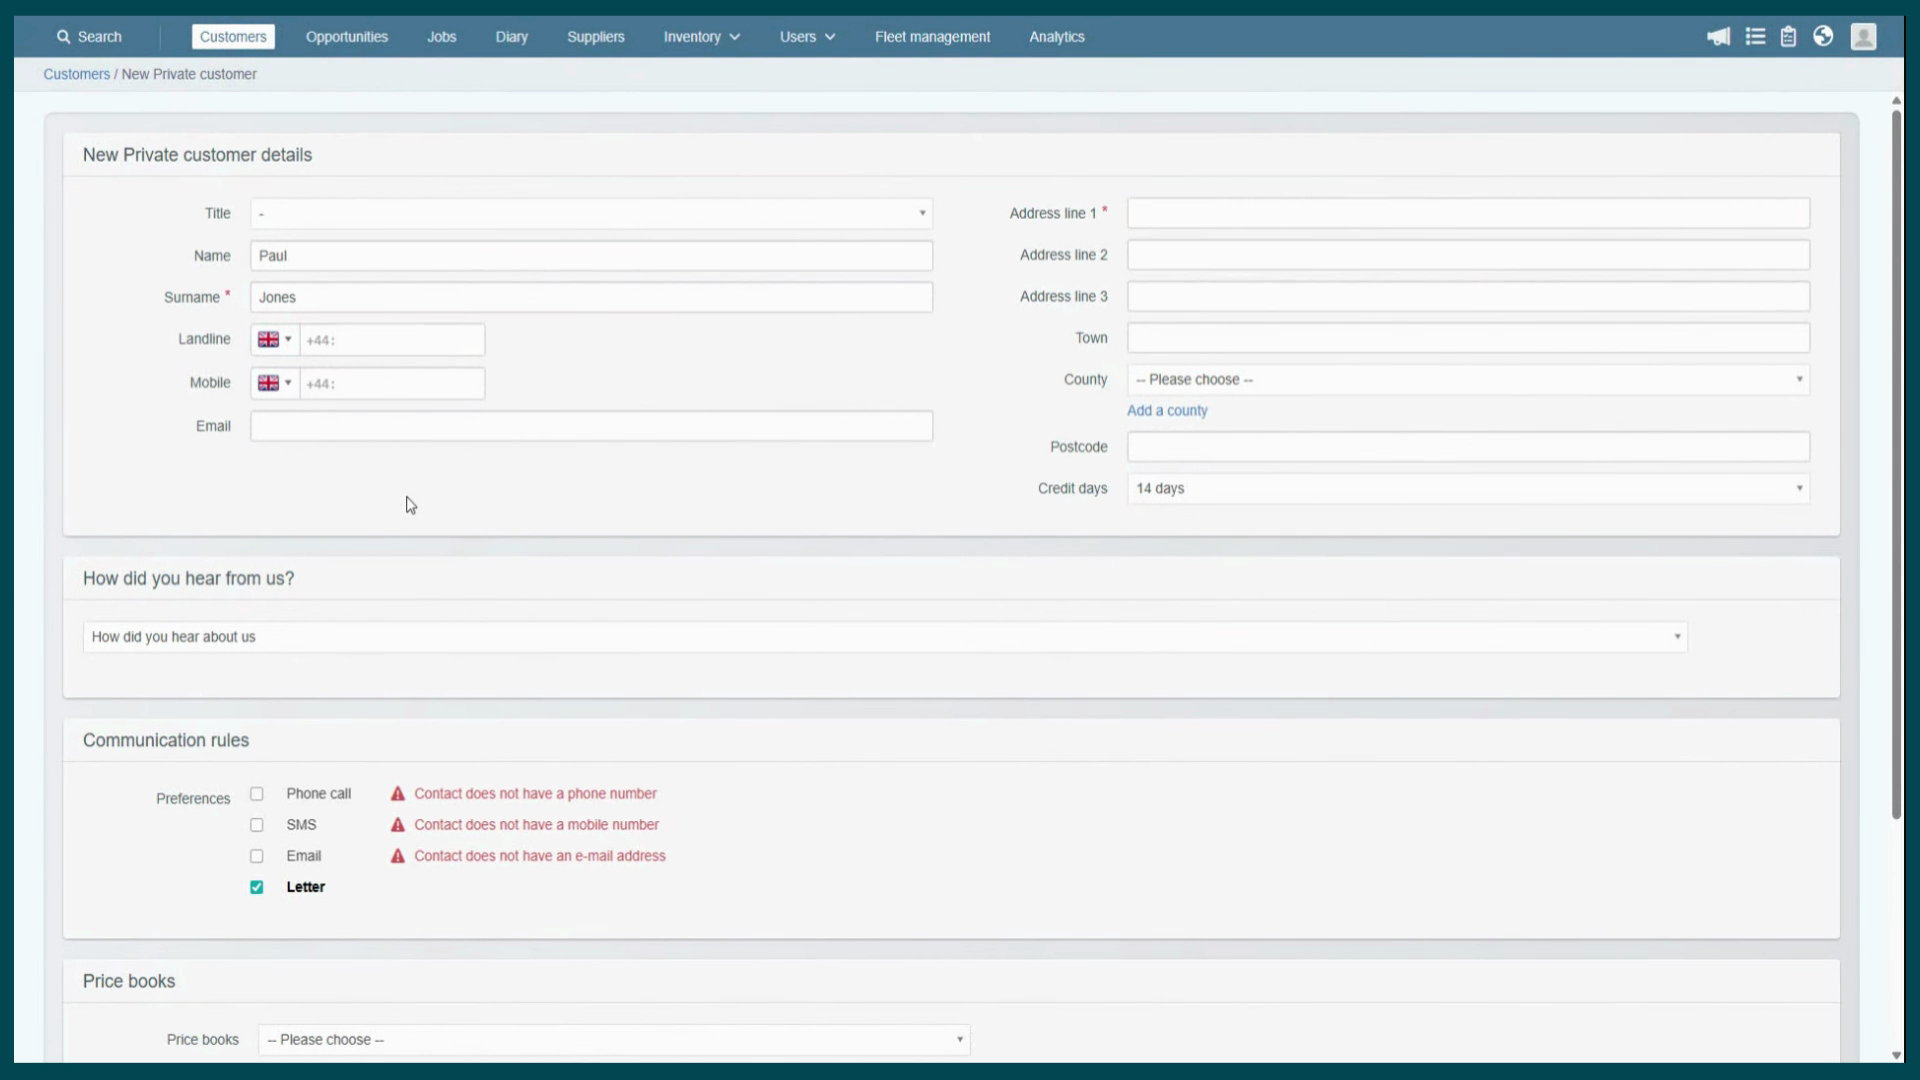
drop the leading 0 when typing a mobile number since the country code is already there. Ensuring you have a valid number in the
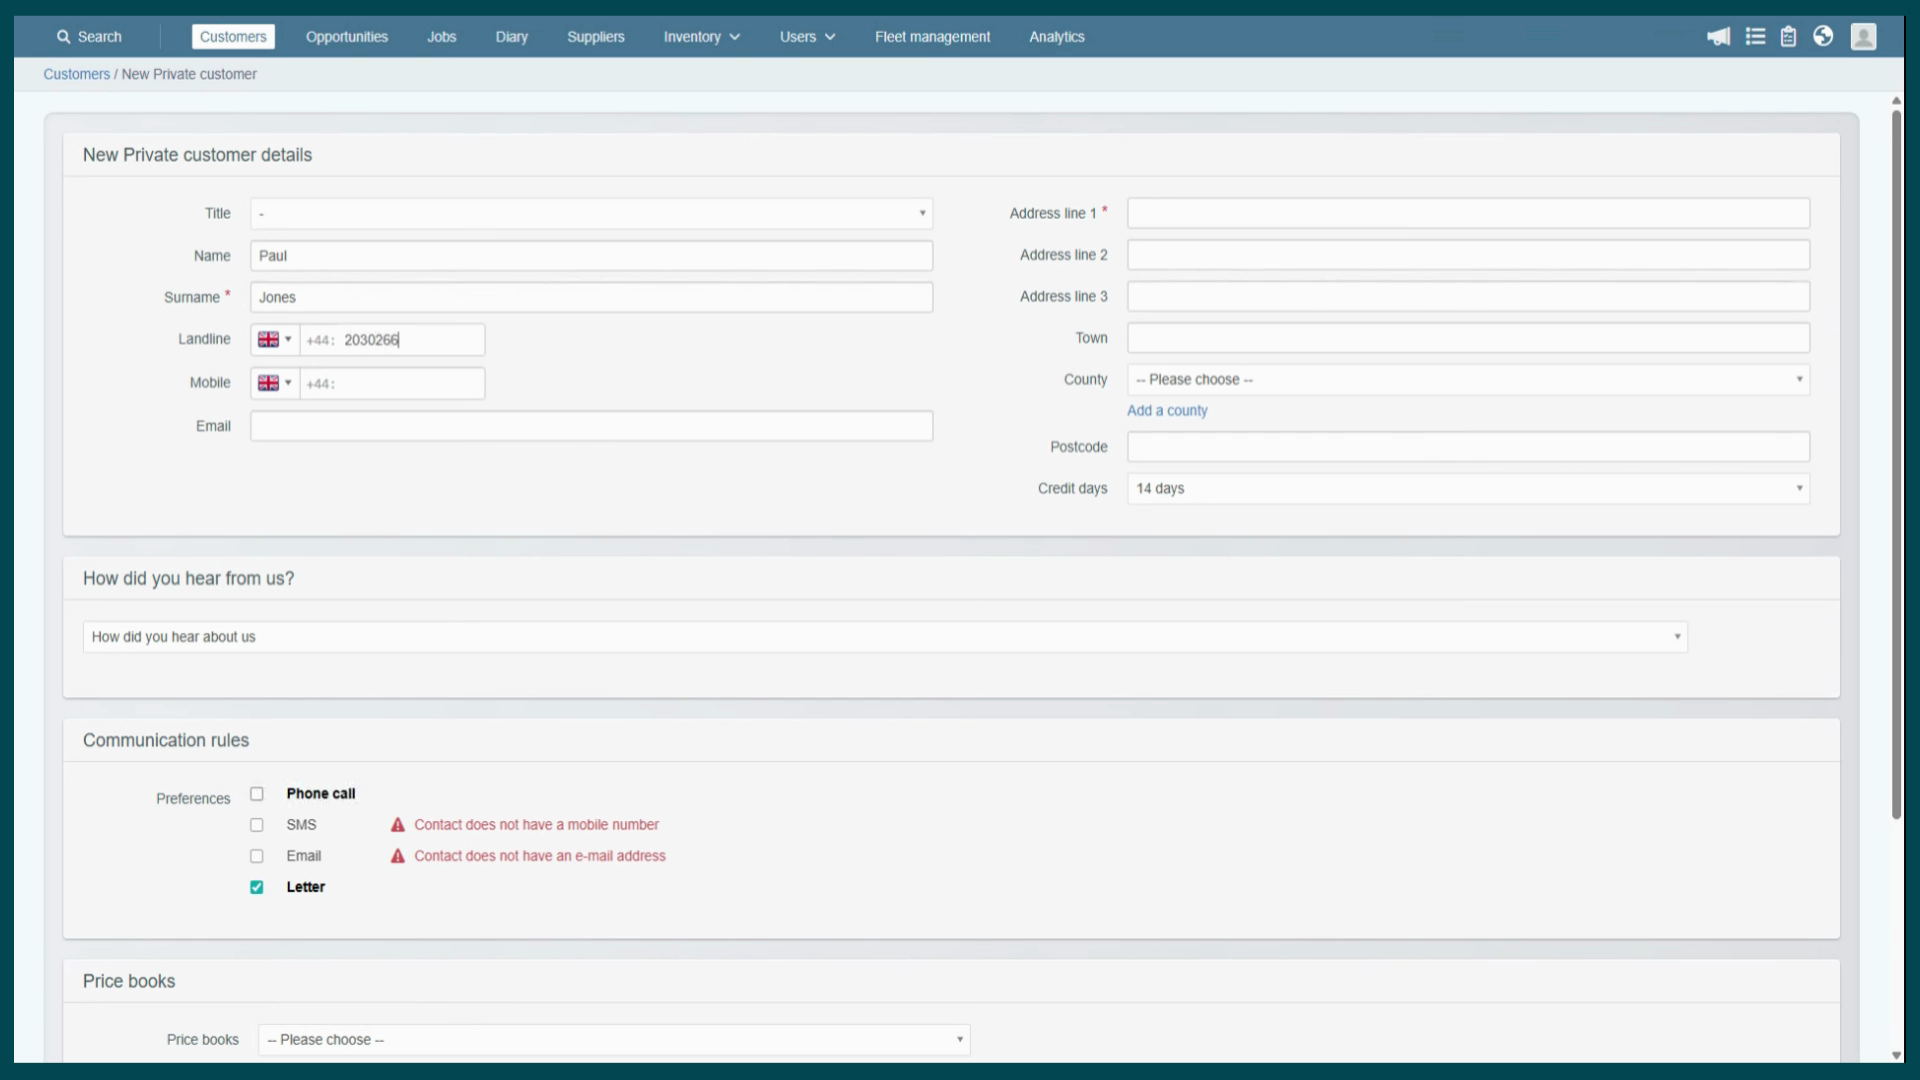
mobile field is vital because this is the specific engine that drives the SMS notifications in the system. If a mobile number is accidentally put in the
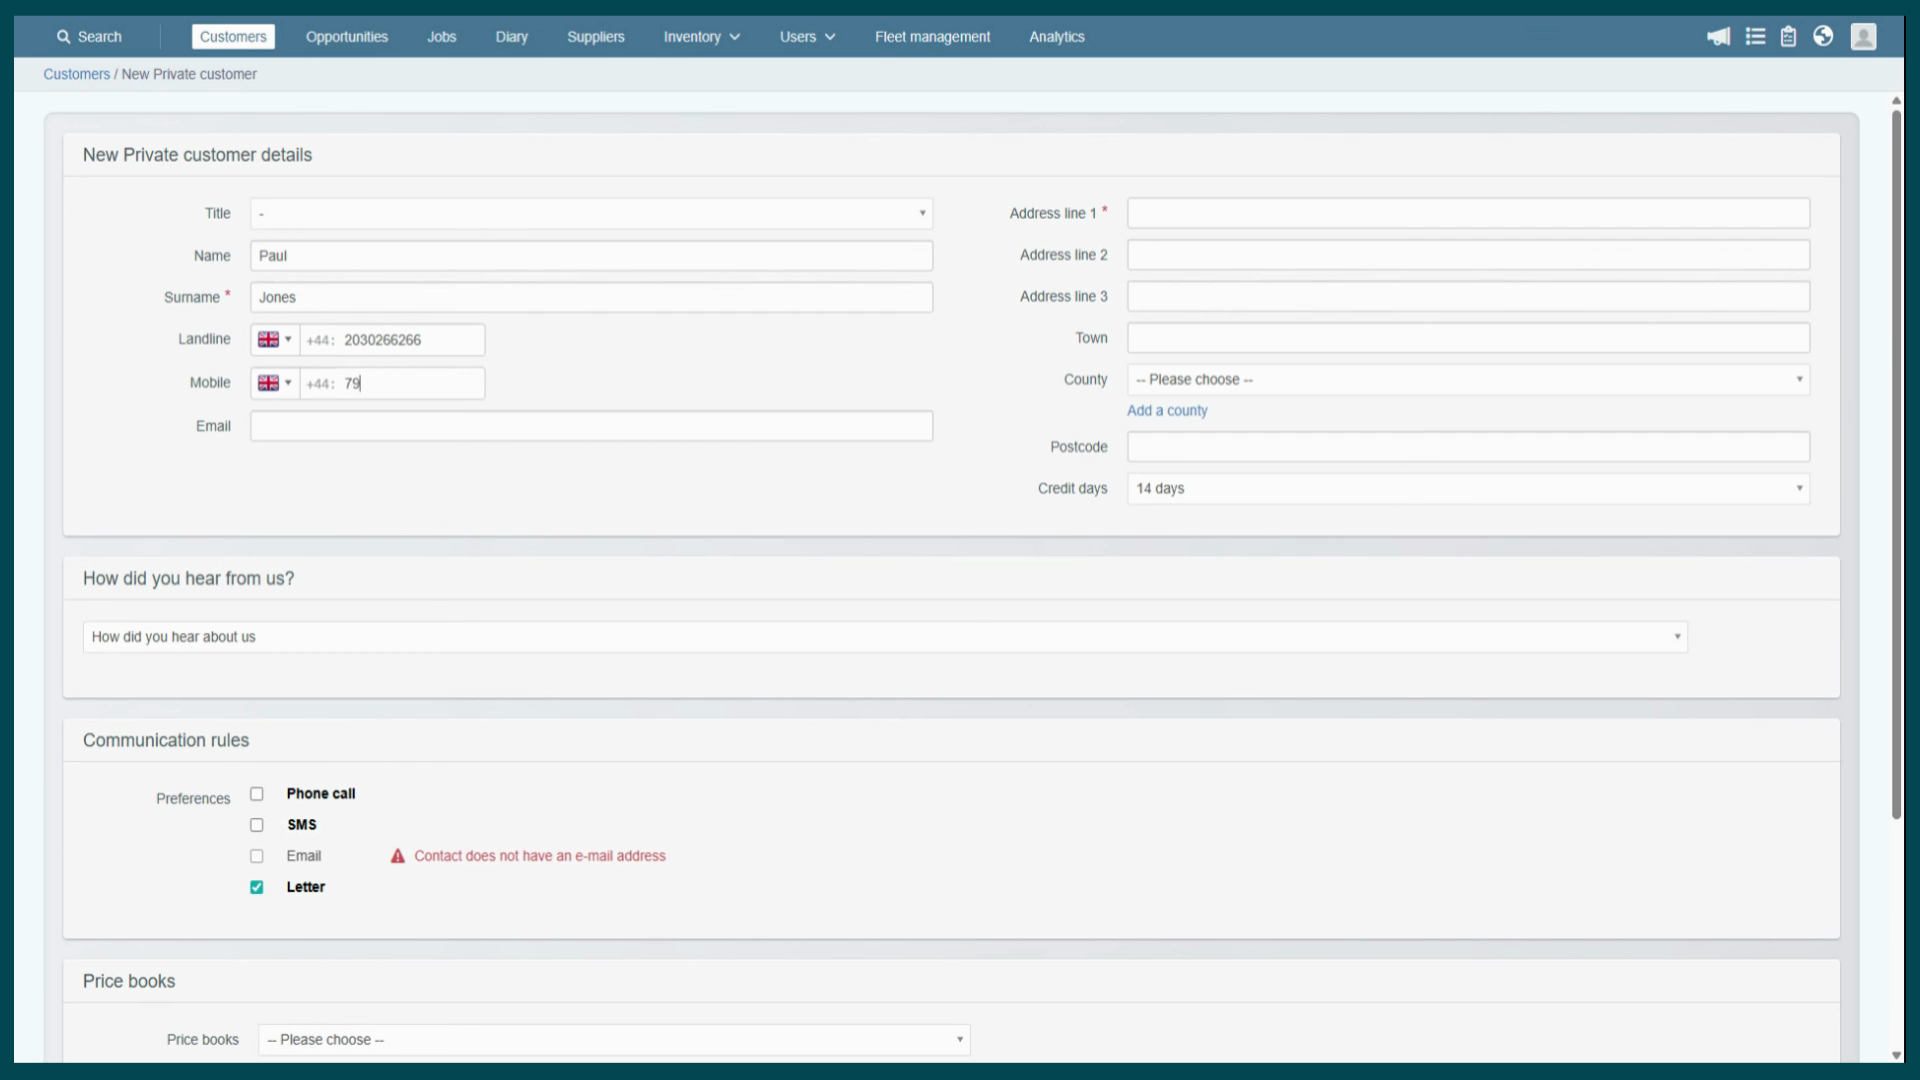
landline box, your automated texts will not be sent. Moving to the address section, you simply
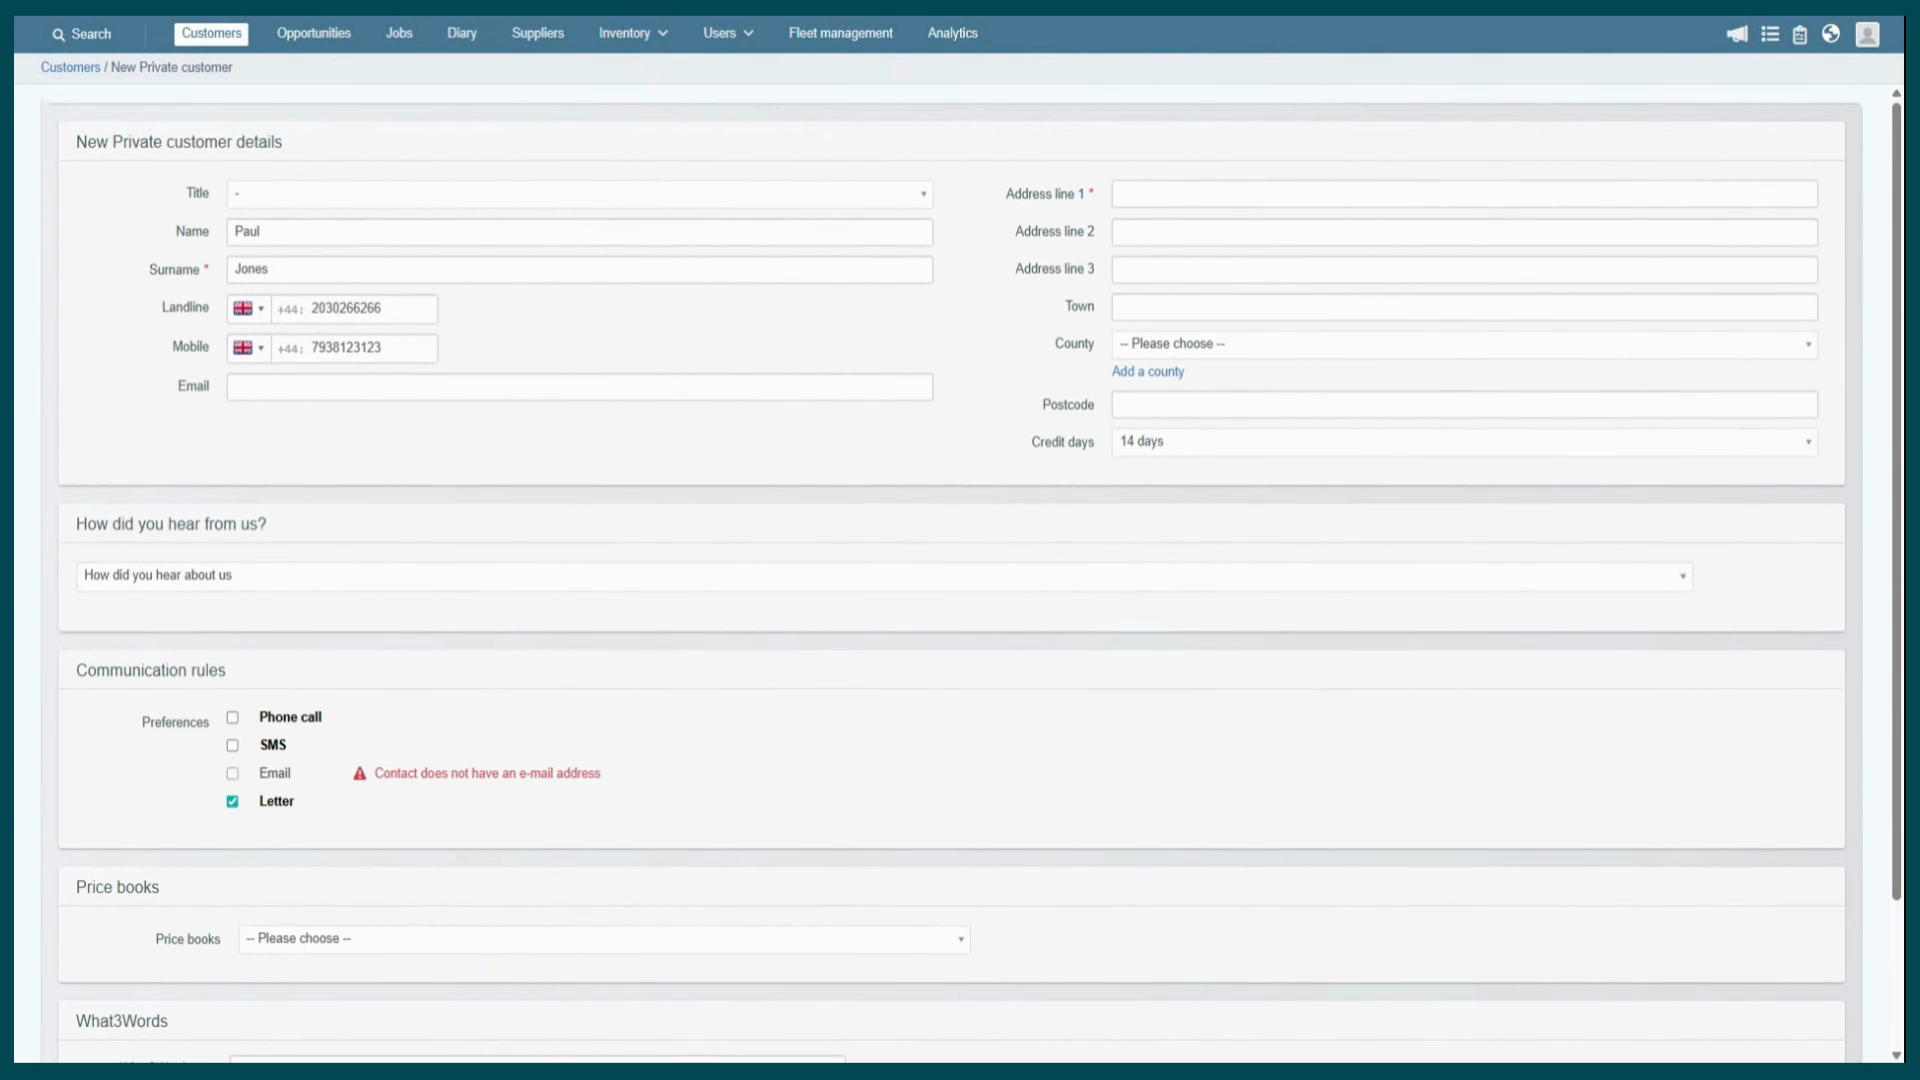
type the details into the address fields or you can use copy and paste if you have looked them up on Google for example. Ensuing you enter these details correctly is critical to avoid phone calls from lost technicians or tags being incorrectly populated when used. Let us look at the
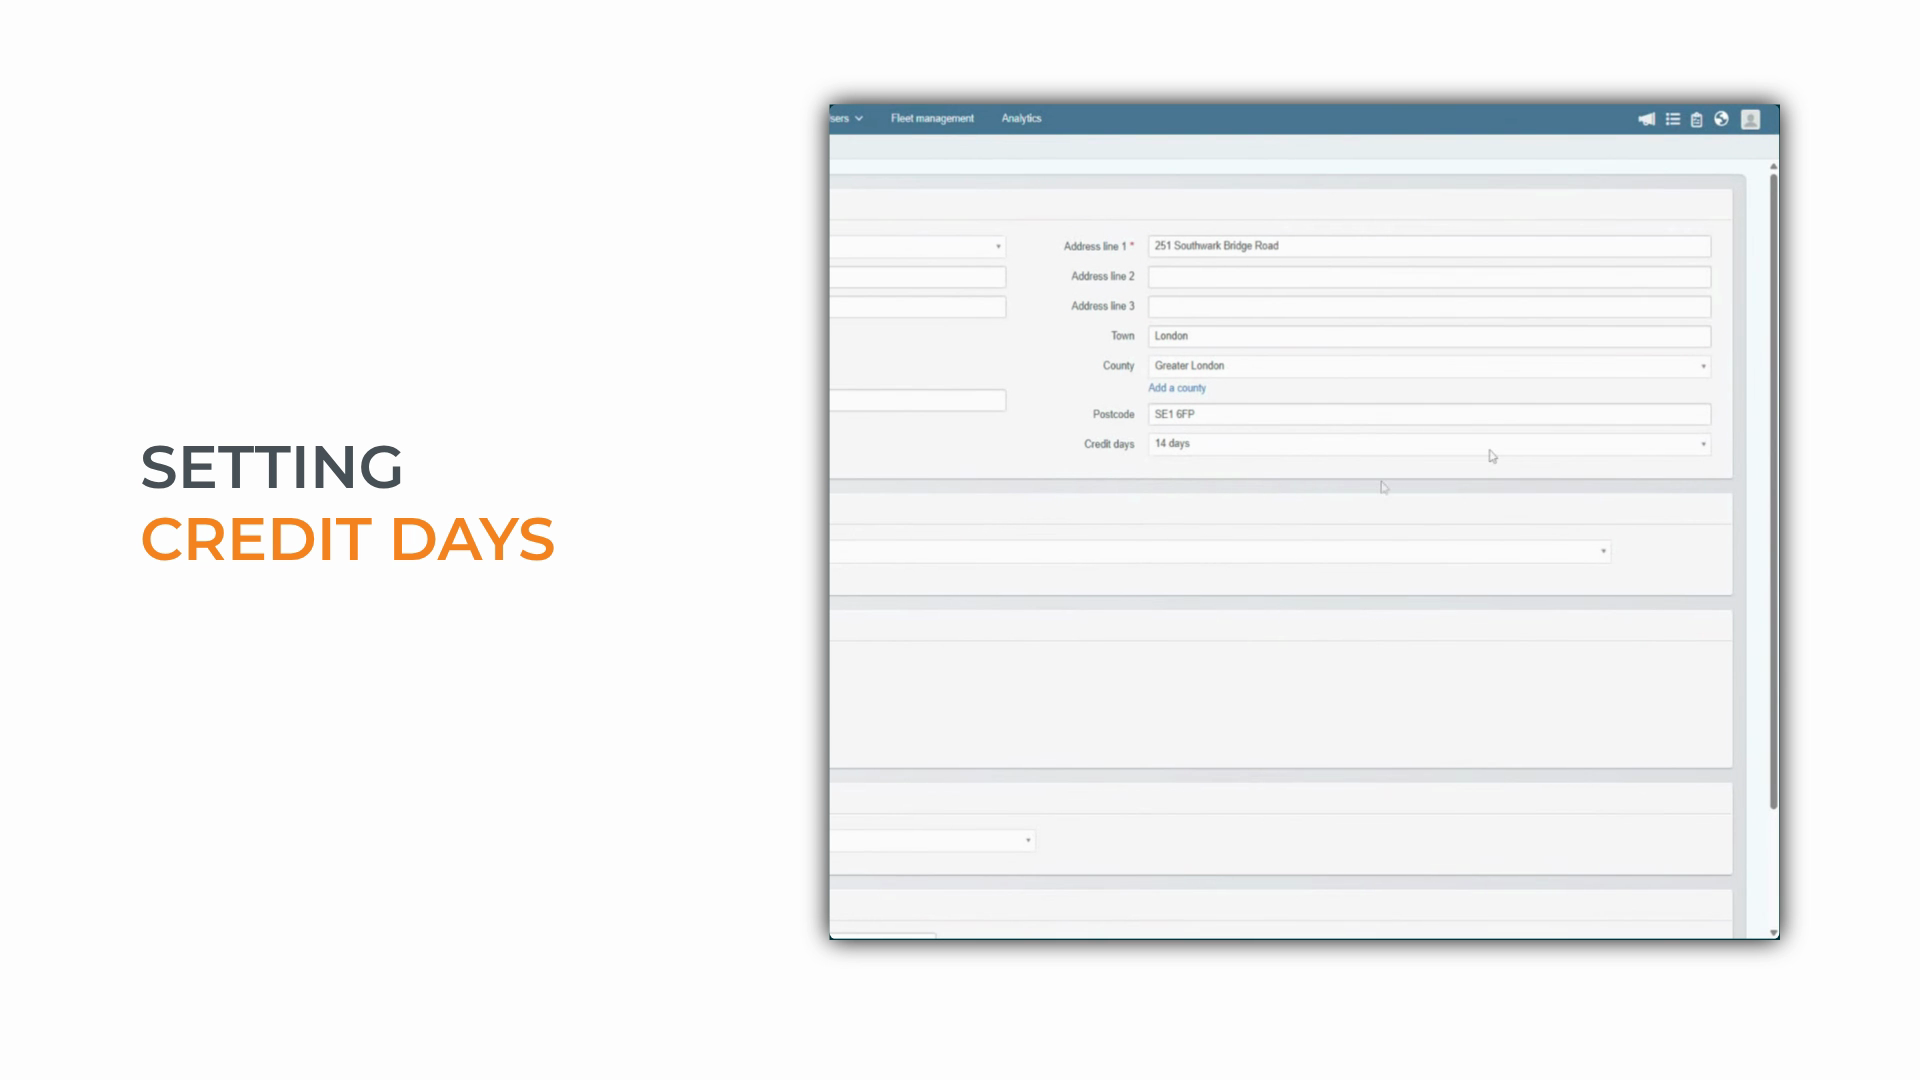
credit days dropdown. Whatever your system setting default is set to will populate automatically. If you need to
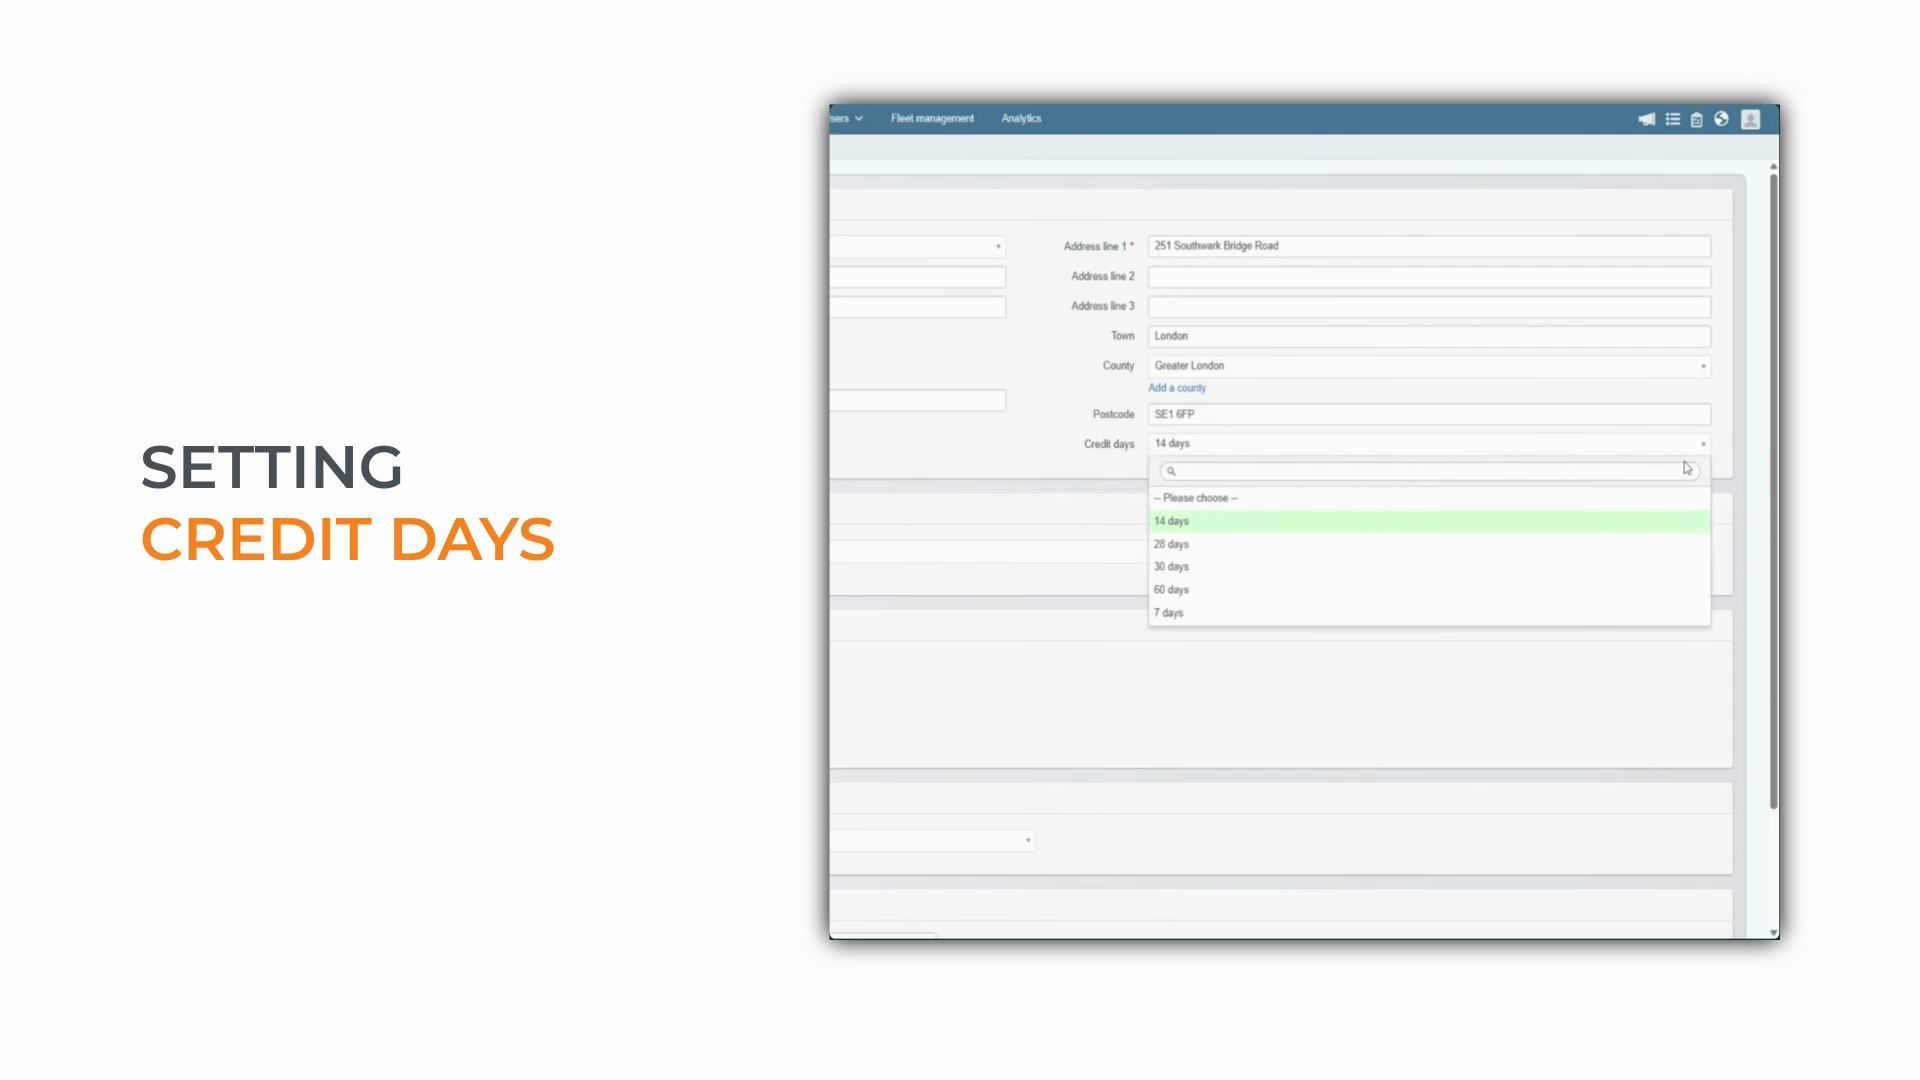
amend it for a specific customer, then simply update it. Setting this correctly now is a massive favor for your finance team. The system is now prepared to
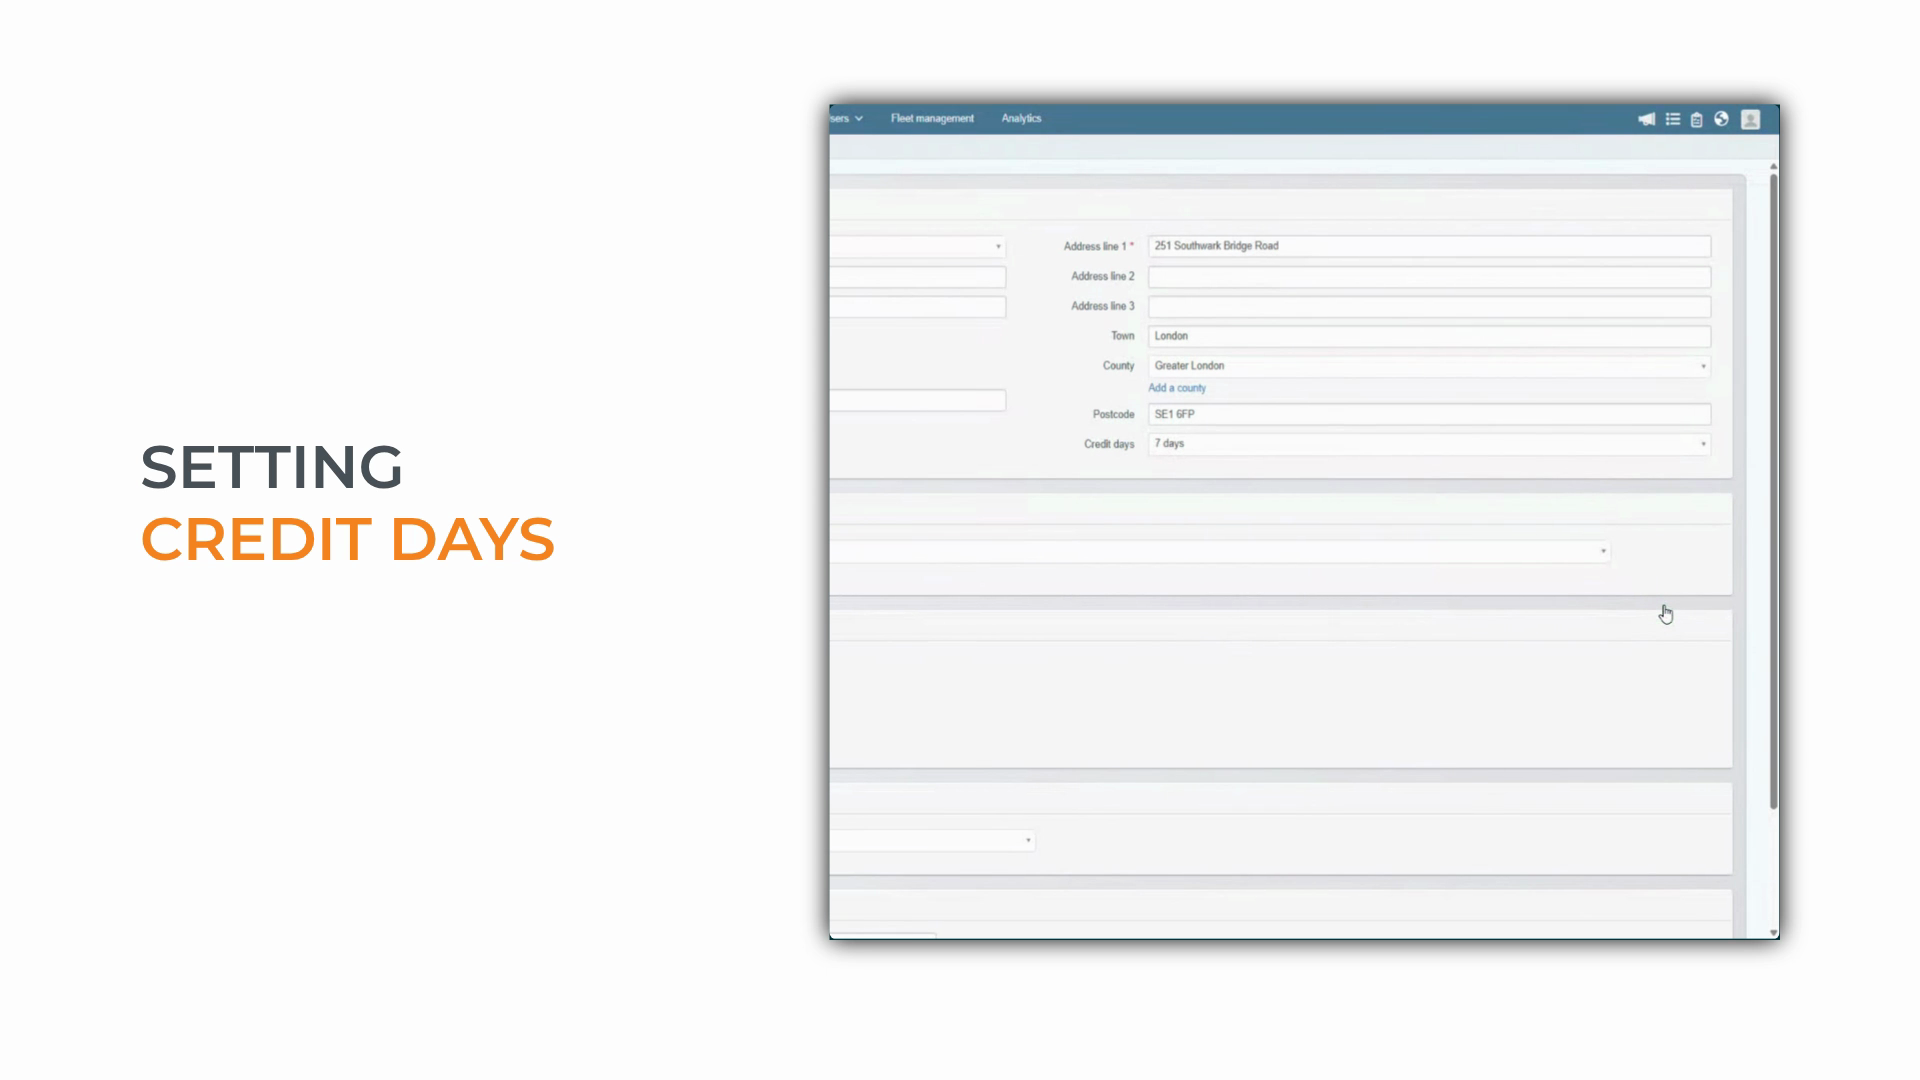
automatically calculate the payment due date on every future invoice for this customer. This is exactly how we ensure a healthy cash flow and stop payment dates from falling through the cracks. Next,
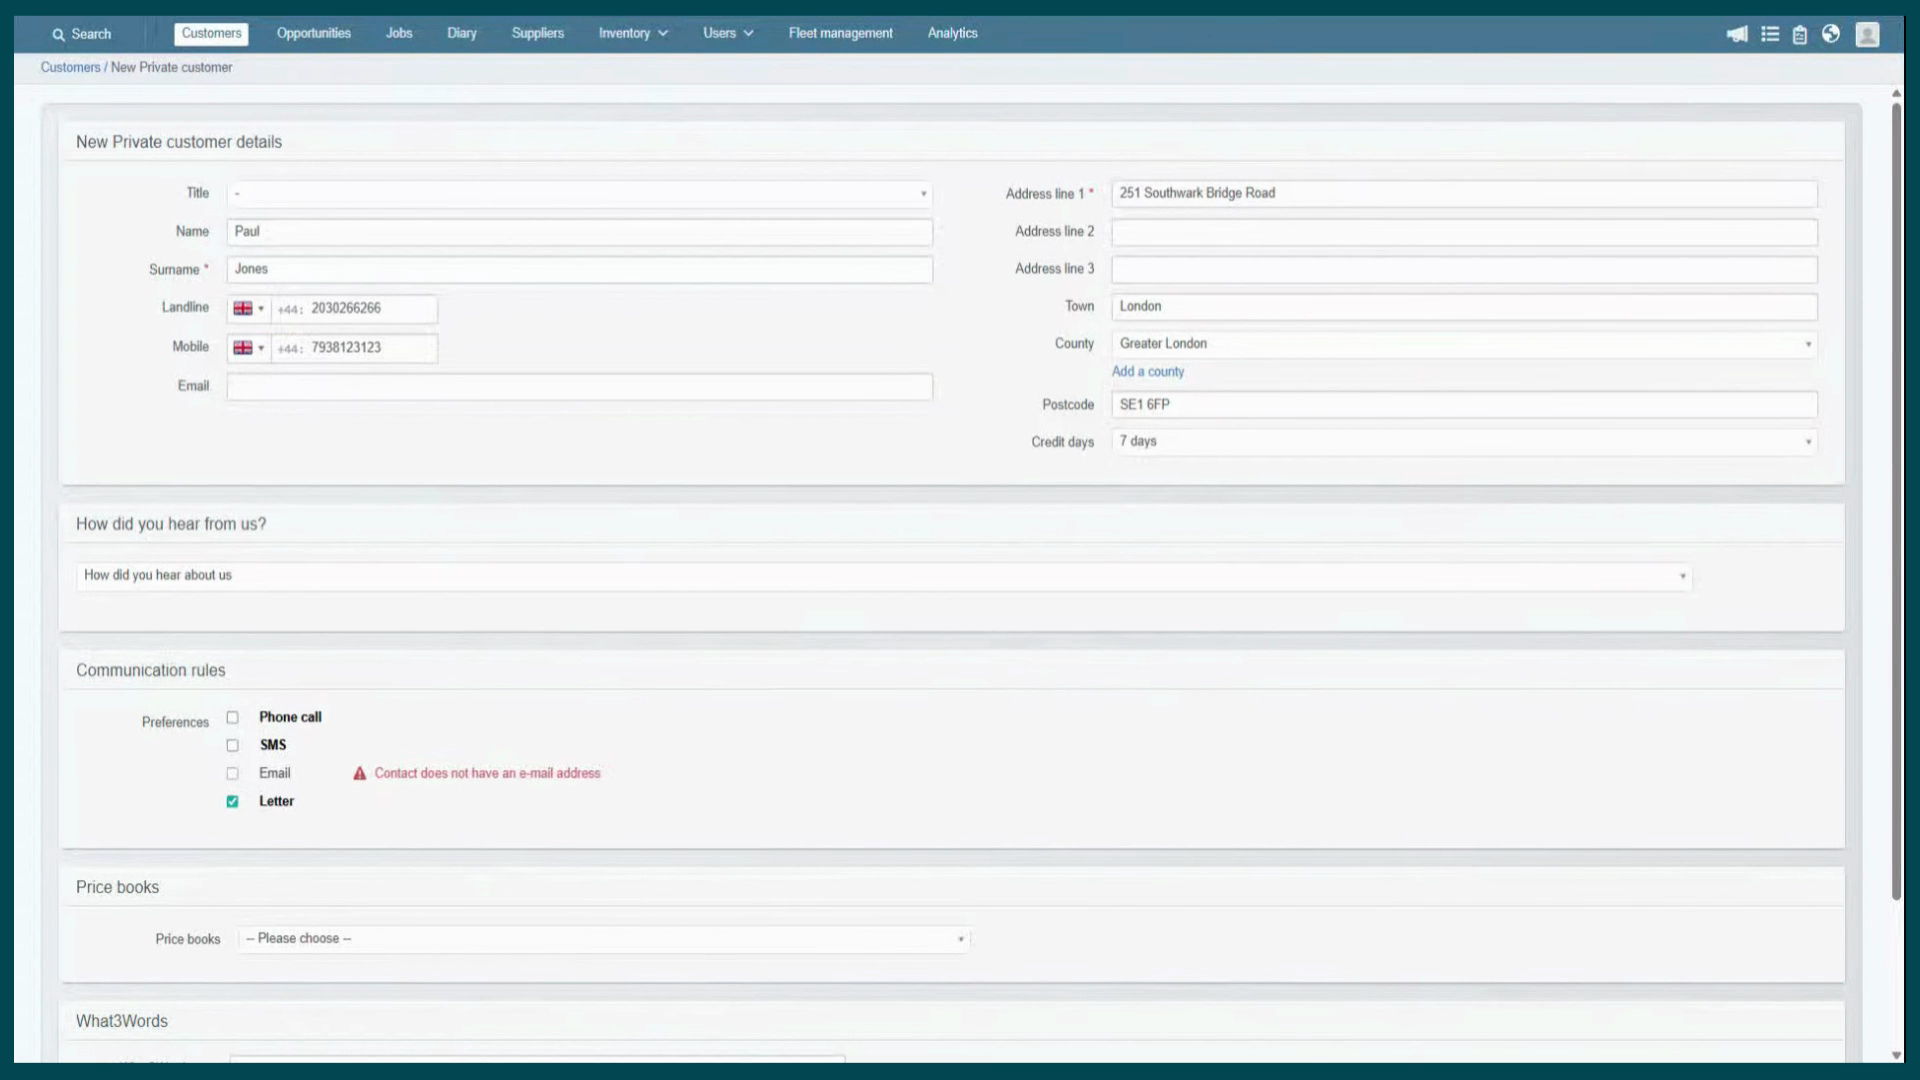
scroll down to the field labeled how did you hear from us? As we
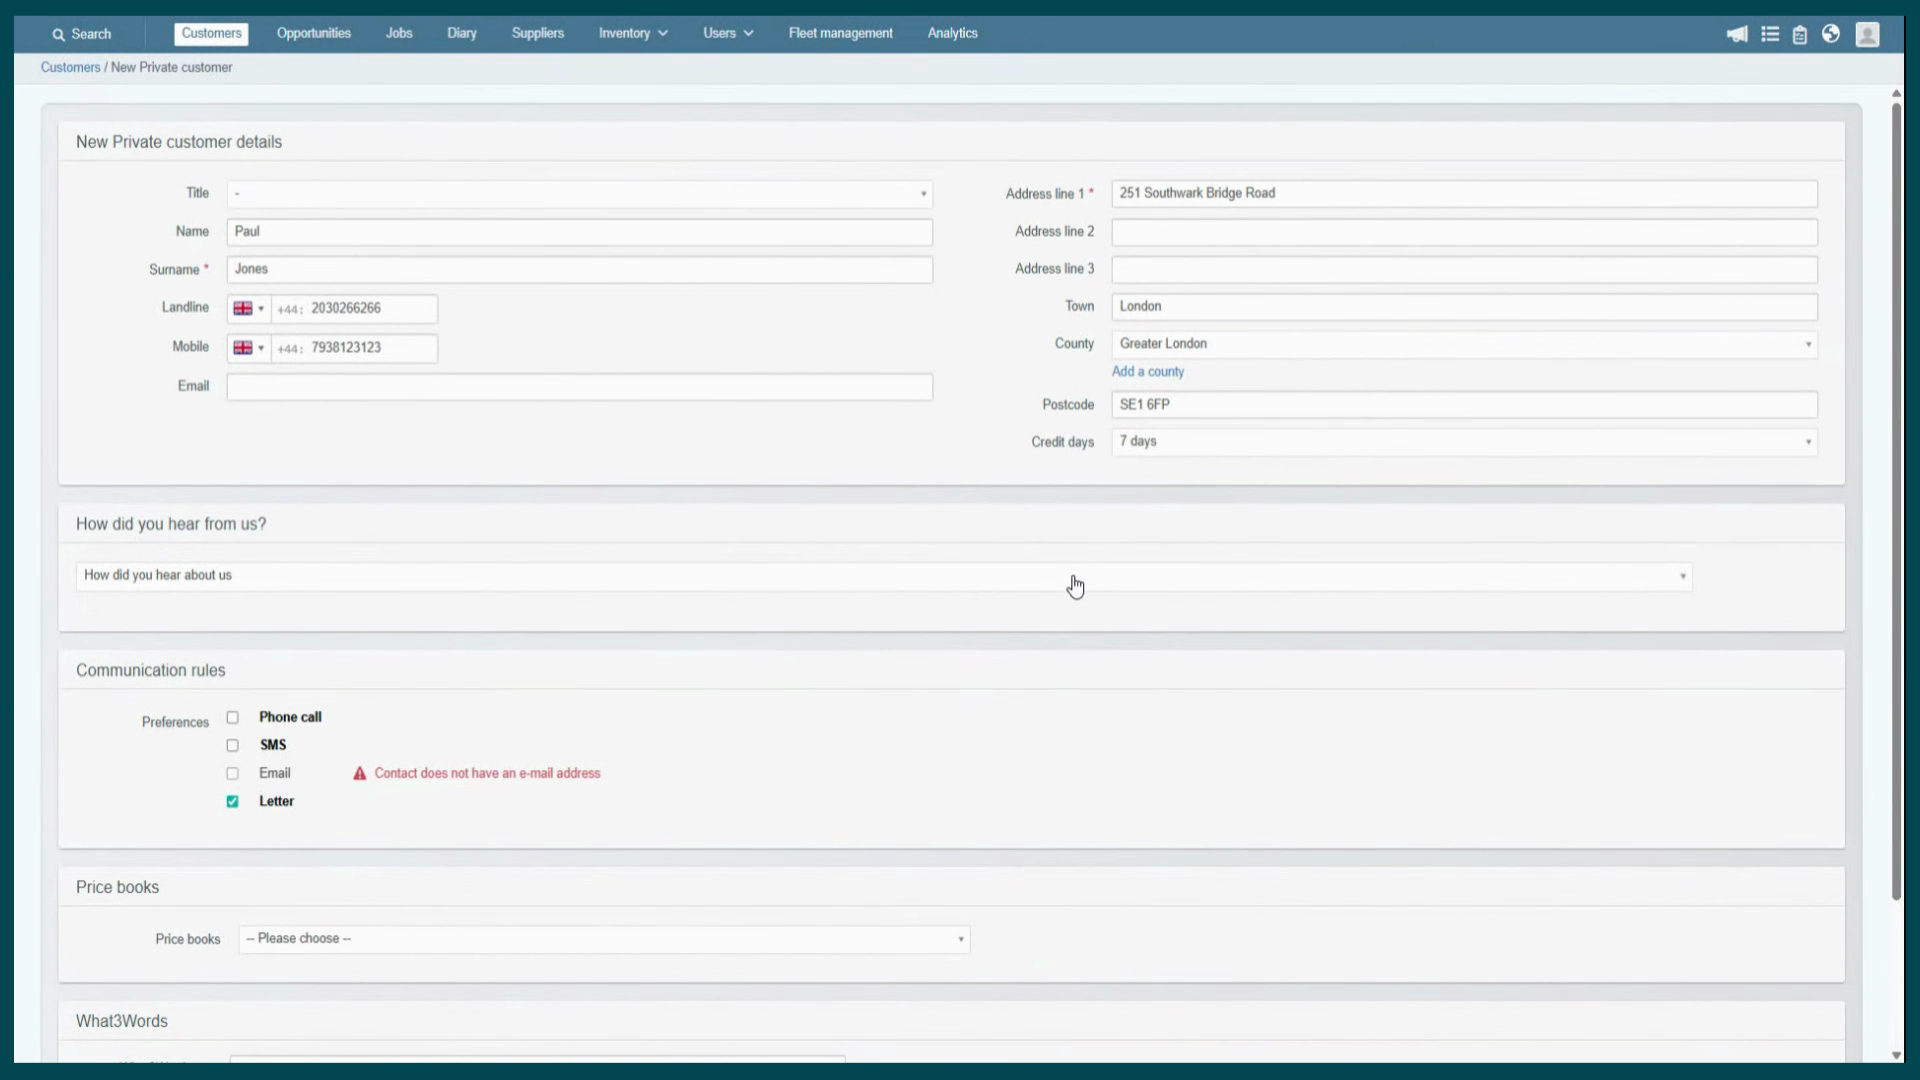
click this drop down, go ahead and select a lead source like Google or a customer referral.
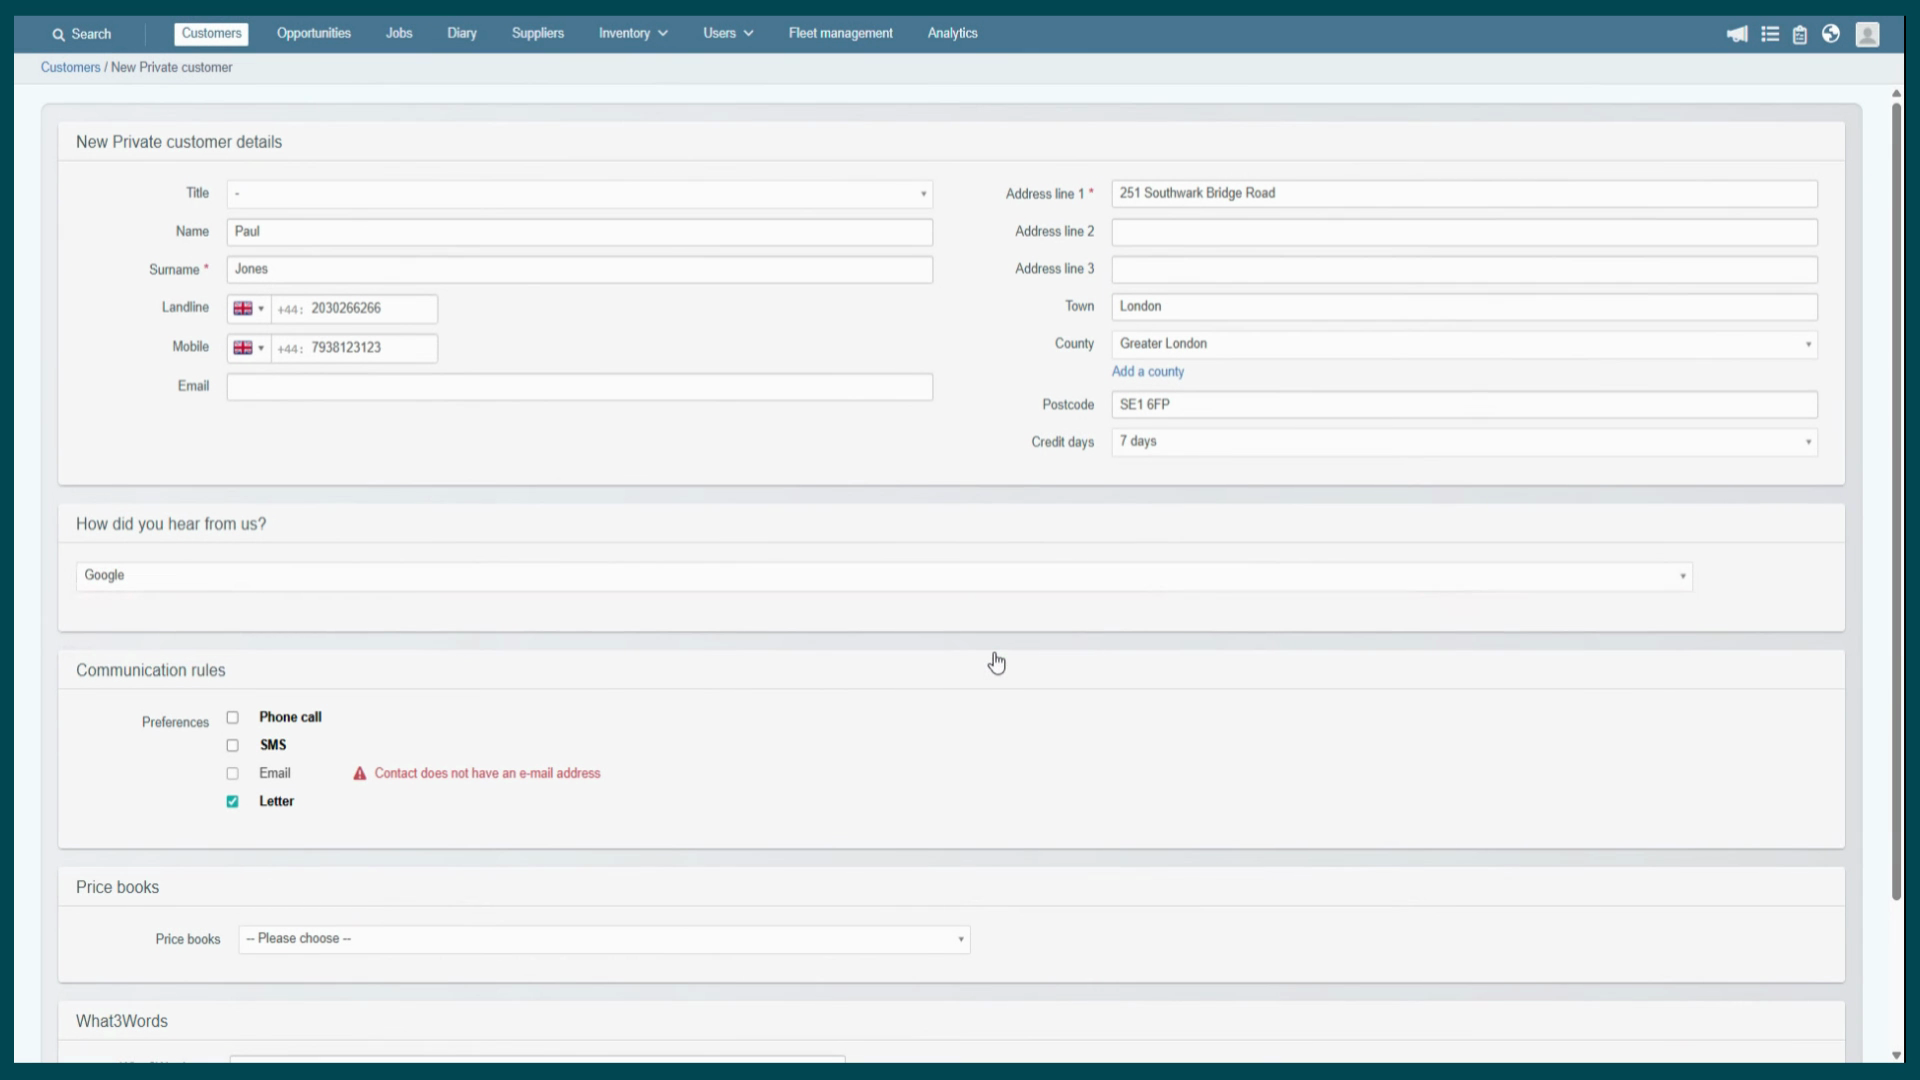
Entering this correctly is not just for management reports. It helps the company understand which advertising efforts are actually working. When the business spends money on the Right Ads. It keeps your diary full and the team busy. To finish off the customer record, let's look at the communication rules. These
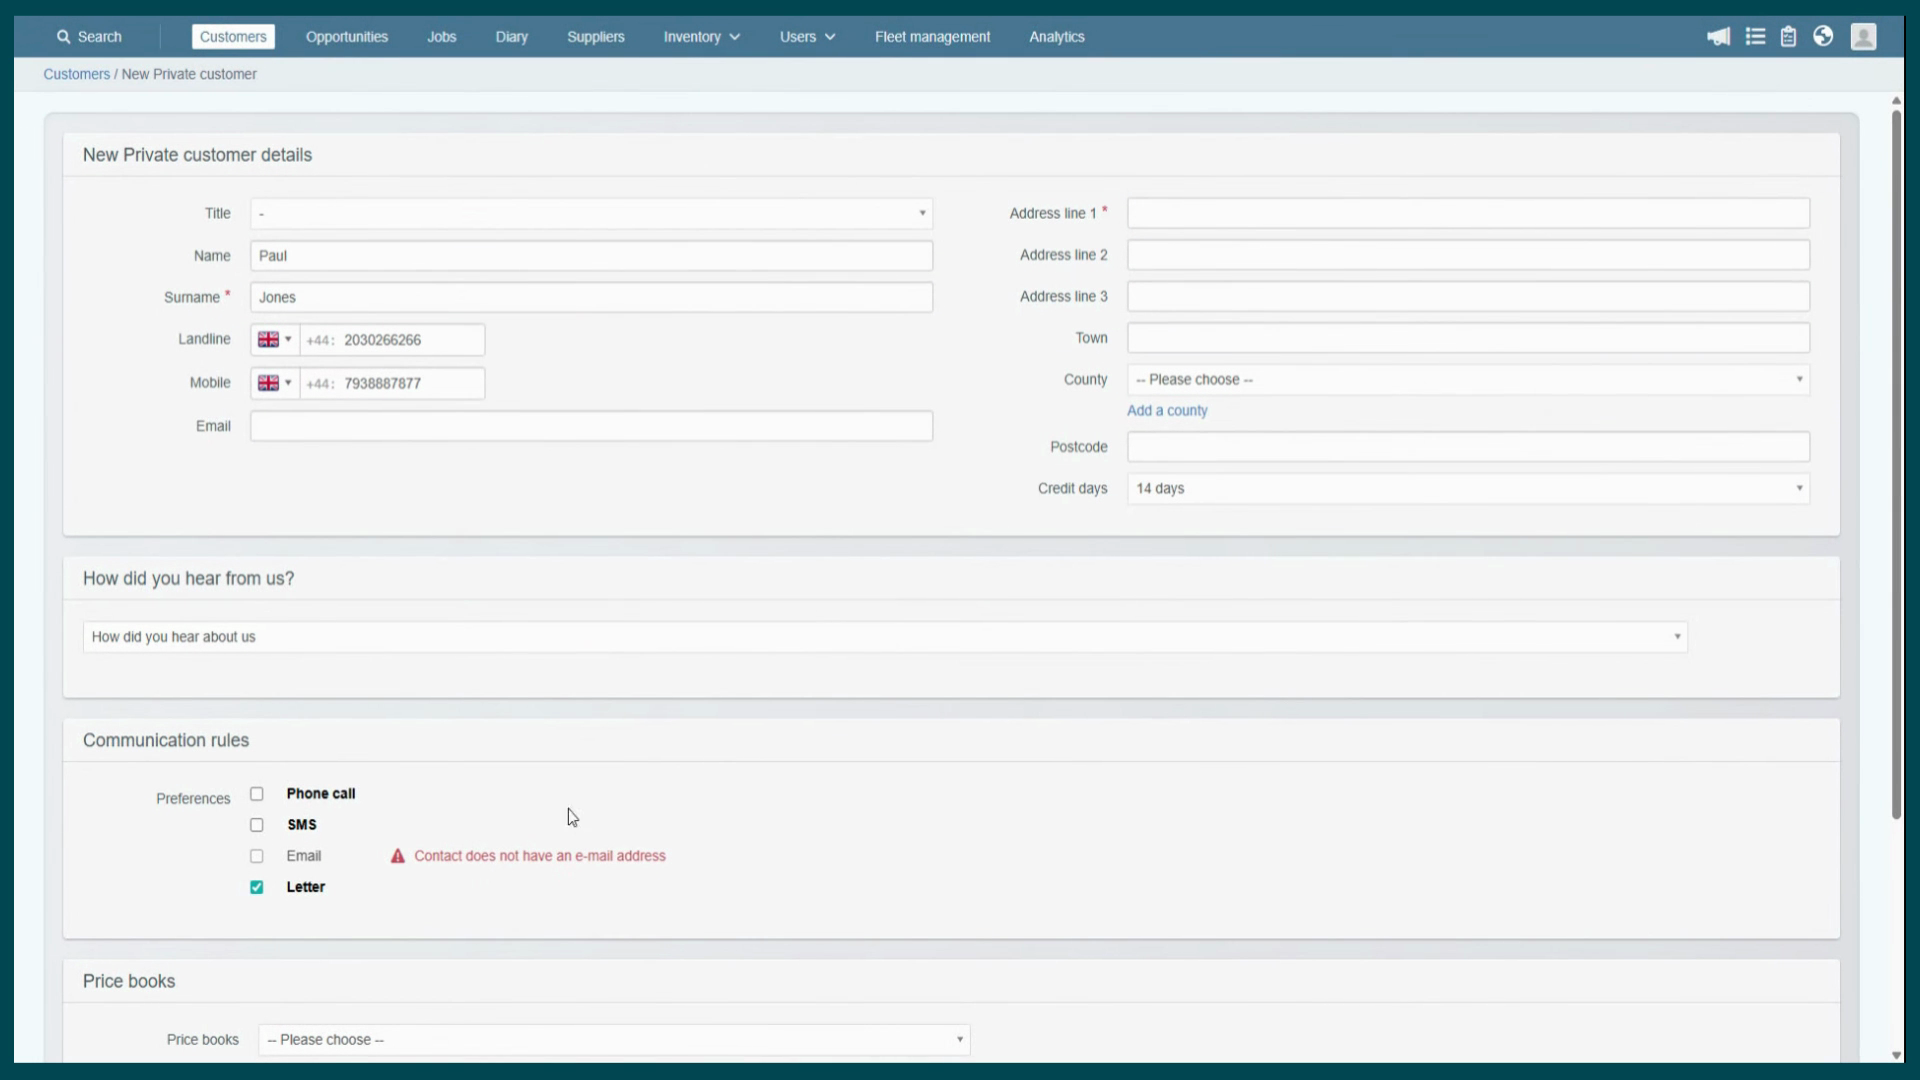
checkboxes are the triggers for your automation dictating how the system handles service renewals or appointment confirmations. If a customer prefers not to be reached a certain way, you can simply
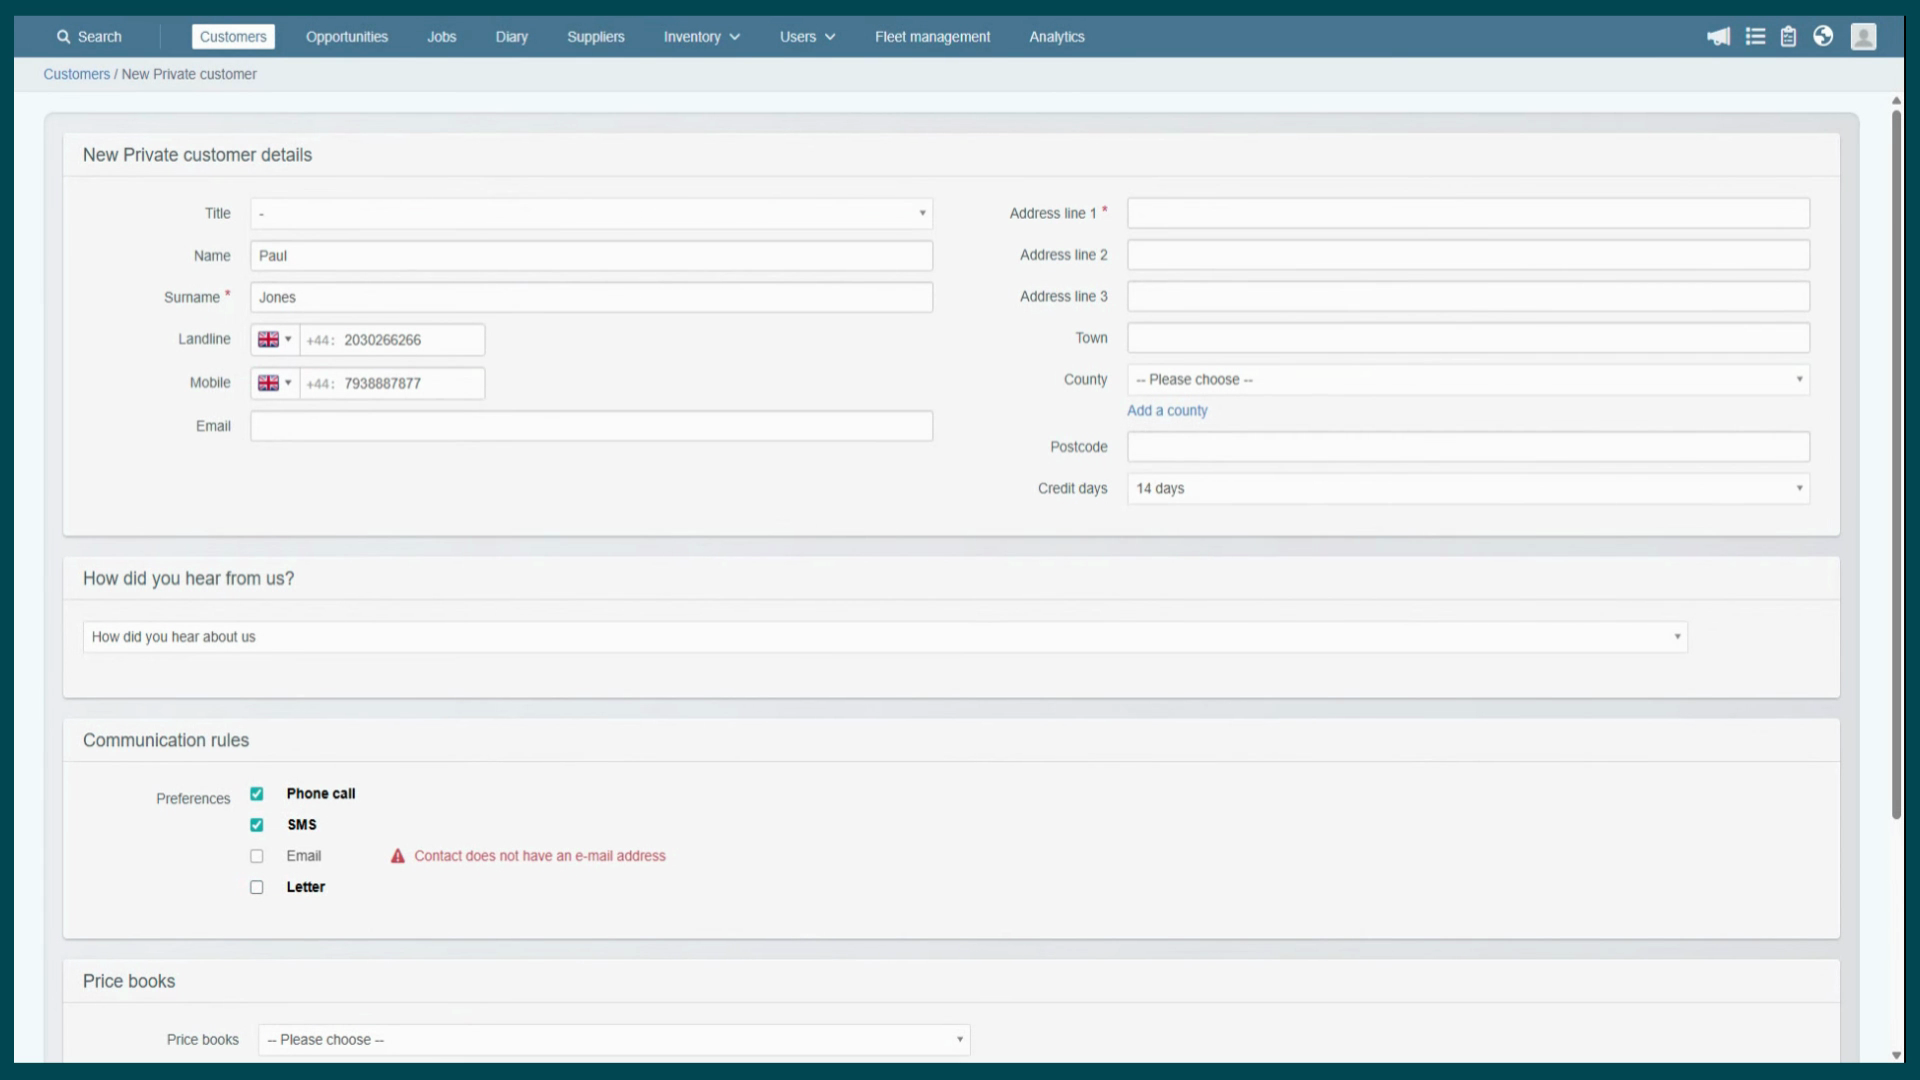
uncheck the box to disable that rule. I'm setting phone call and
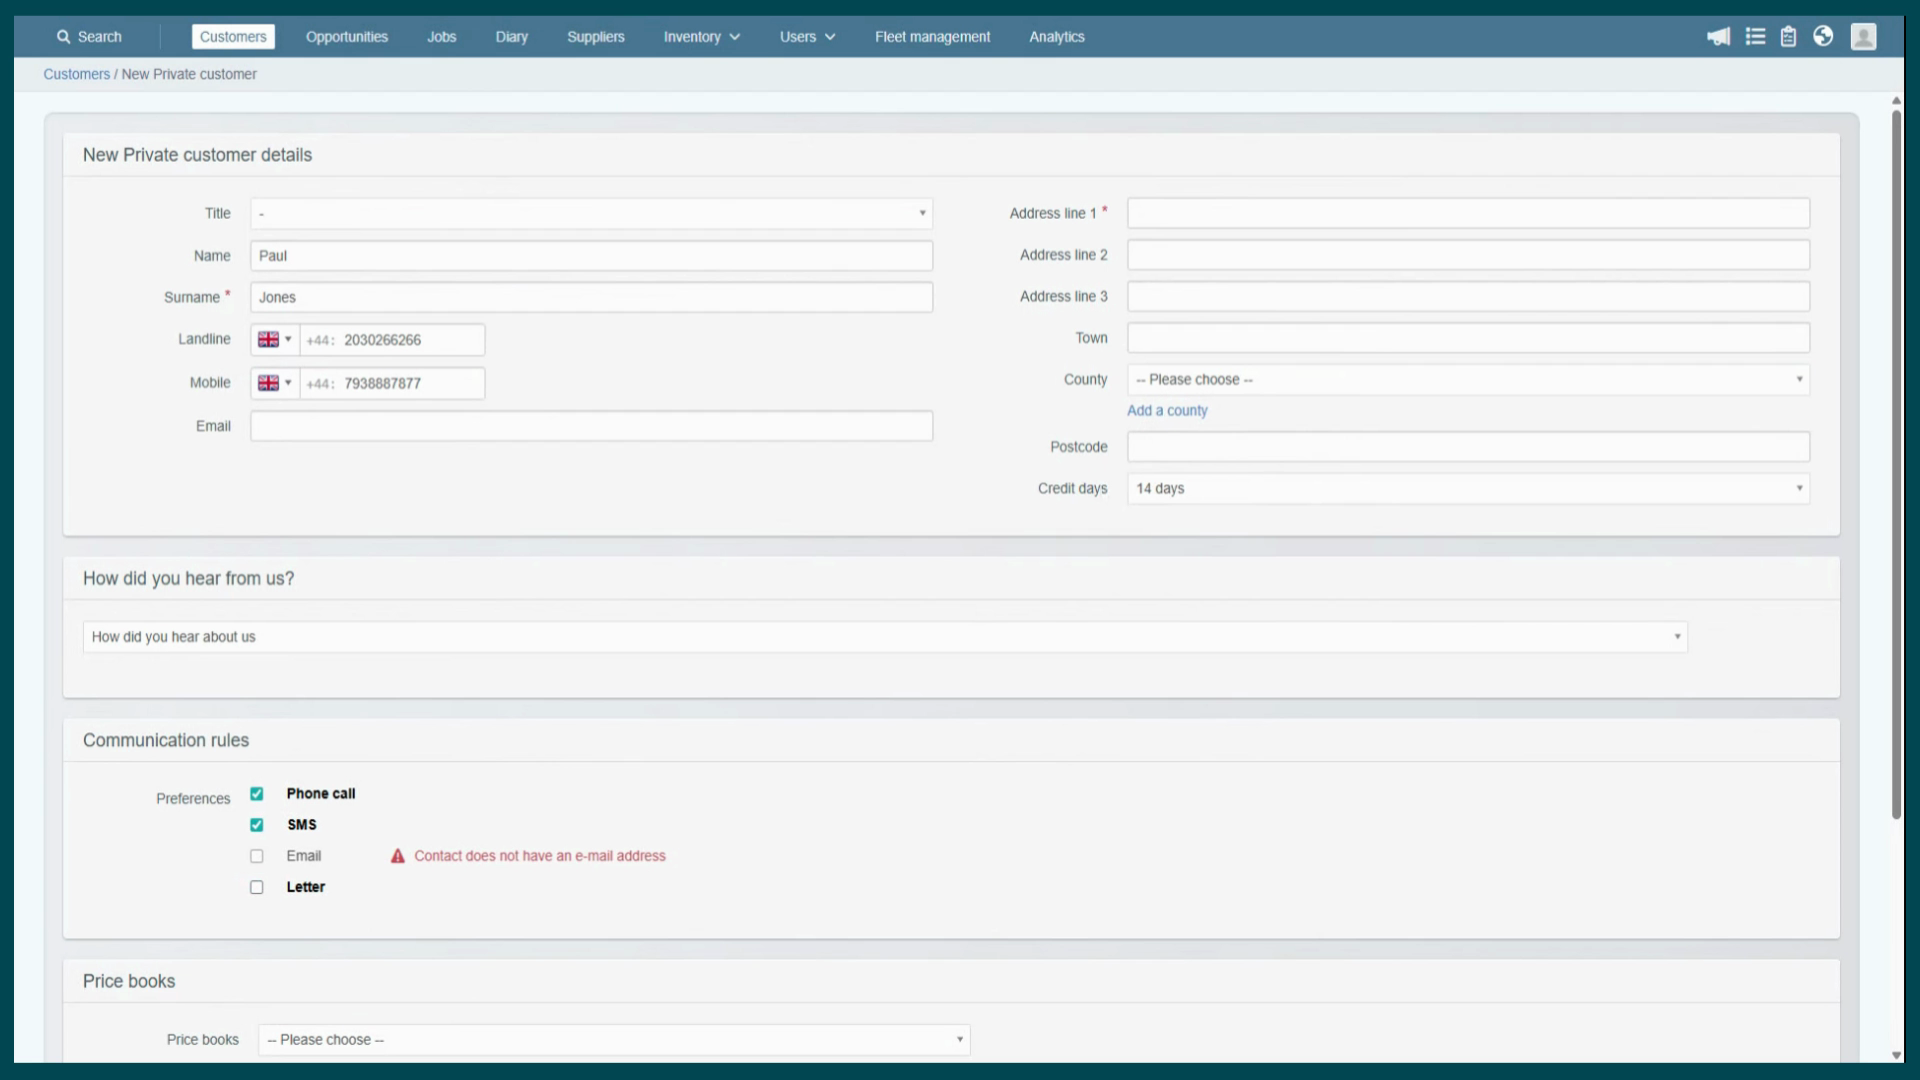
SMS for now. Next to the communication preference, you might see a red warning icon. It is because you have not provided the details. For example, we didn't enter an
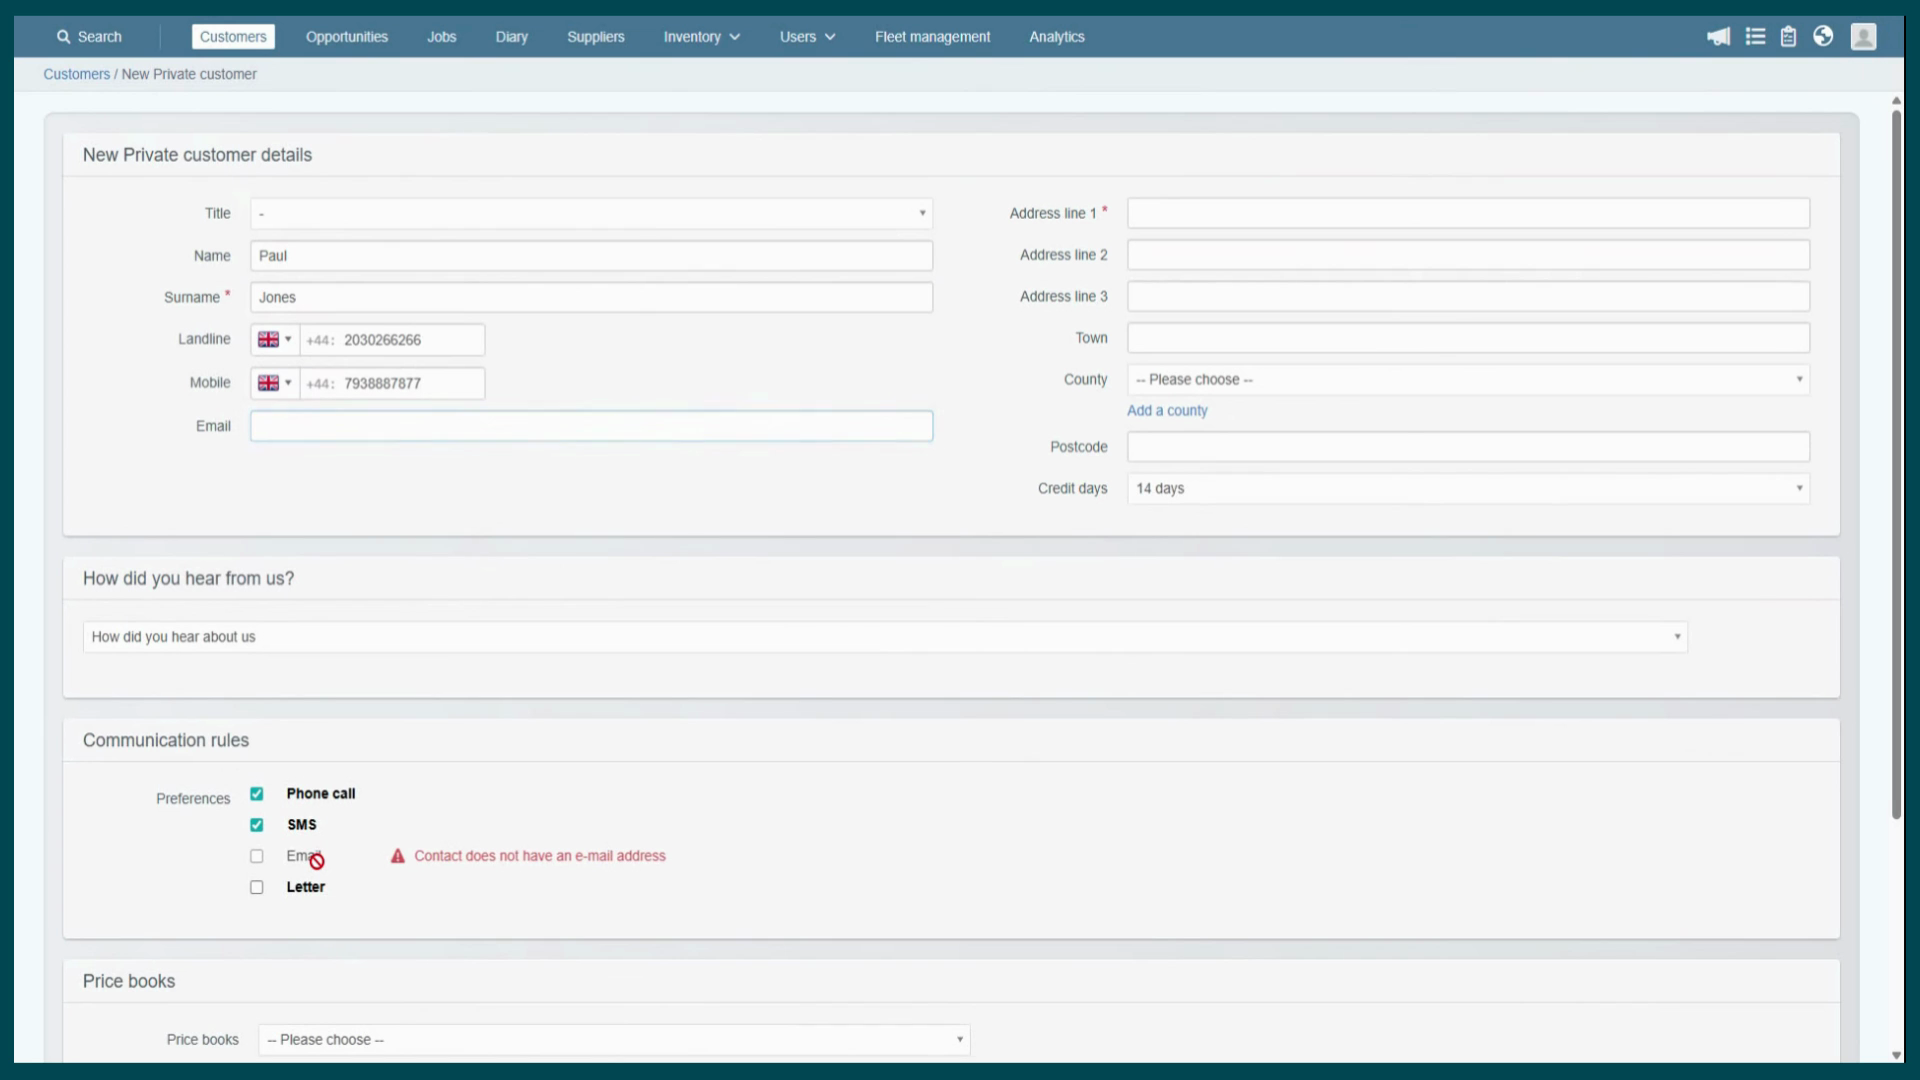
email address on the customer record yet, so the communication rule cannot be enabled. This is the system acting as your safety net. As we enter an
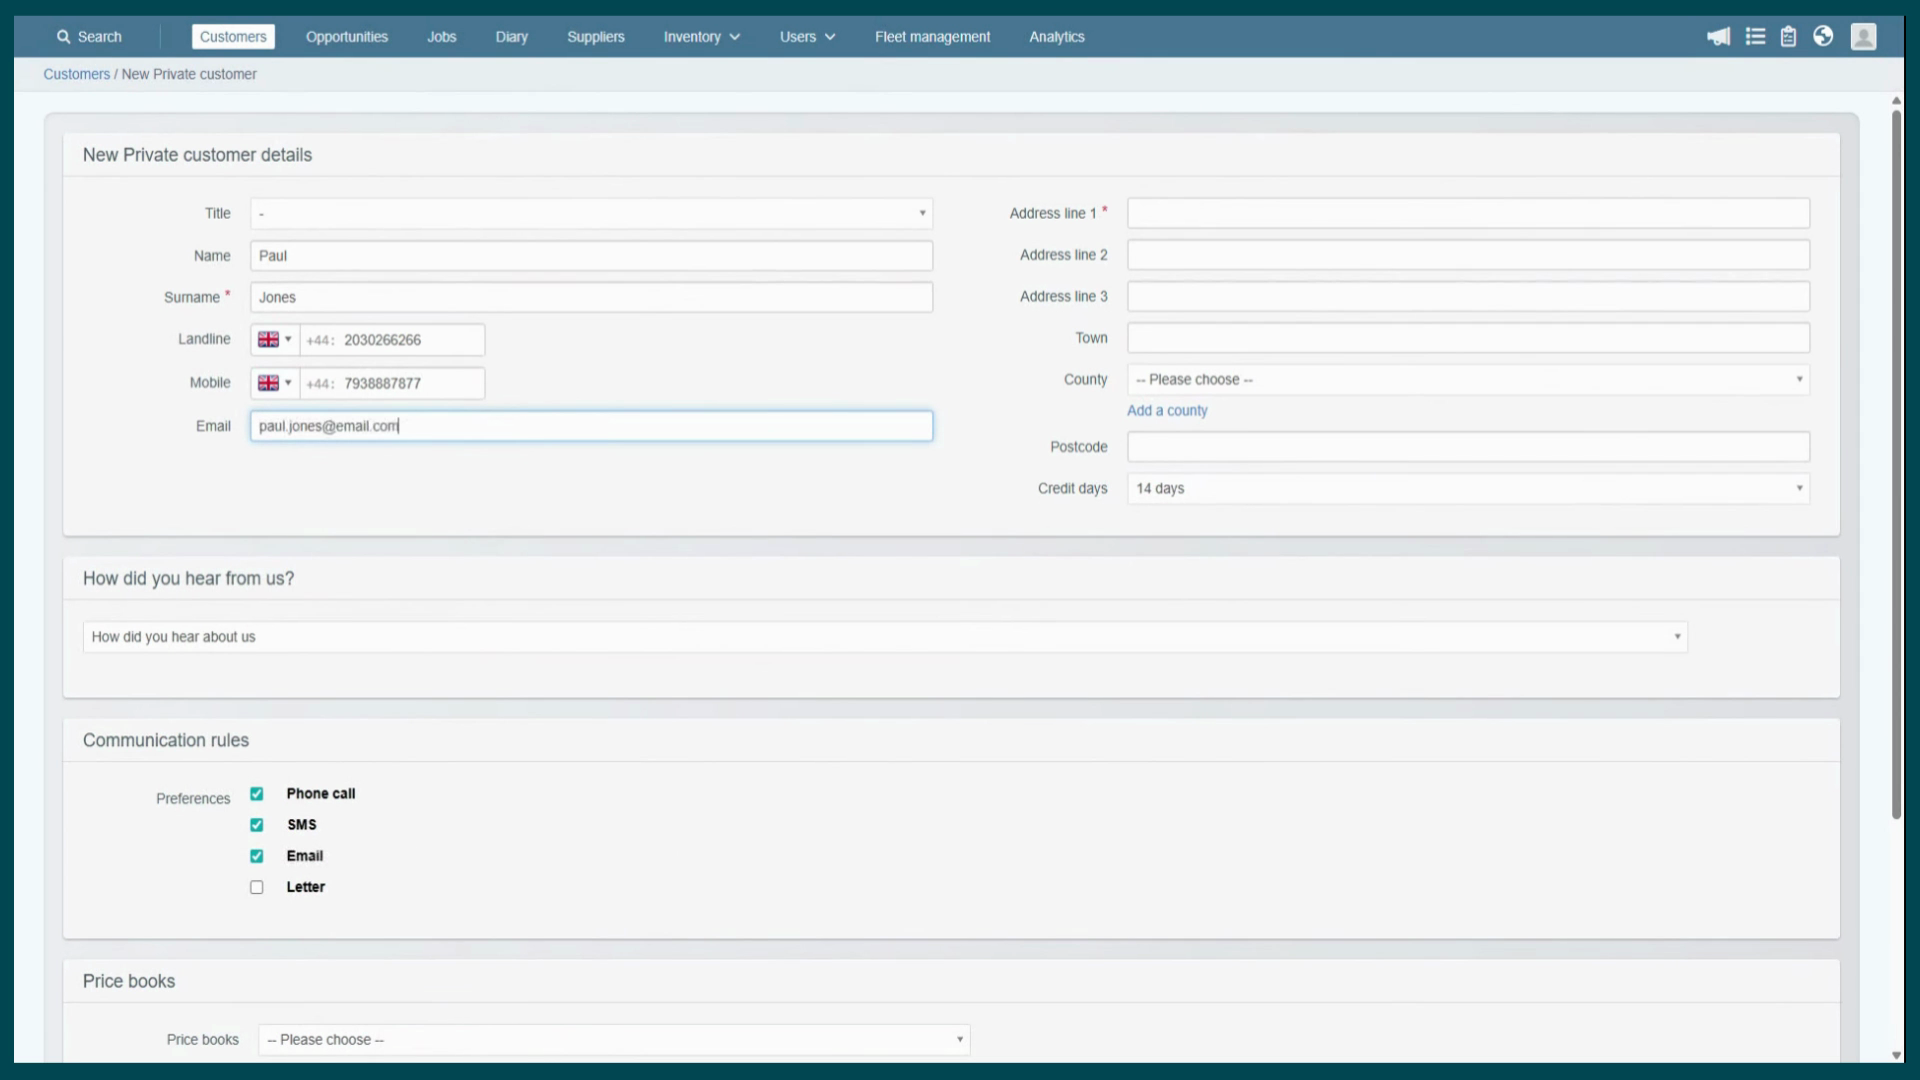
email address, notice how providing that data
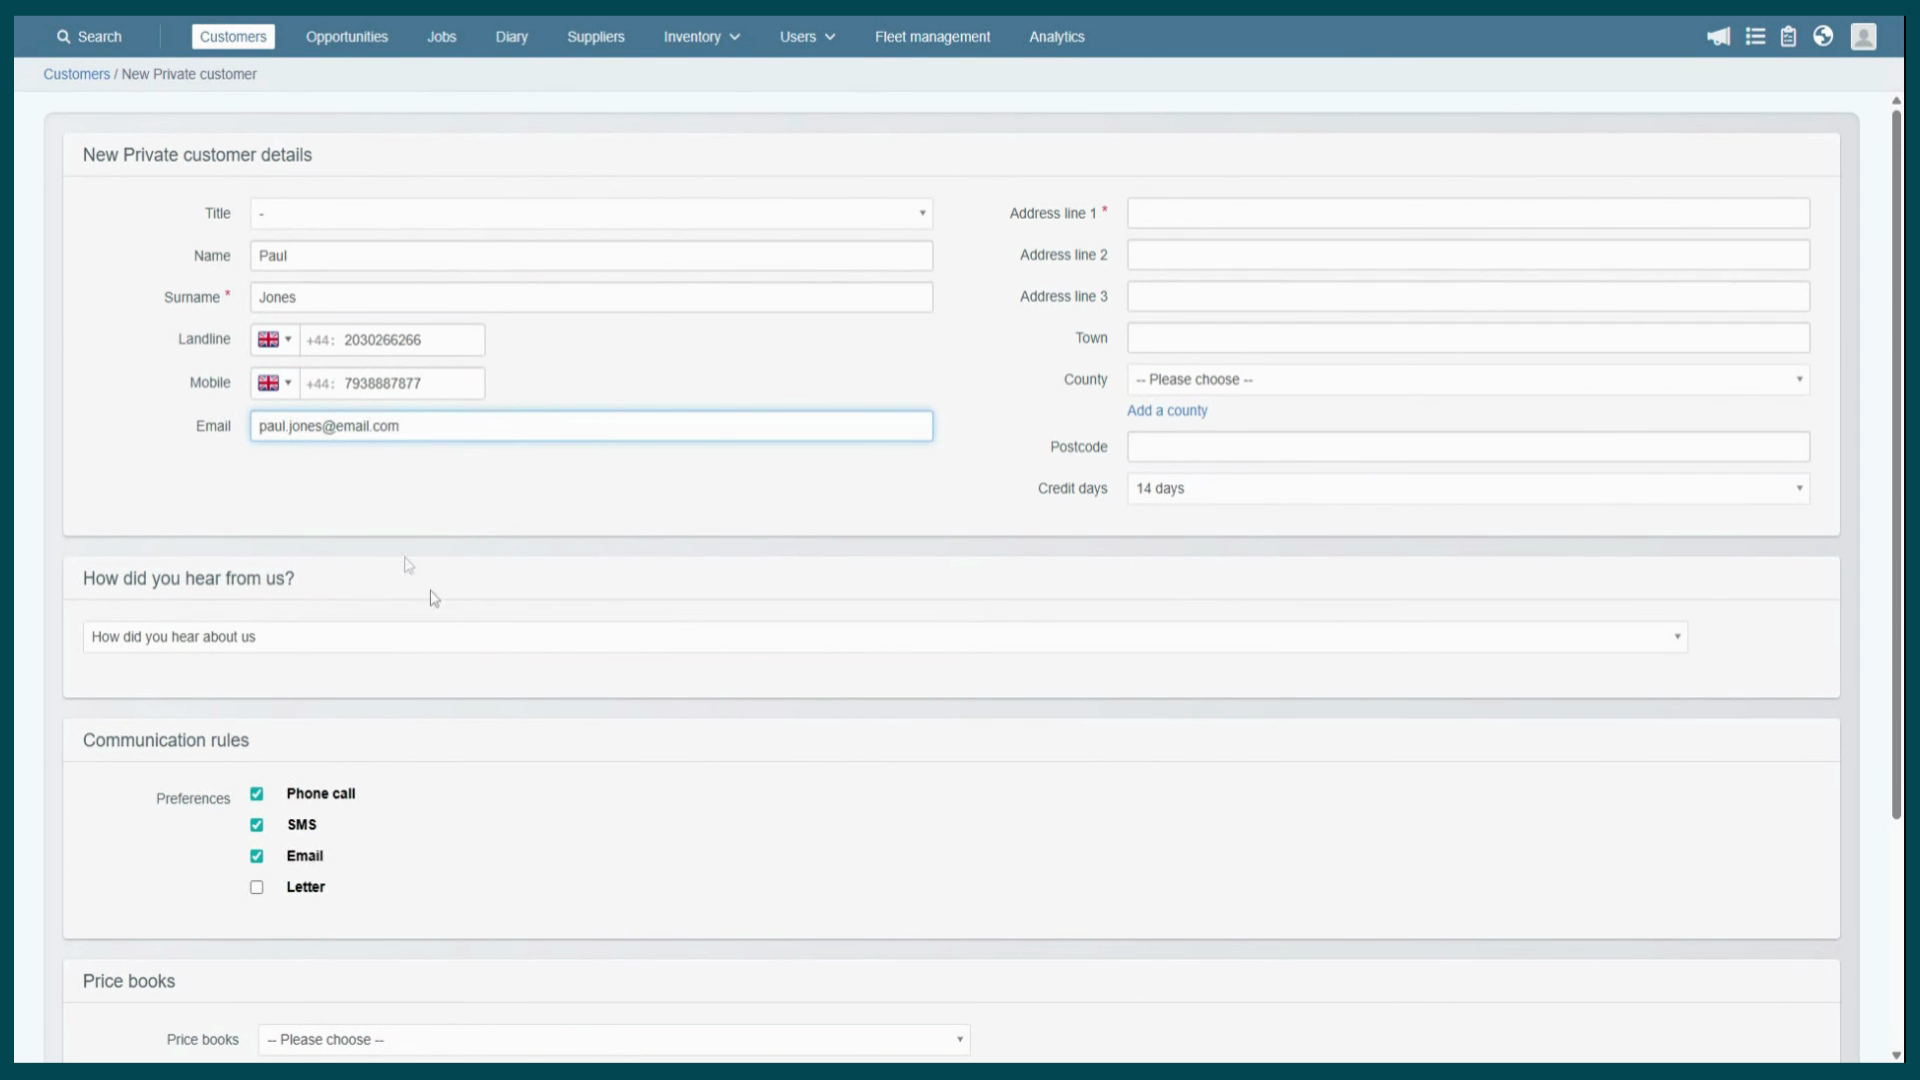
clears the warning instantly. This prevents us from promising an automated reminder that the system cannot actually send. Now we are ready to
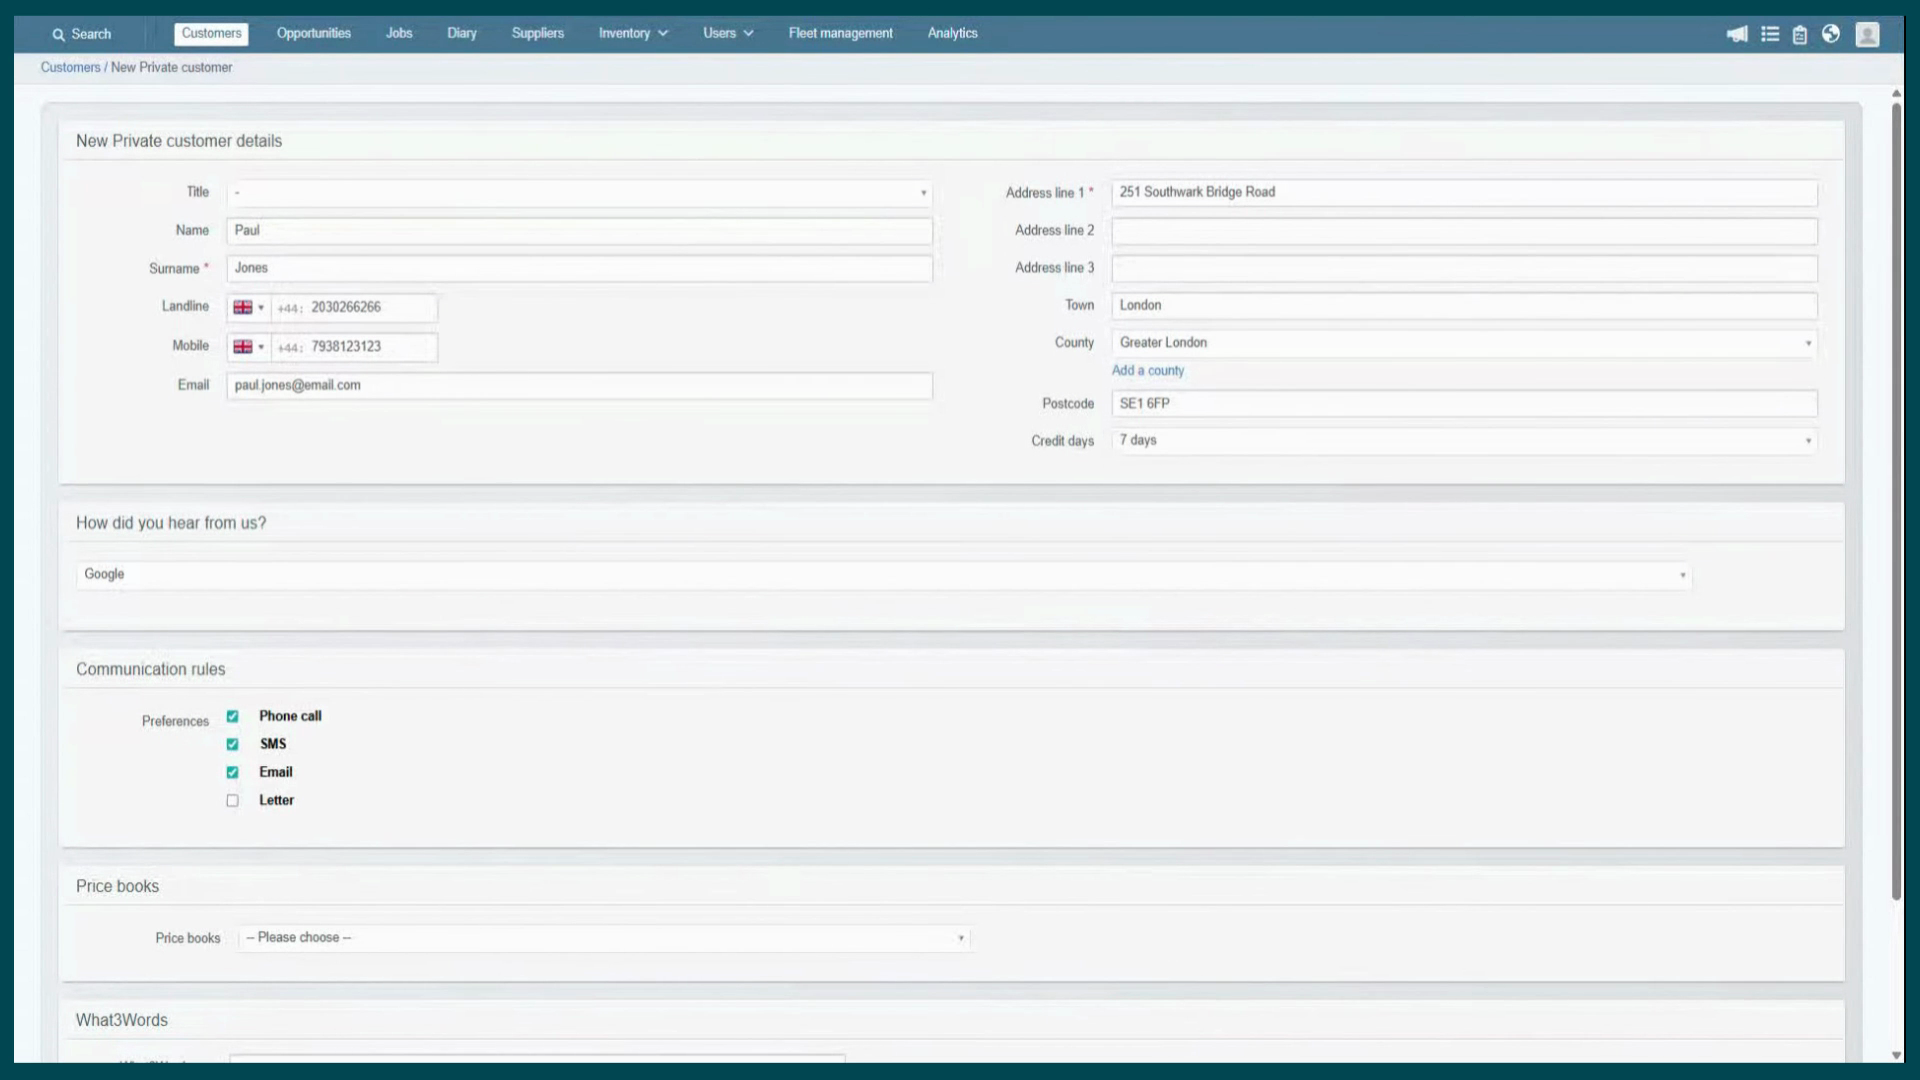
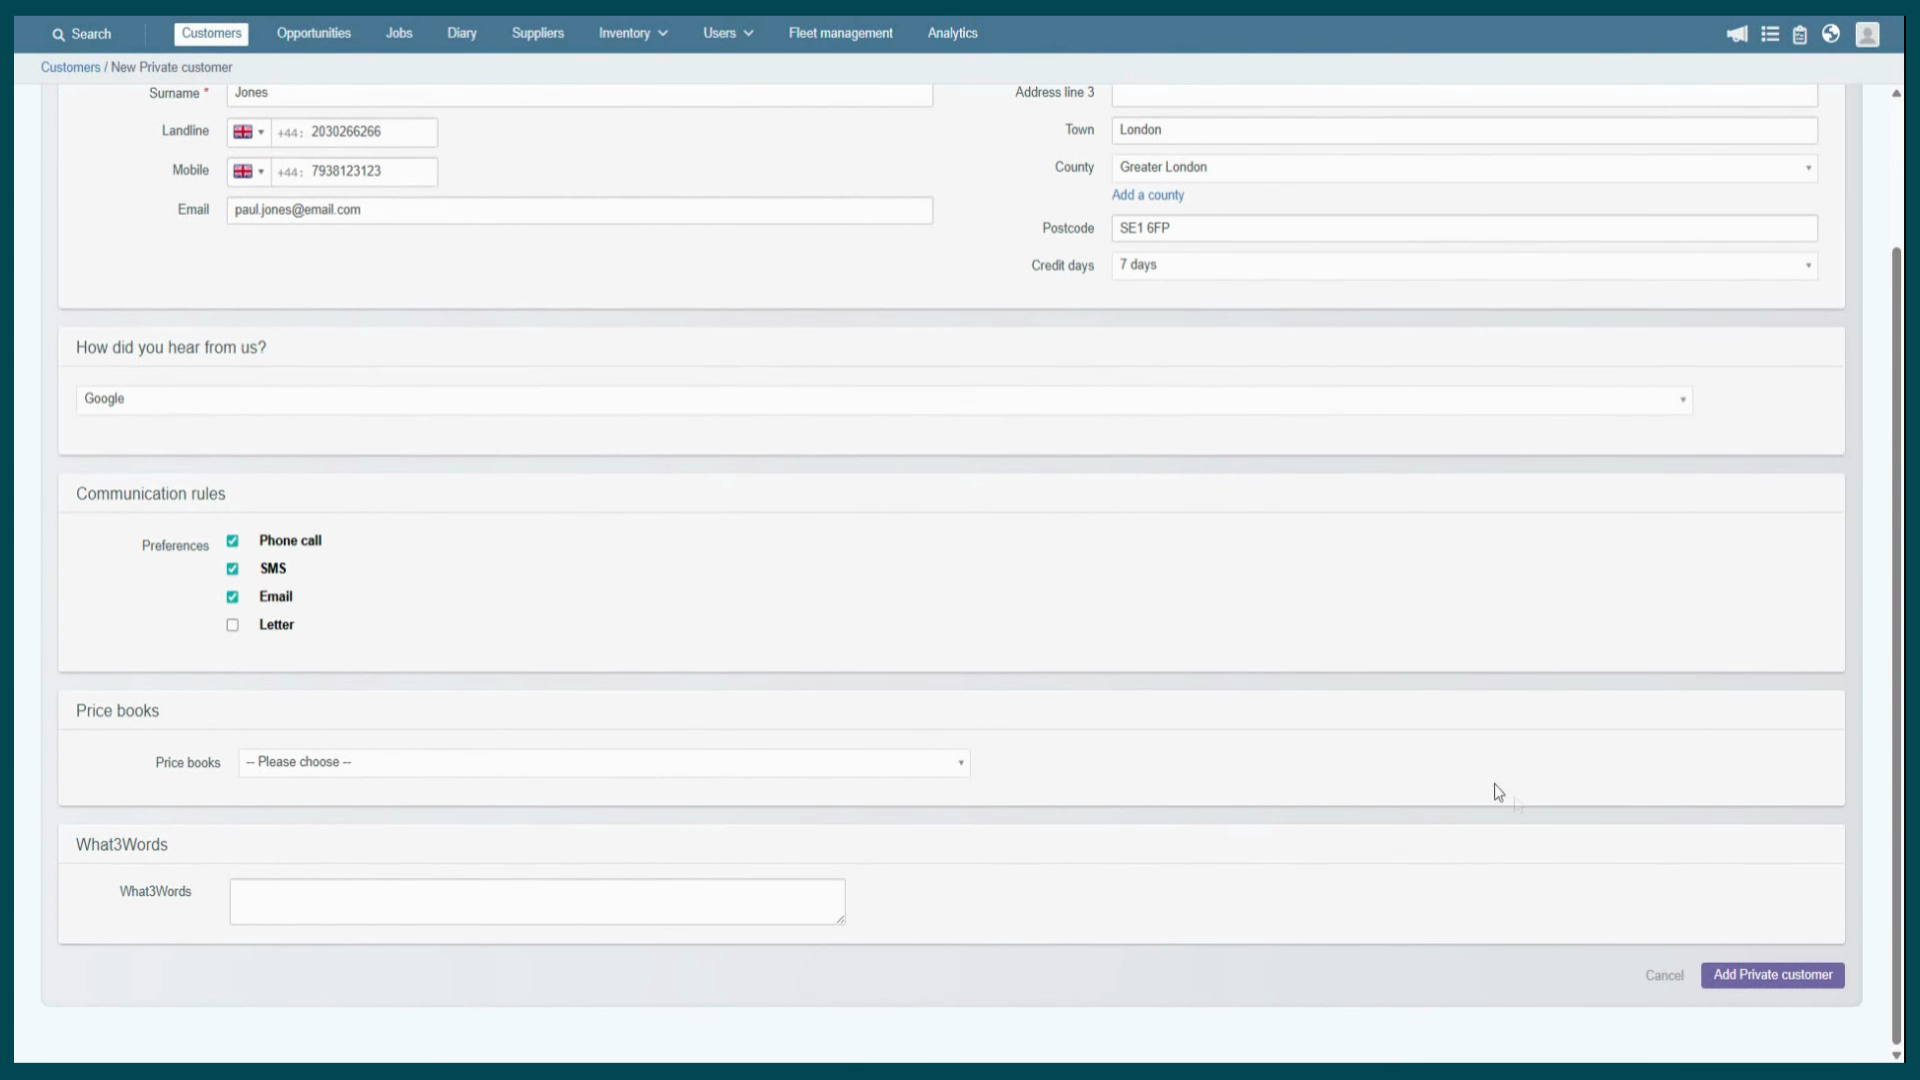
click Add Private Customer. Do one last check to make sure the details are correct. We are
taken straight to the customer record. We just created a central location for all your customer details. From here you can see all the foundations we have put in place and eventually
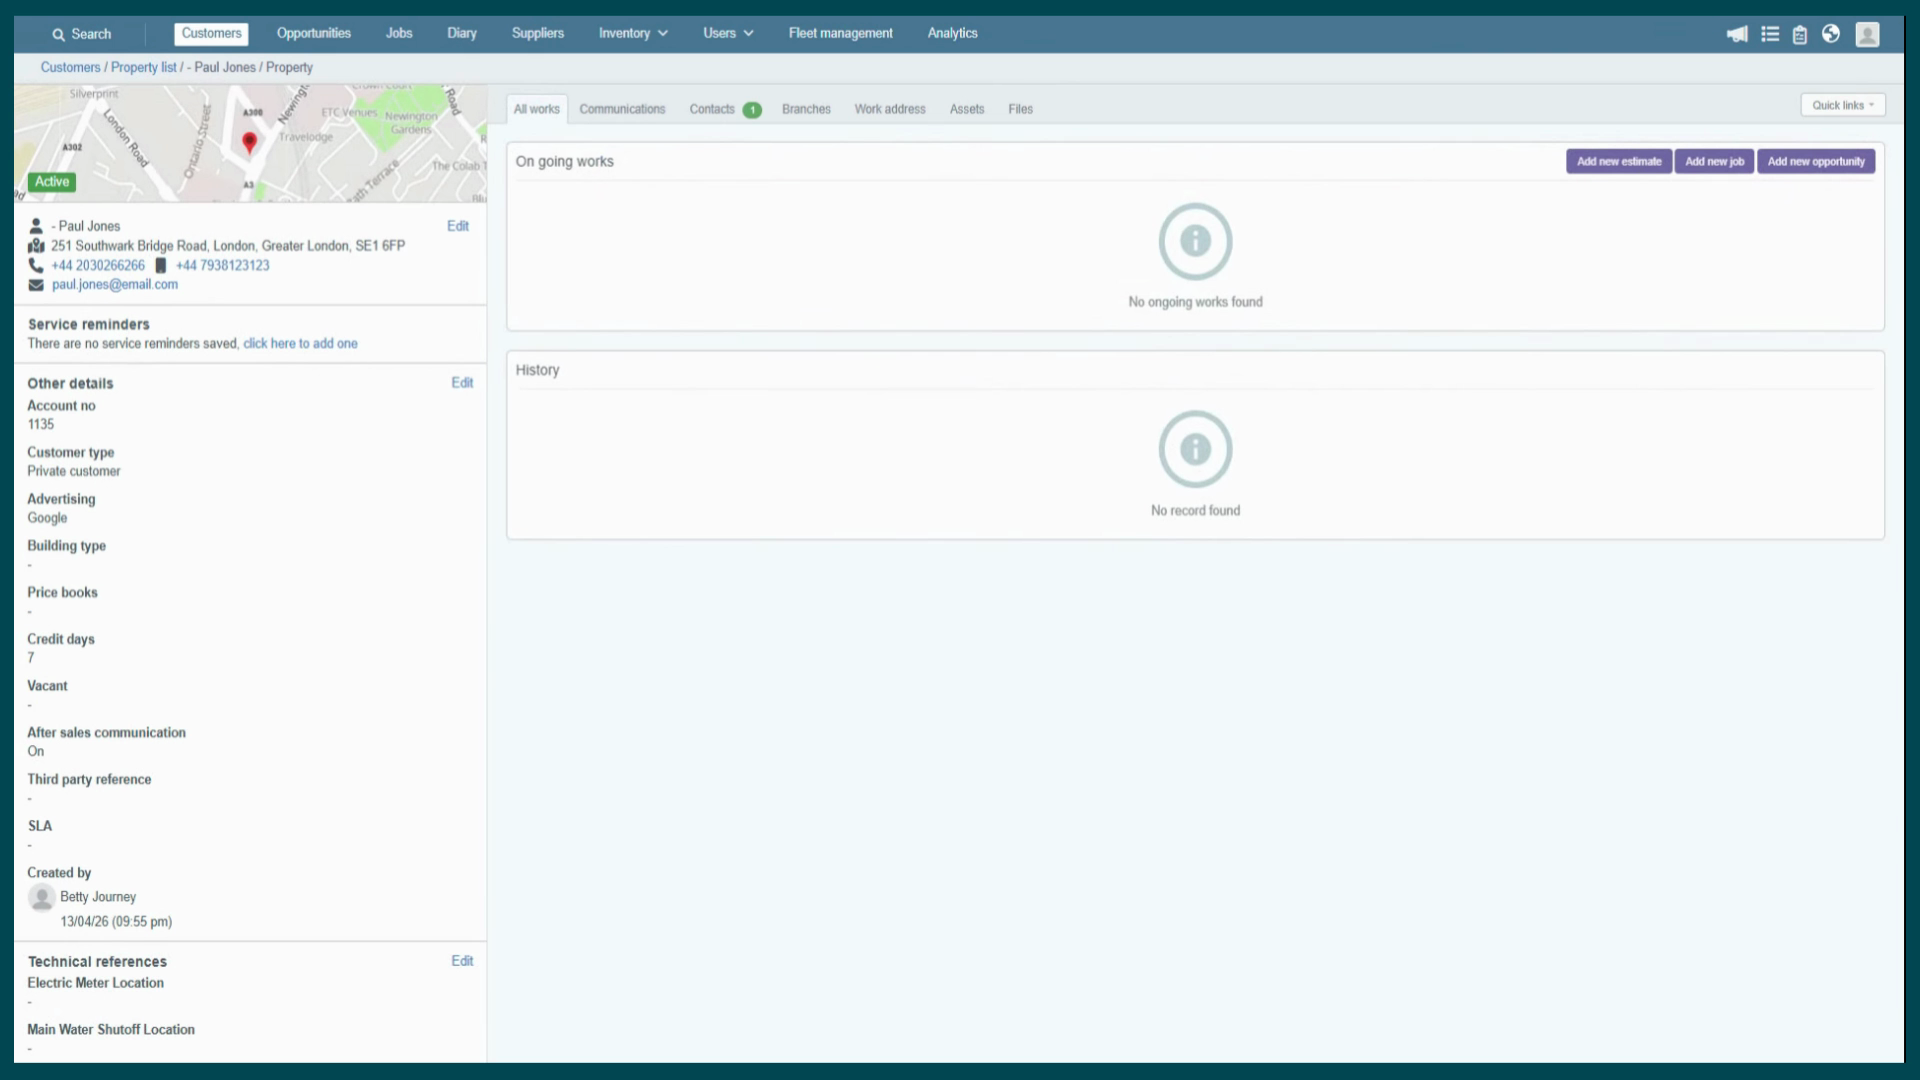
add work addresses, set service reminders, or upload documents. One of the most common mistakes is creating duplicate records because a name was misspelled or an address was searched incorrectly. You can use your global
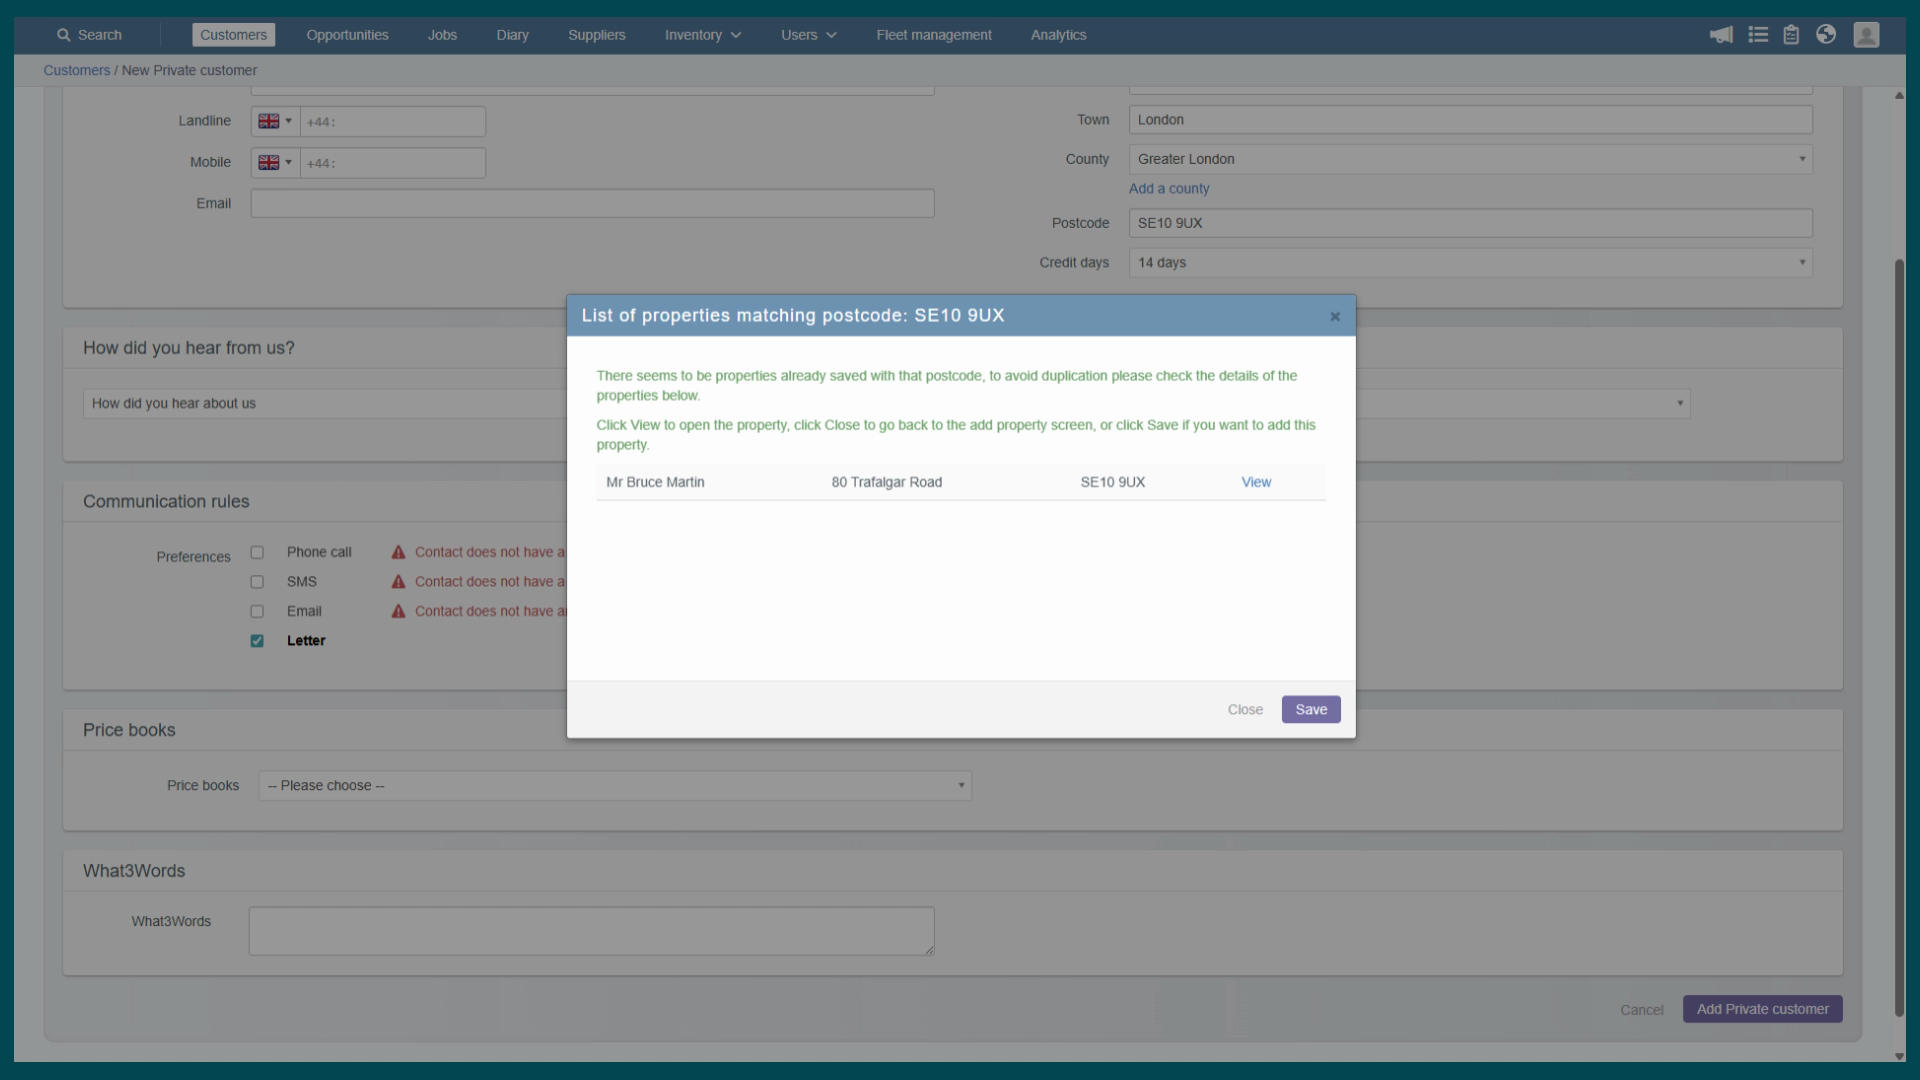
search bar to check if a customer exists before adding a new one. Or if you try to add one and the details match, the system
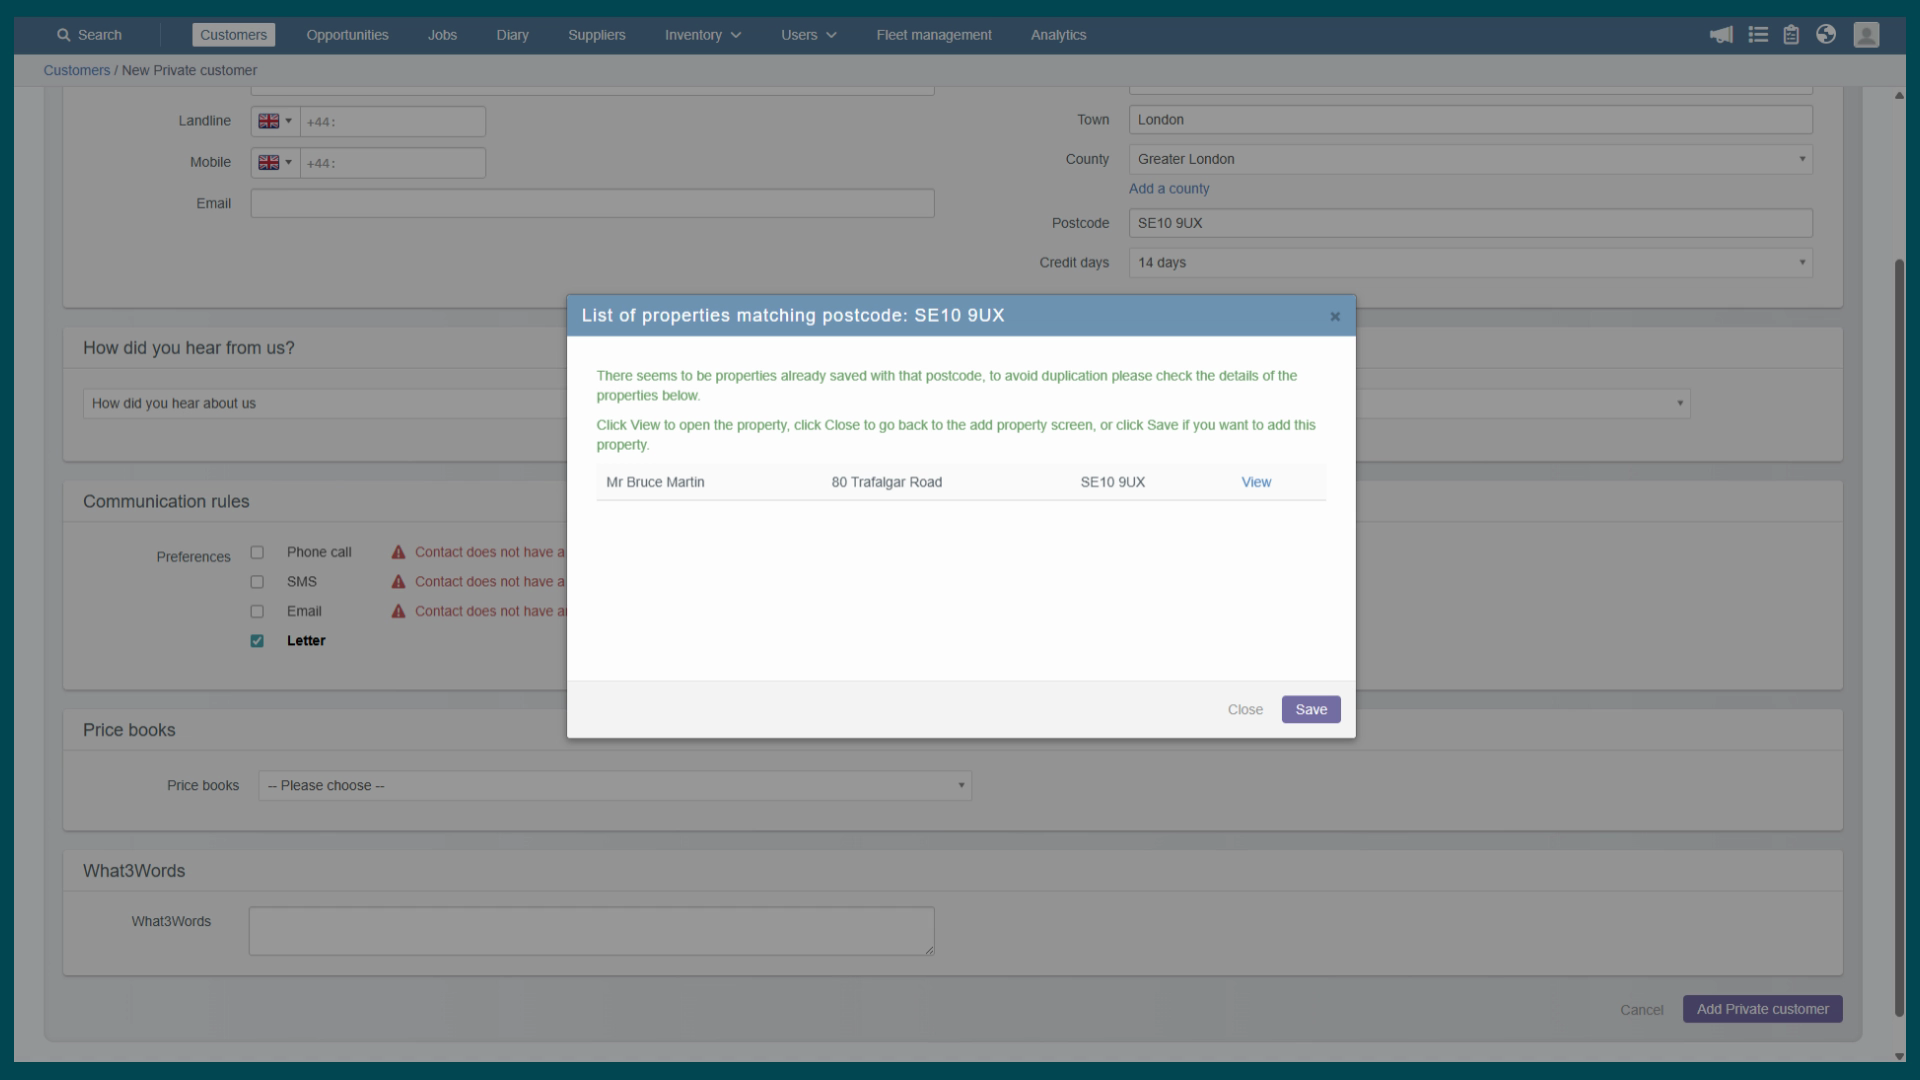
will warn you before saving. This keeps your customer history in one clean, organized record and ensures that invoice is always attached to the correct payer.
Created on
Did you find this article helpful?