

To find this setting, go back to the Jobs category and
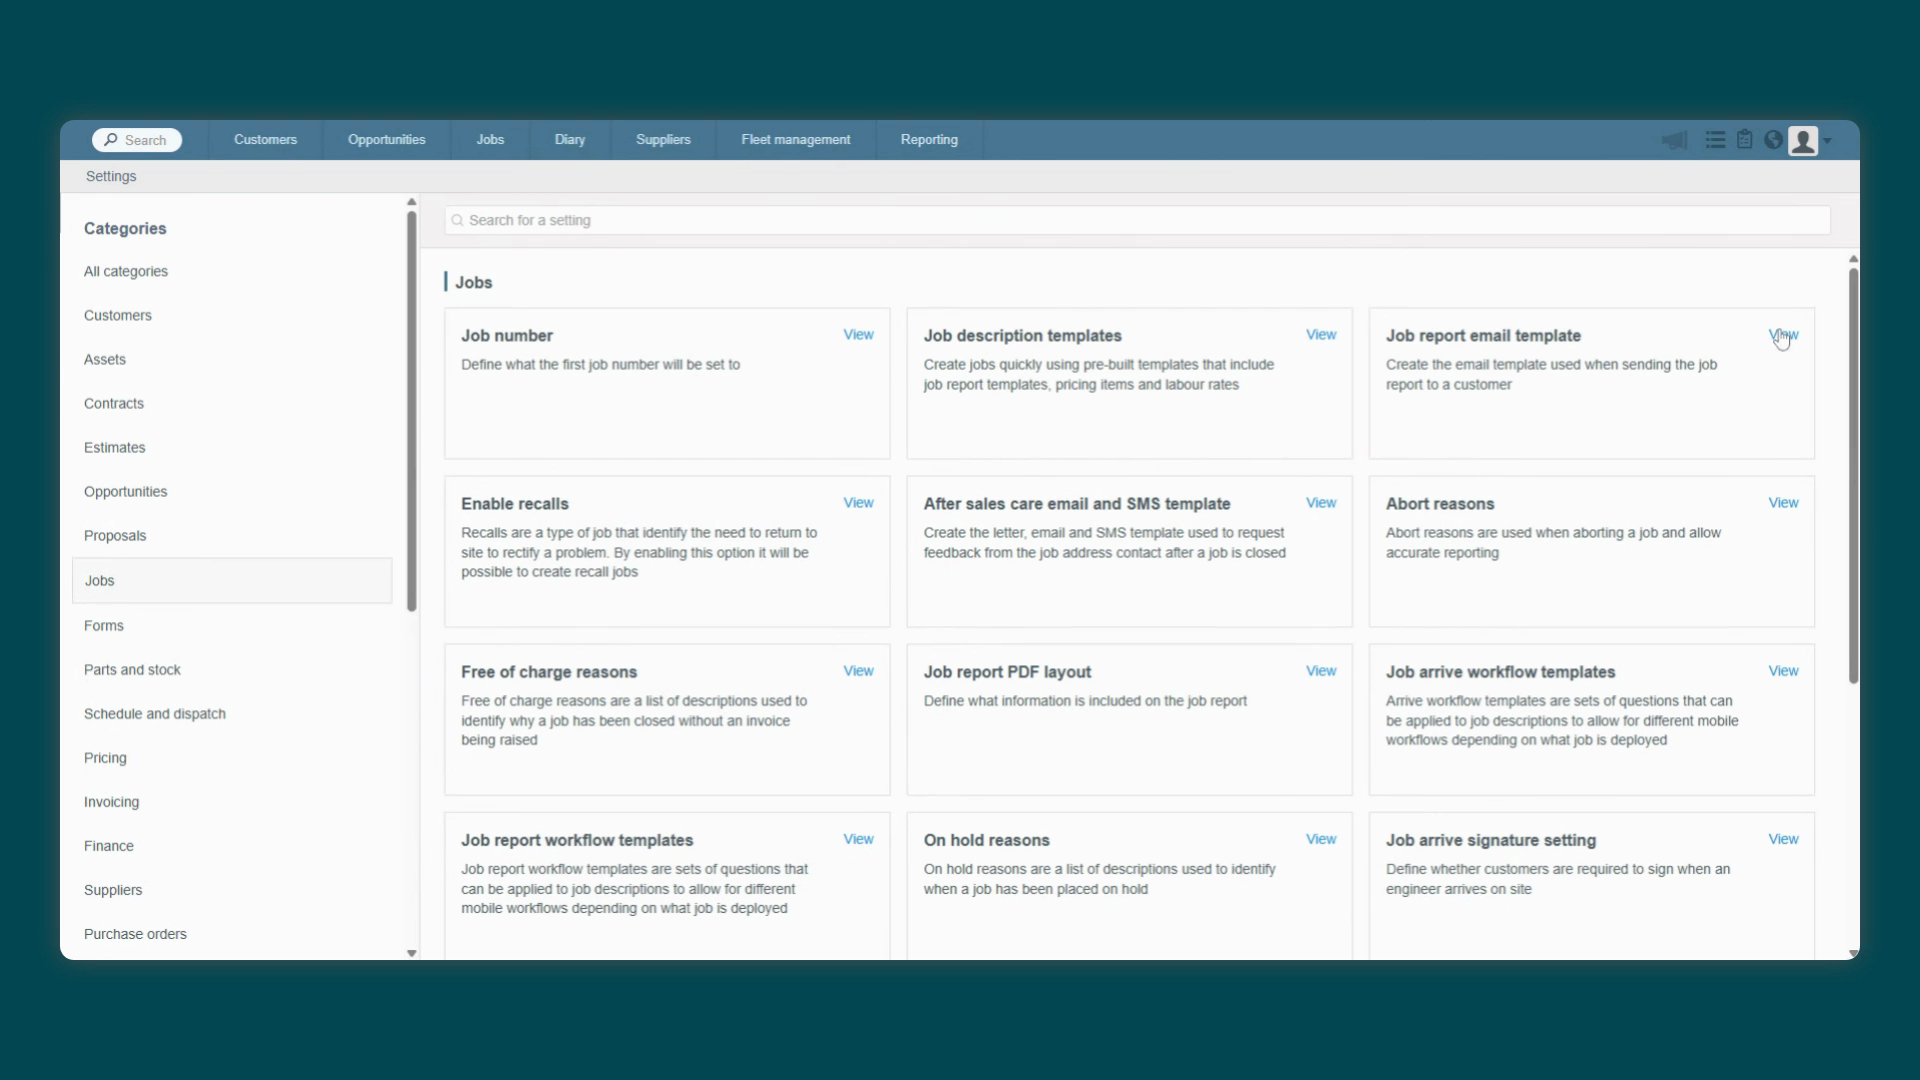
click on Job Report Email Template. At the top, you'll
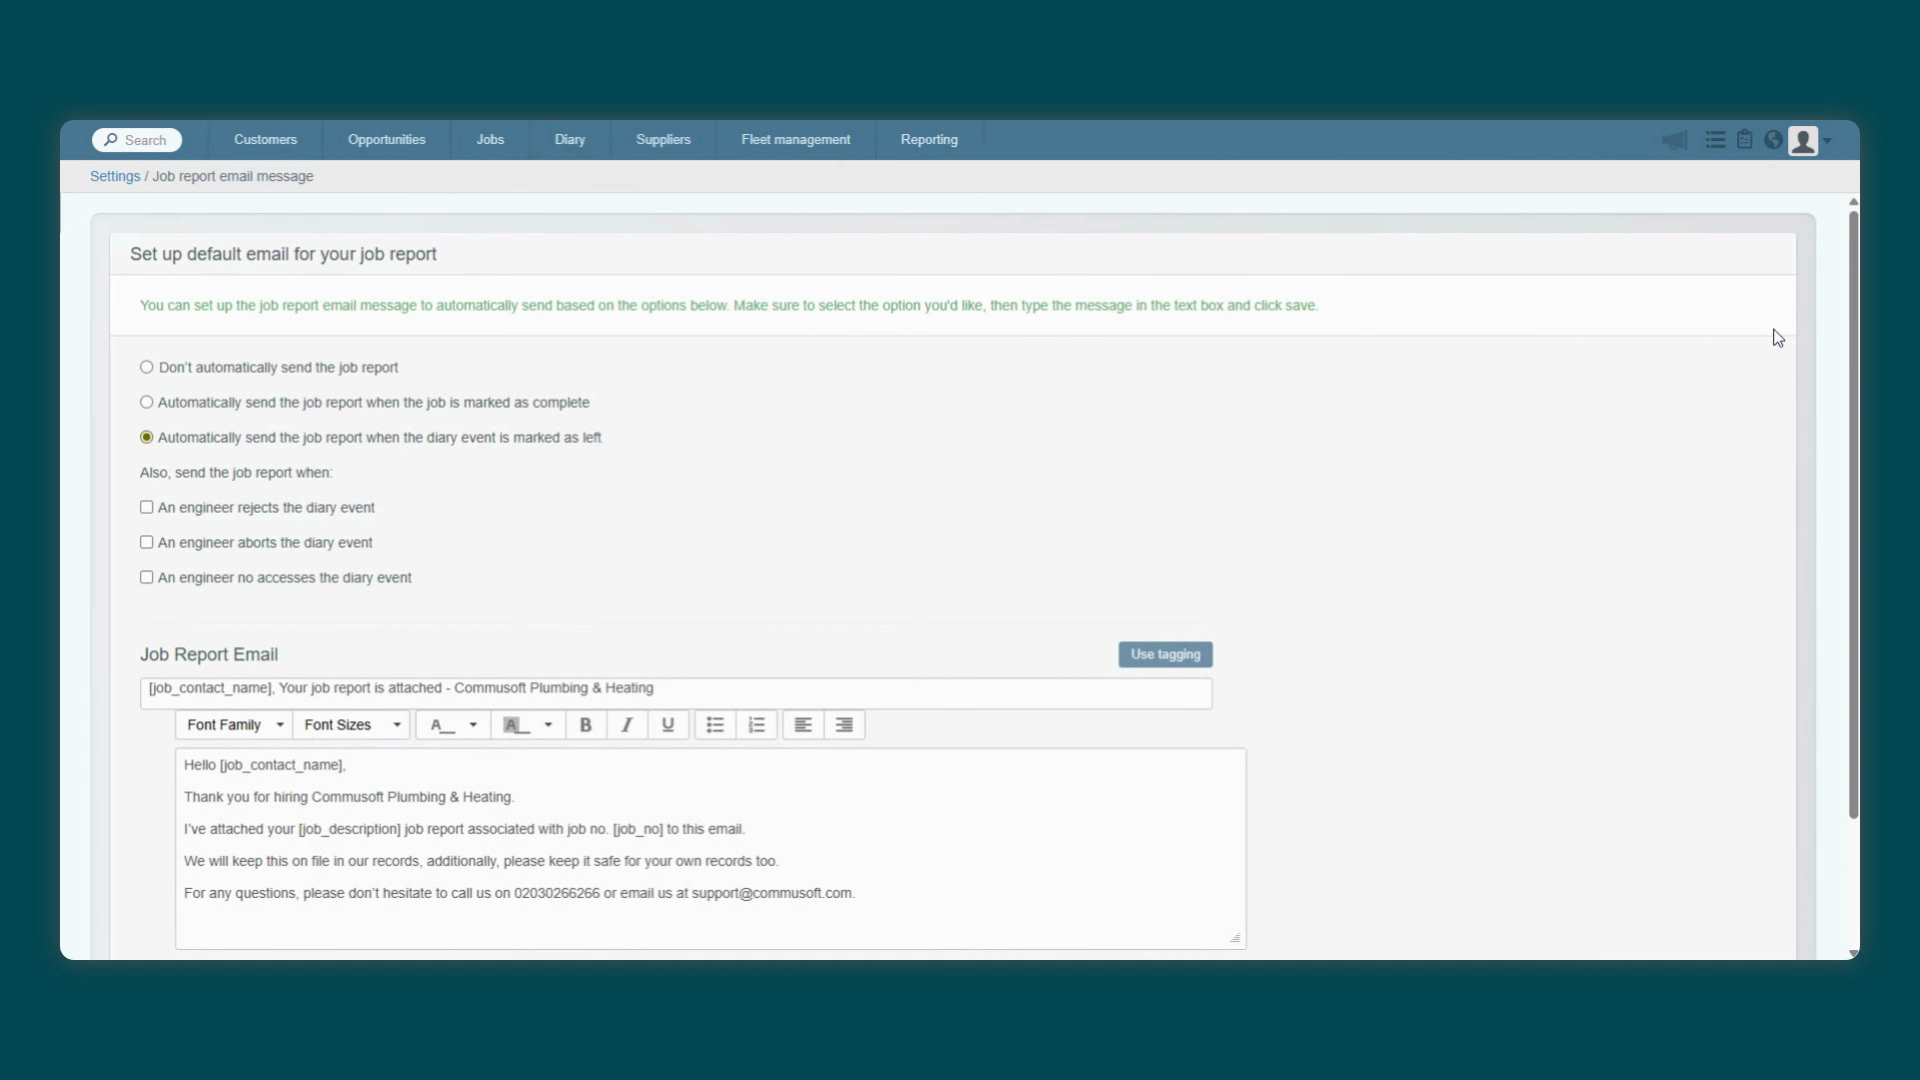
see options that let you control when this email is sent automatically. You can choose to send it when the job is marked
as complete or when the engineer marks the diary event as left. You can also choose not to
send the email automatically. This gives your office or field teams a chance to review the
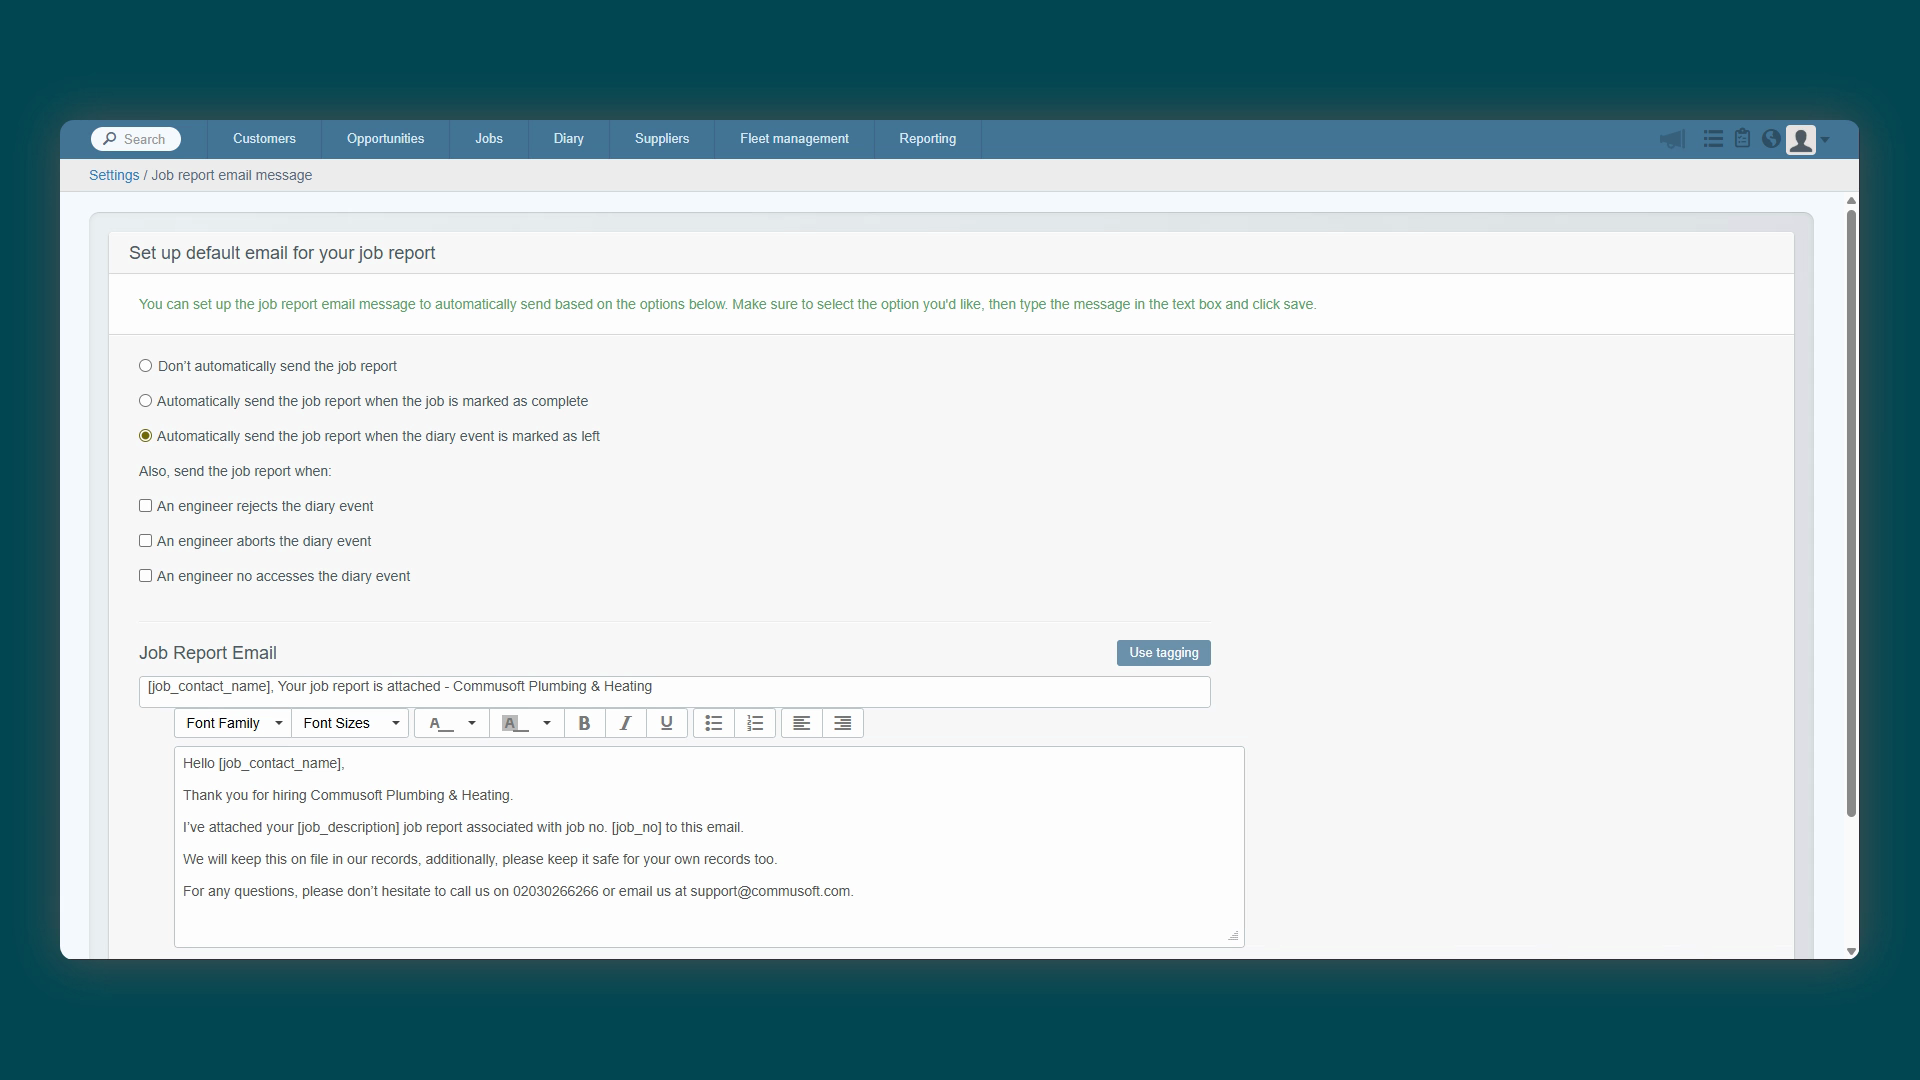
report first and make any required edits. There are also a few additional triggers you can set based on
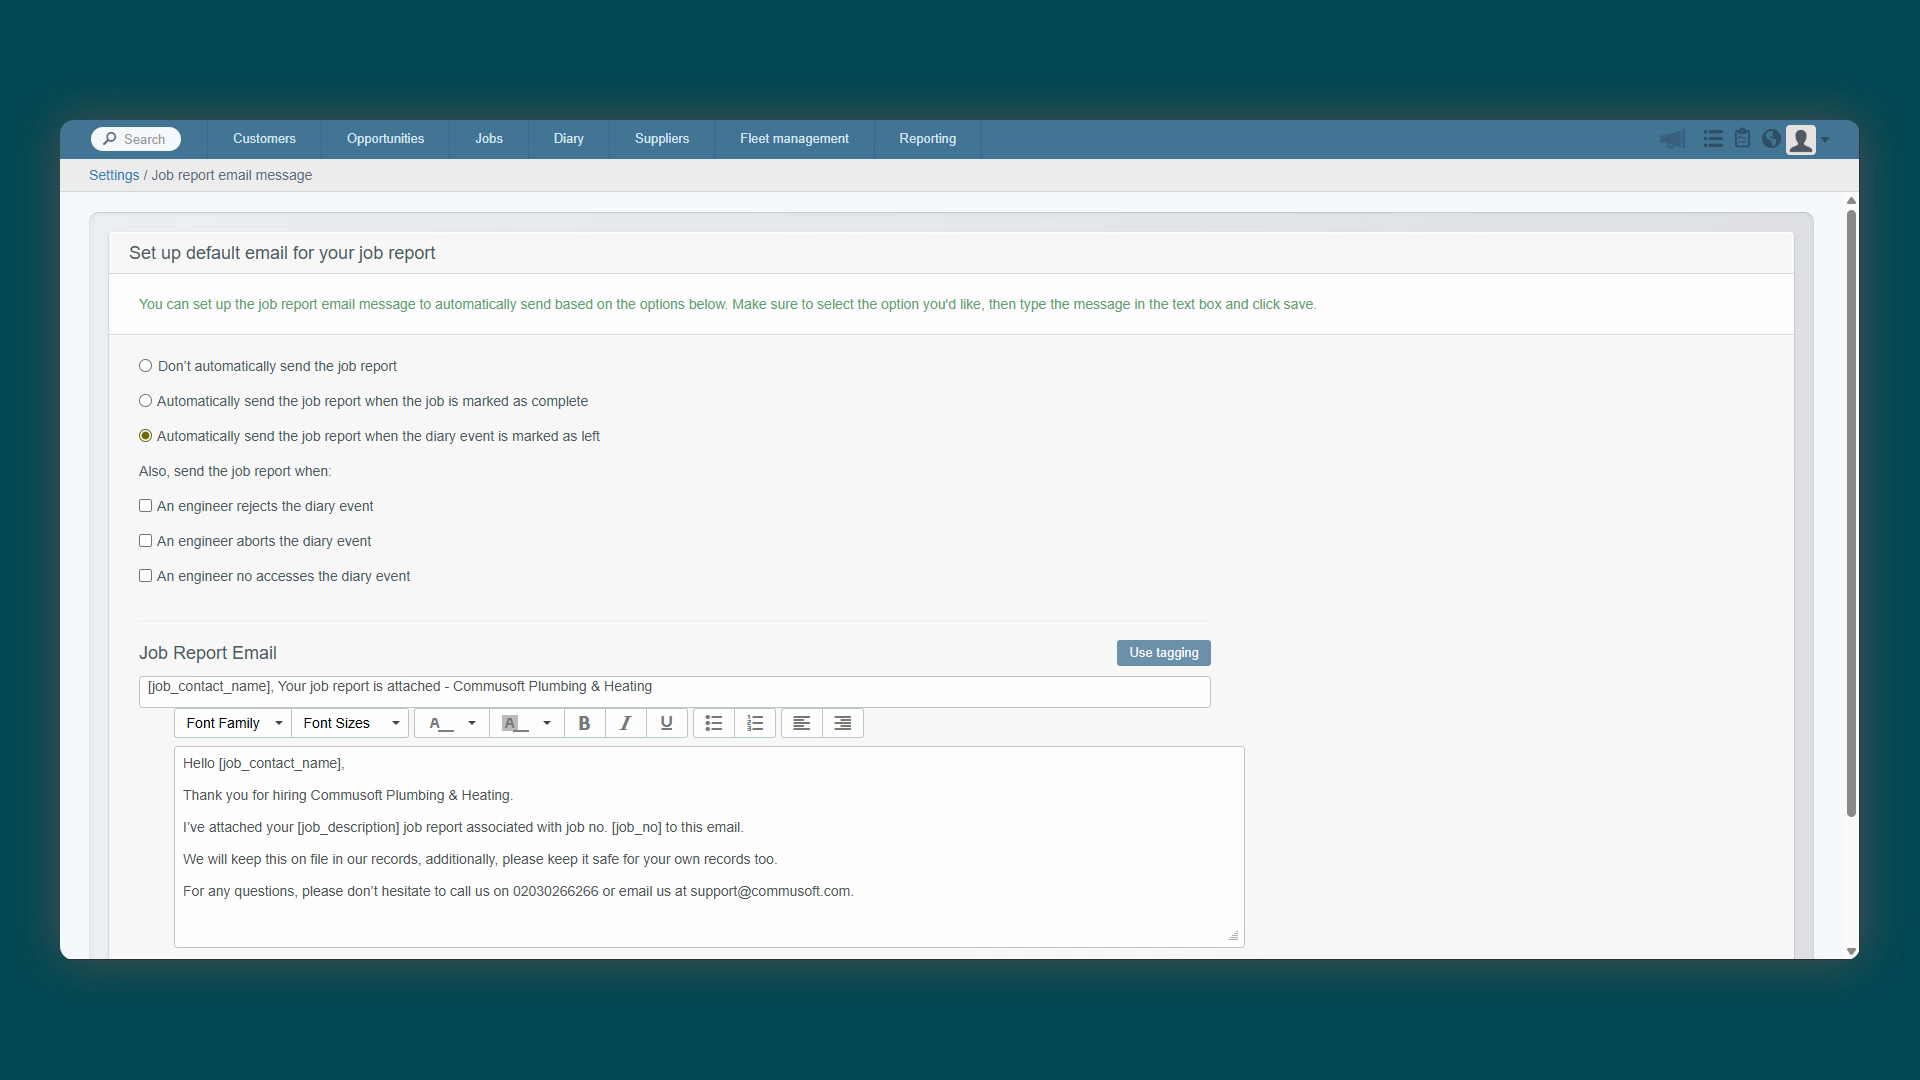
negative appointment statuses, which you can configure to fit your specific workflows. Now you'll need to
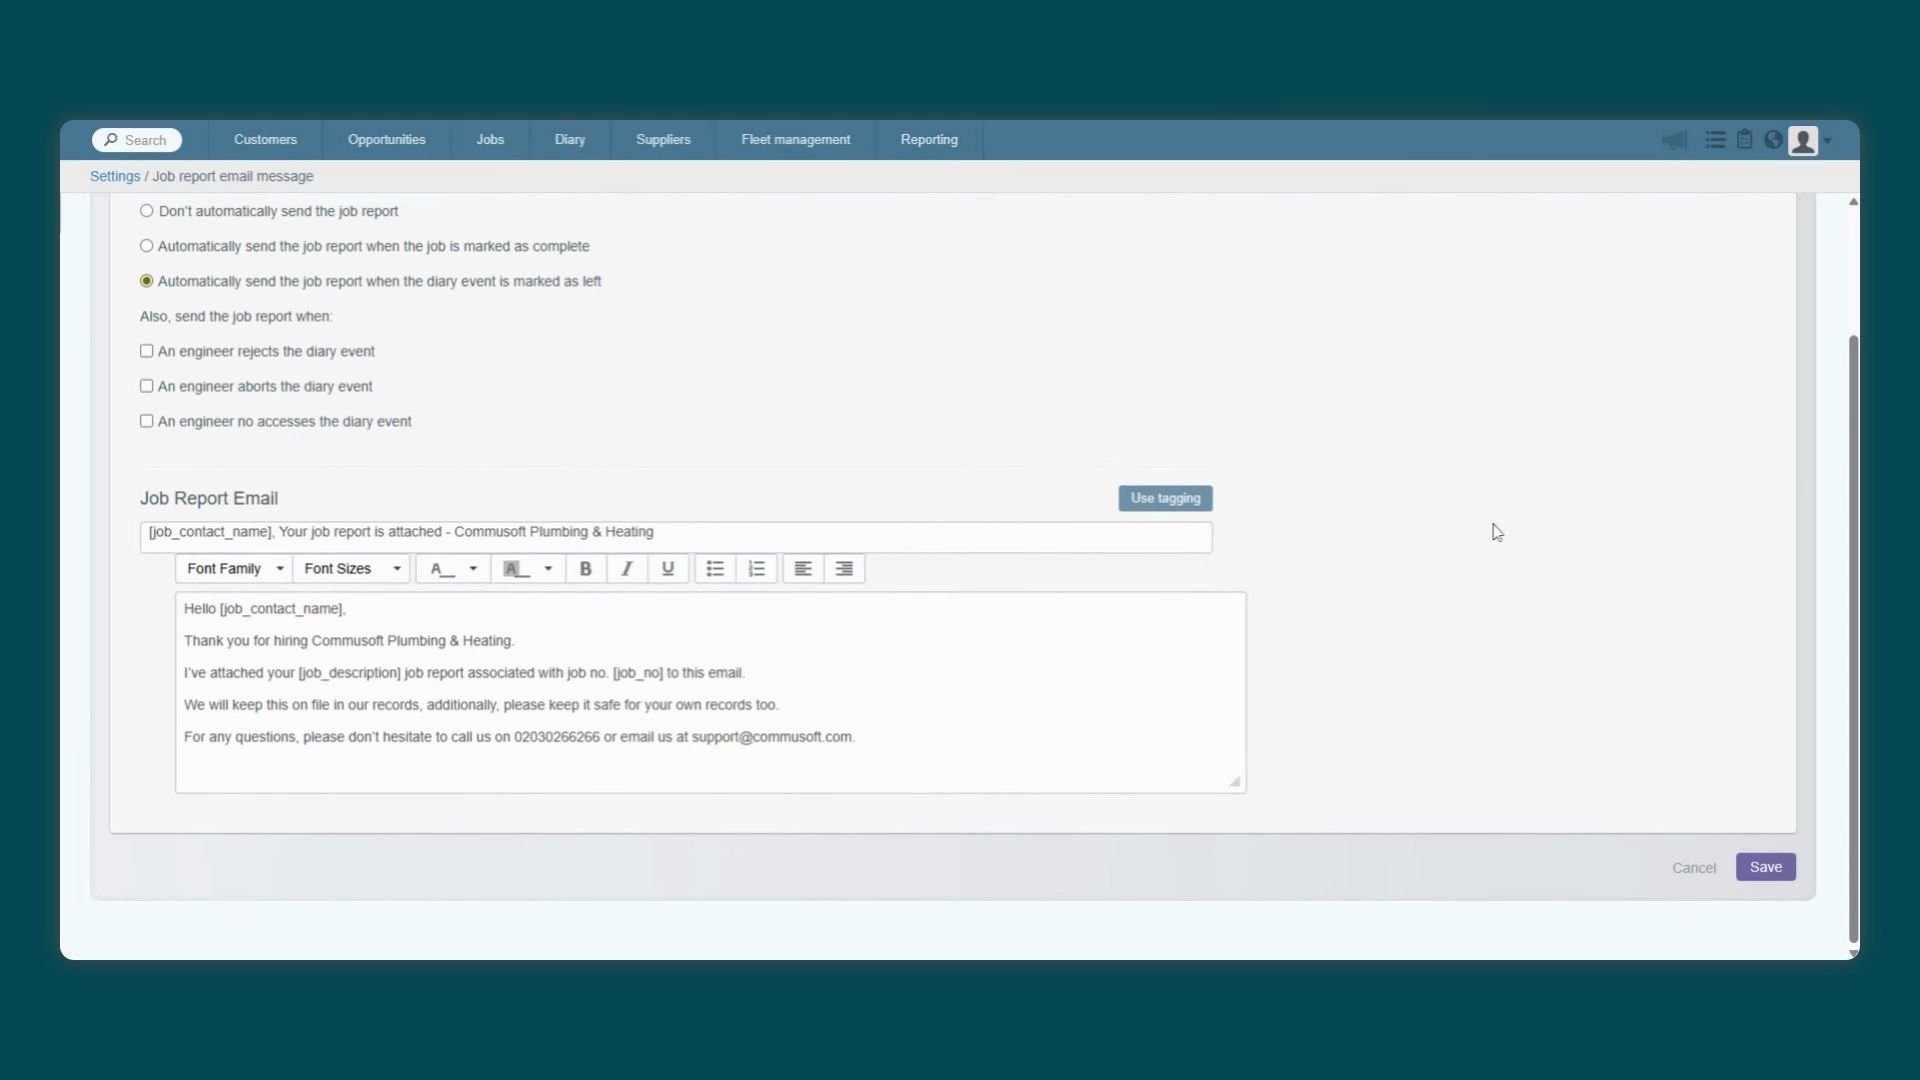
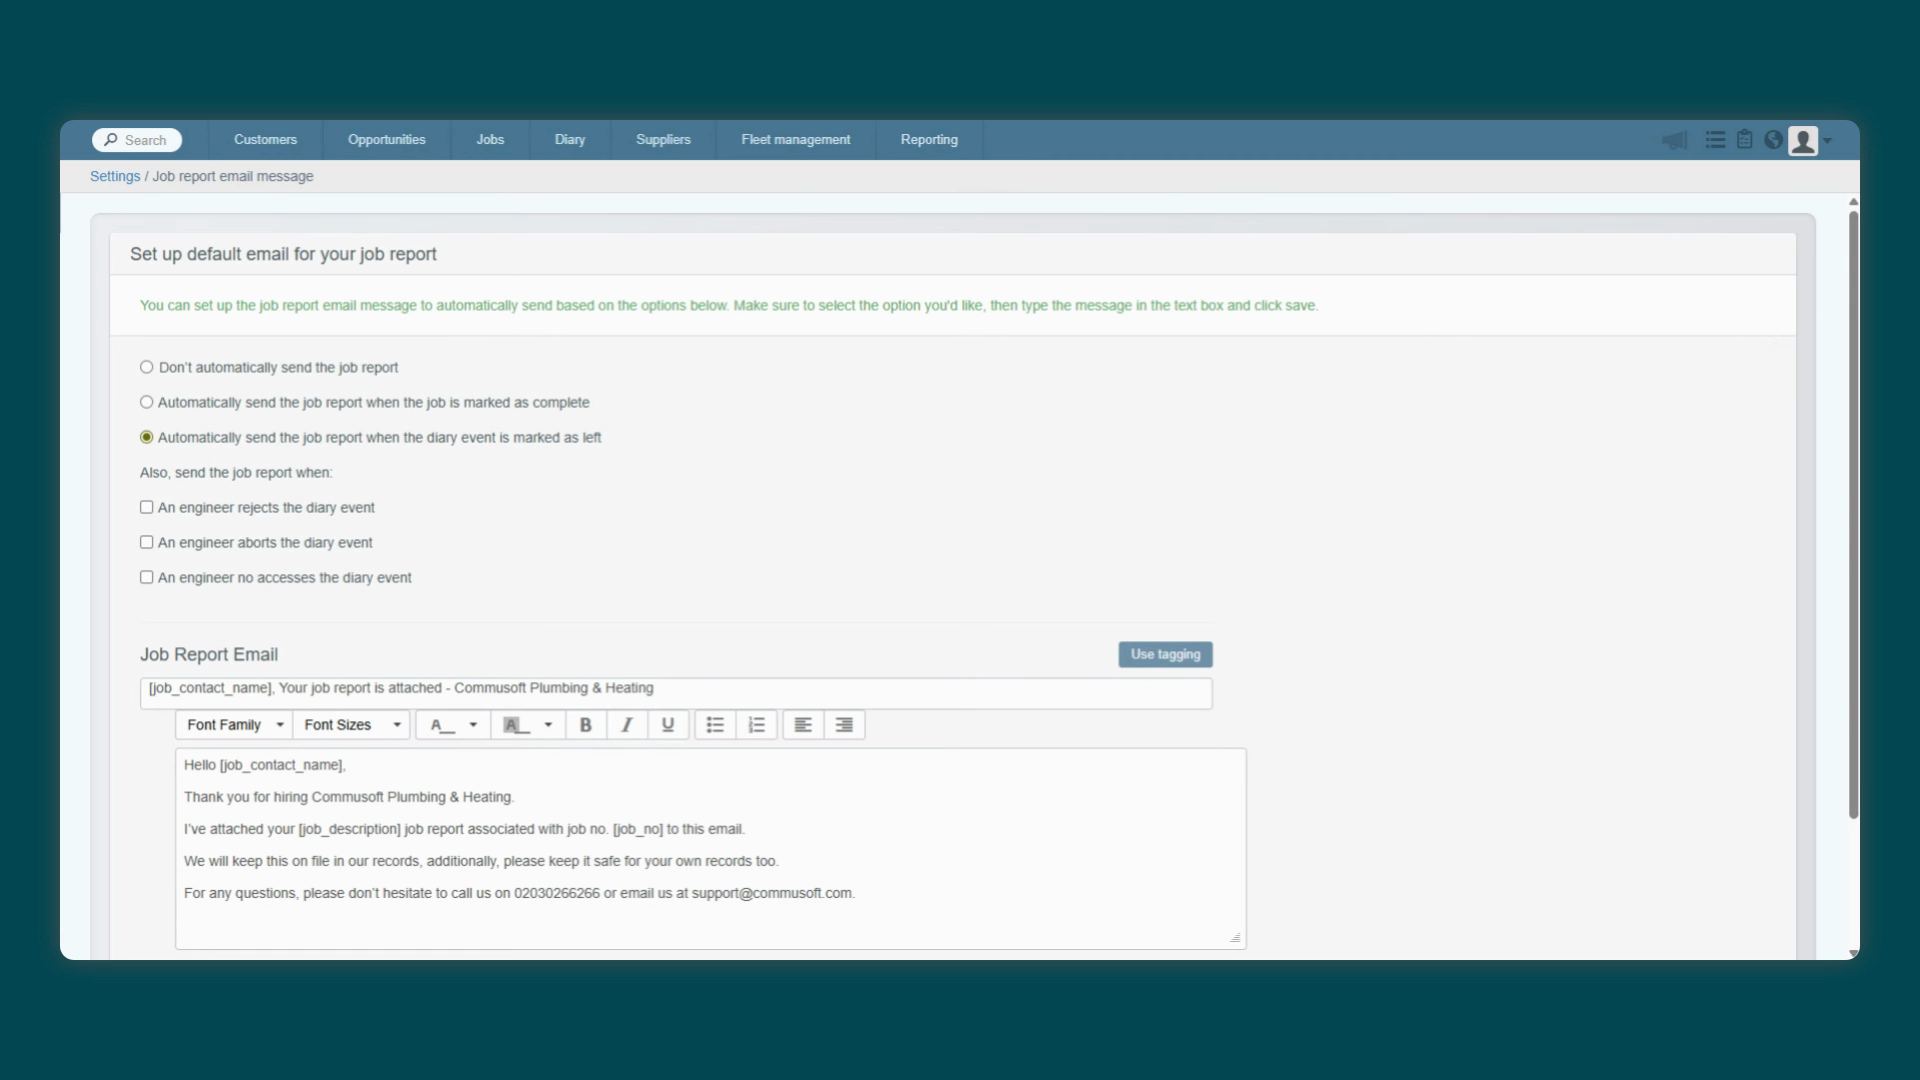
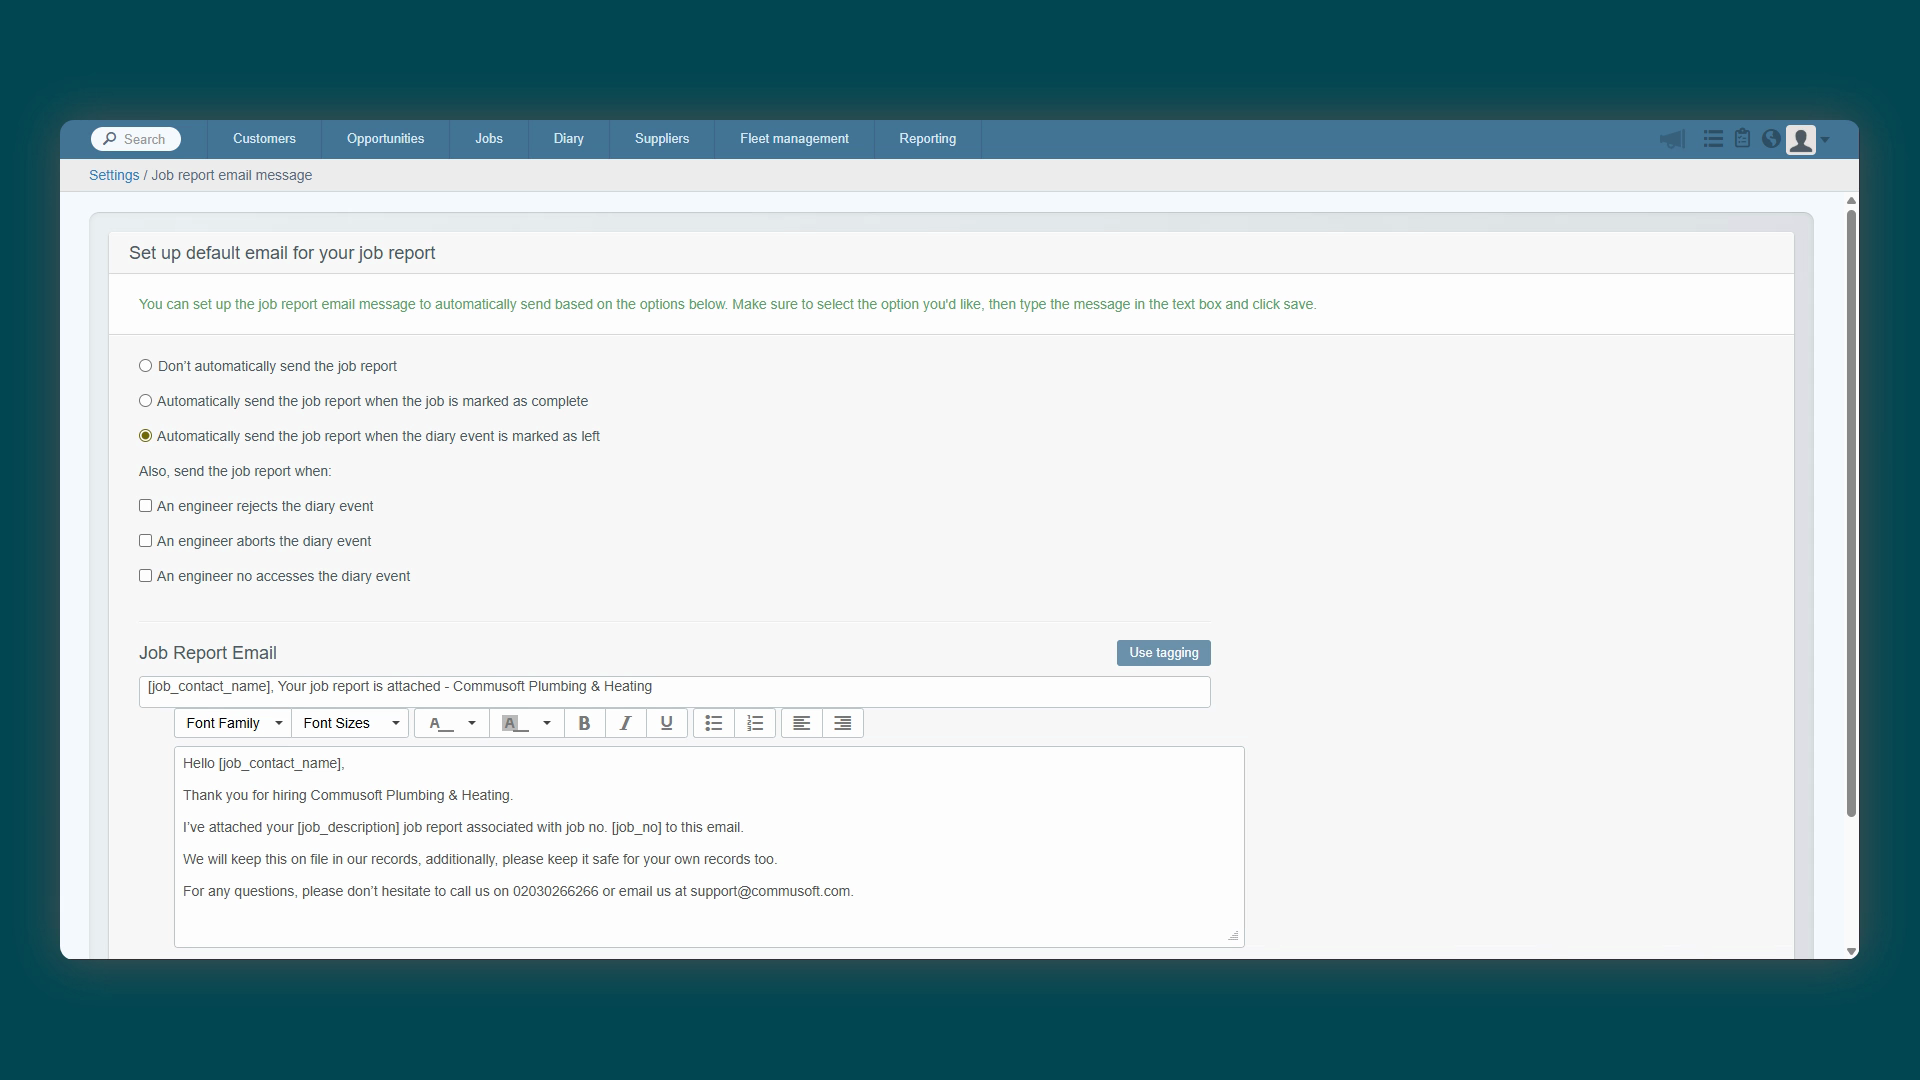
compose the email template. The Job Report PDF document will be attached to this email automatically. You can use
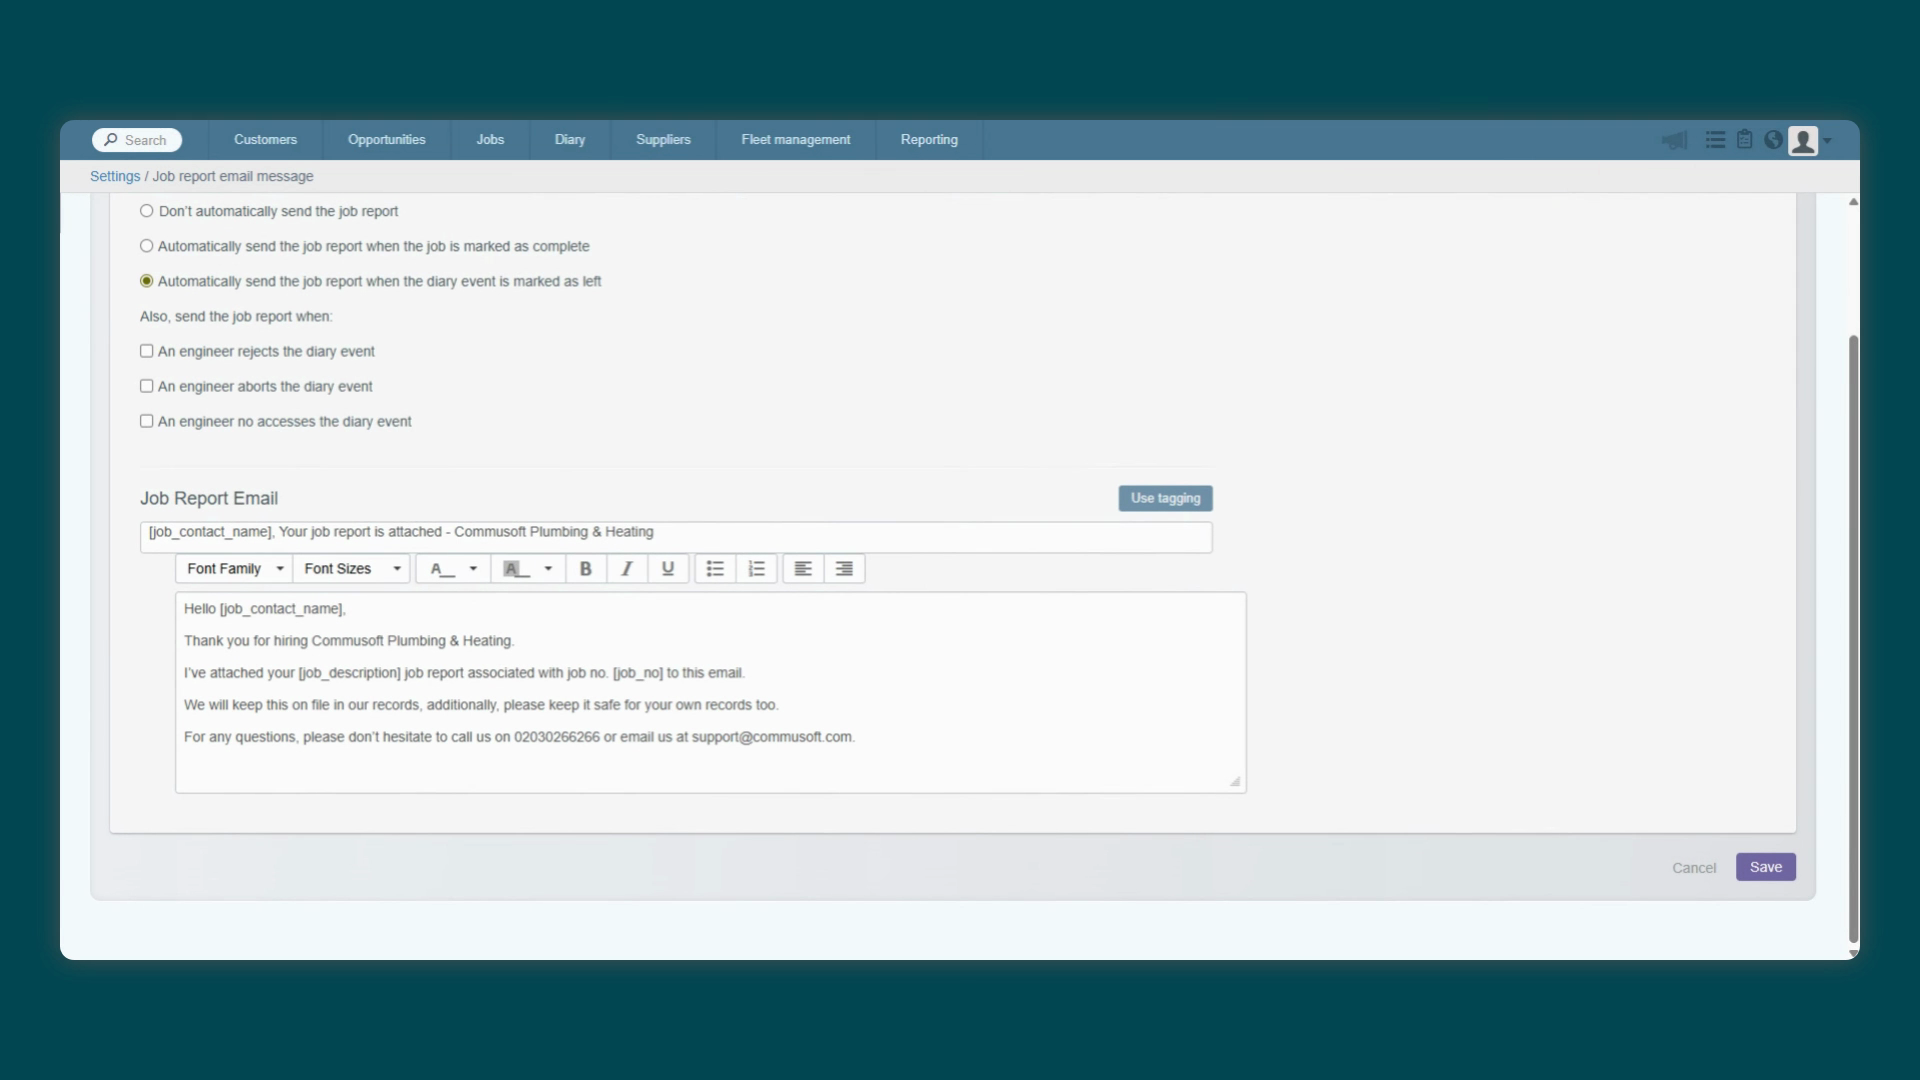
dynamic tags like the customer's name and job number to personalize the message and provide a professional touch. You can find an example
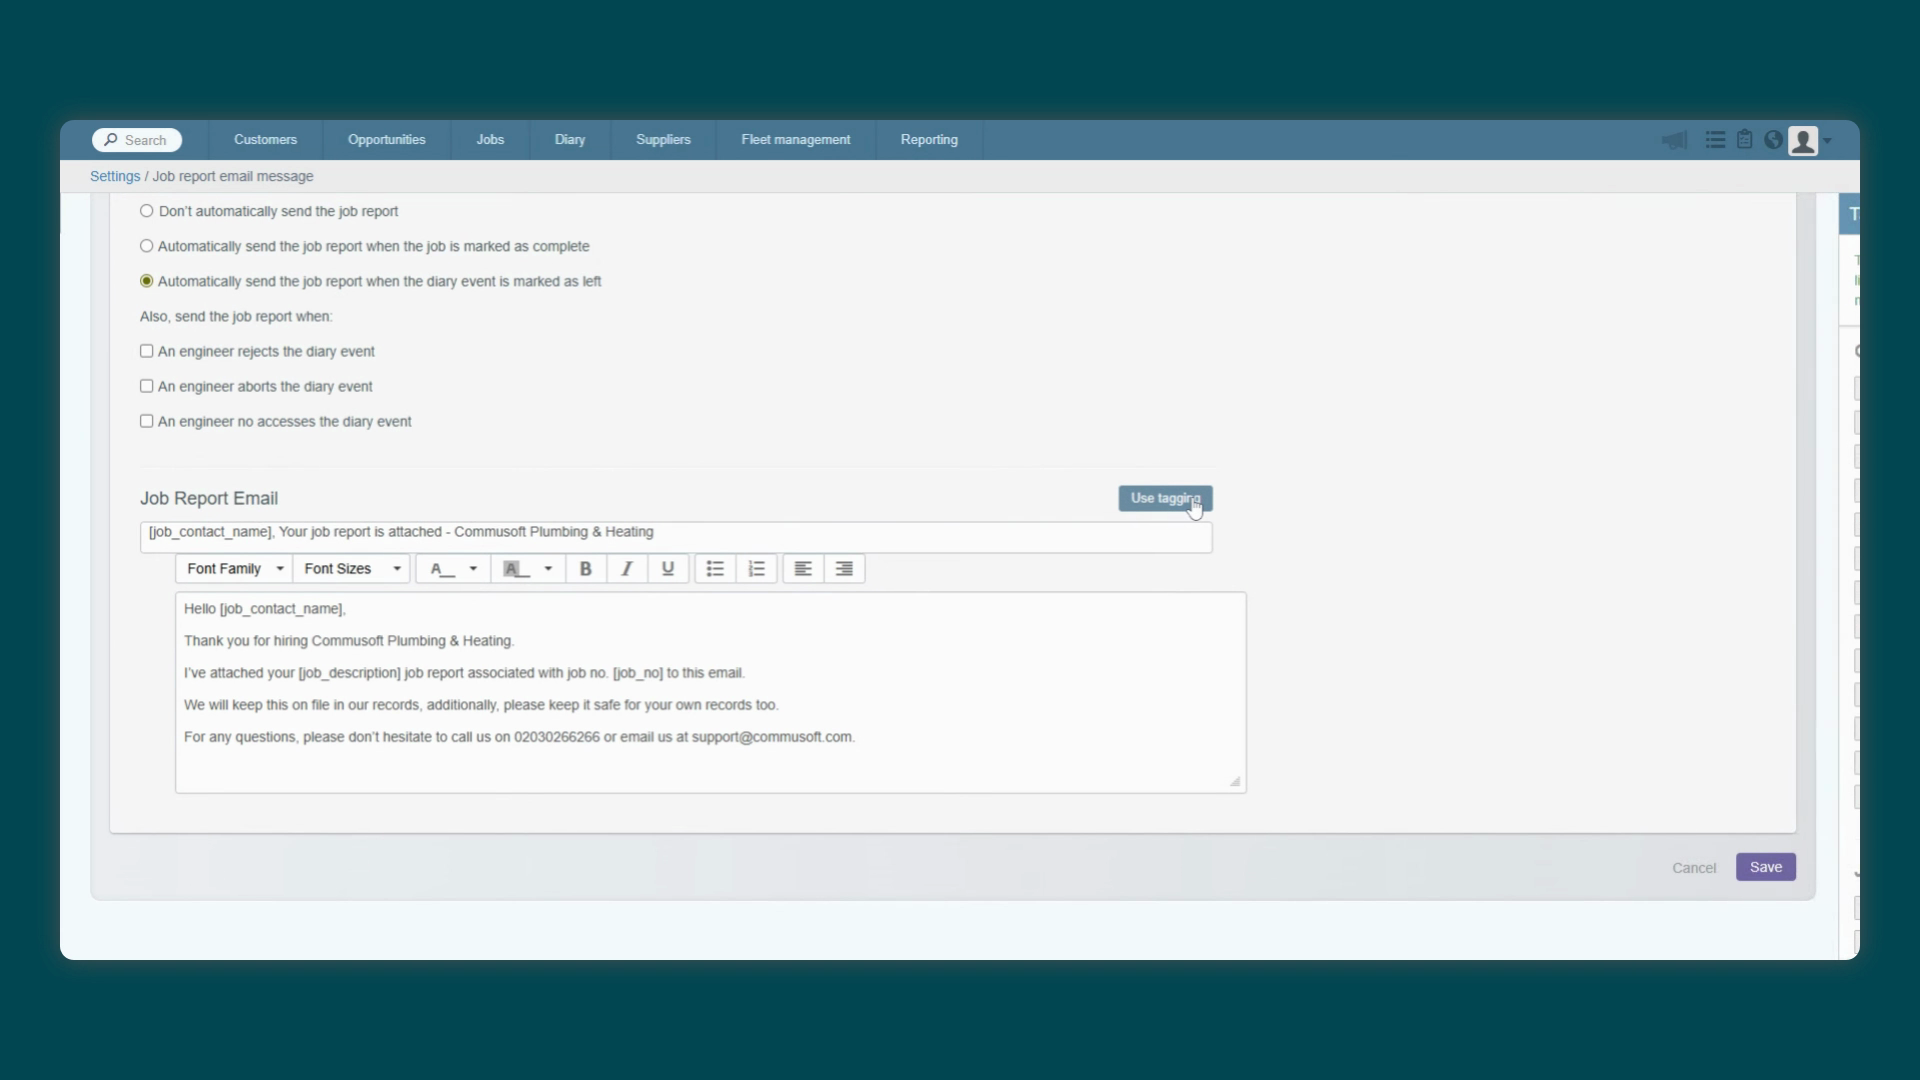
to get you started in the lesson Description. Now that we've configured the email template, let's see how you can
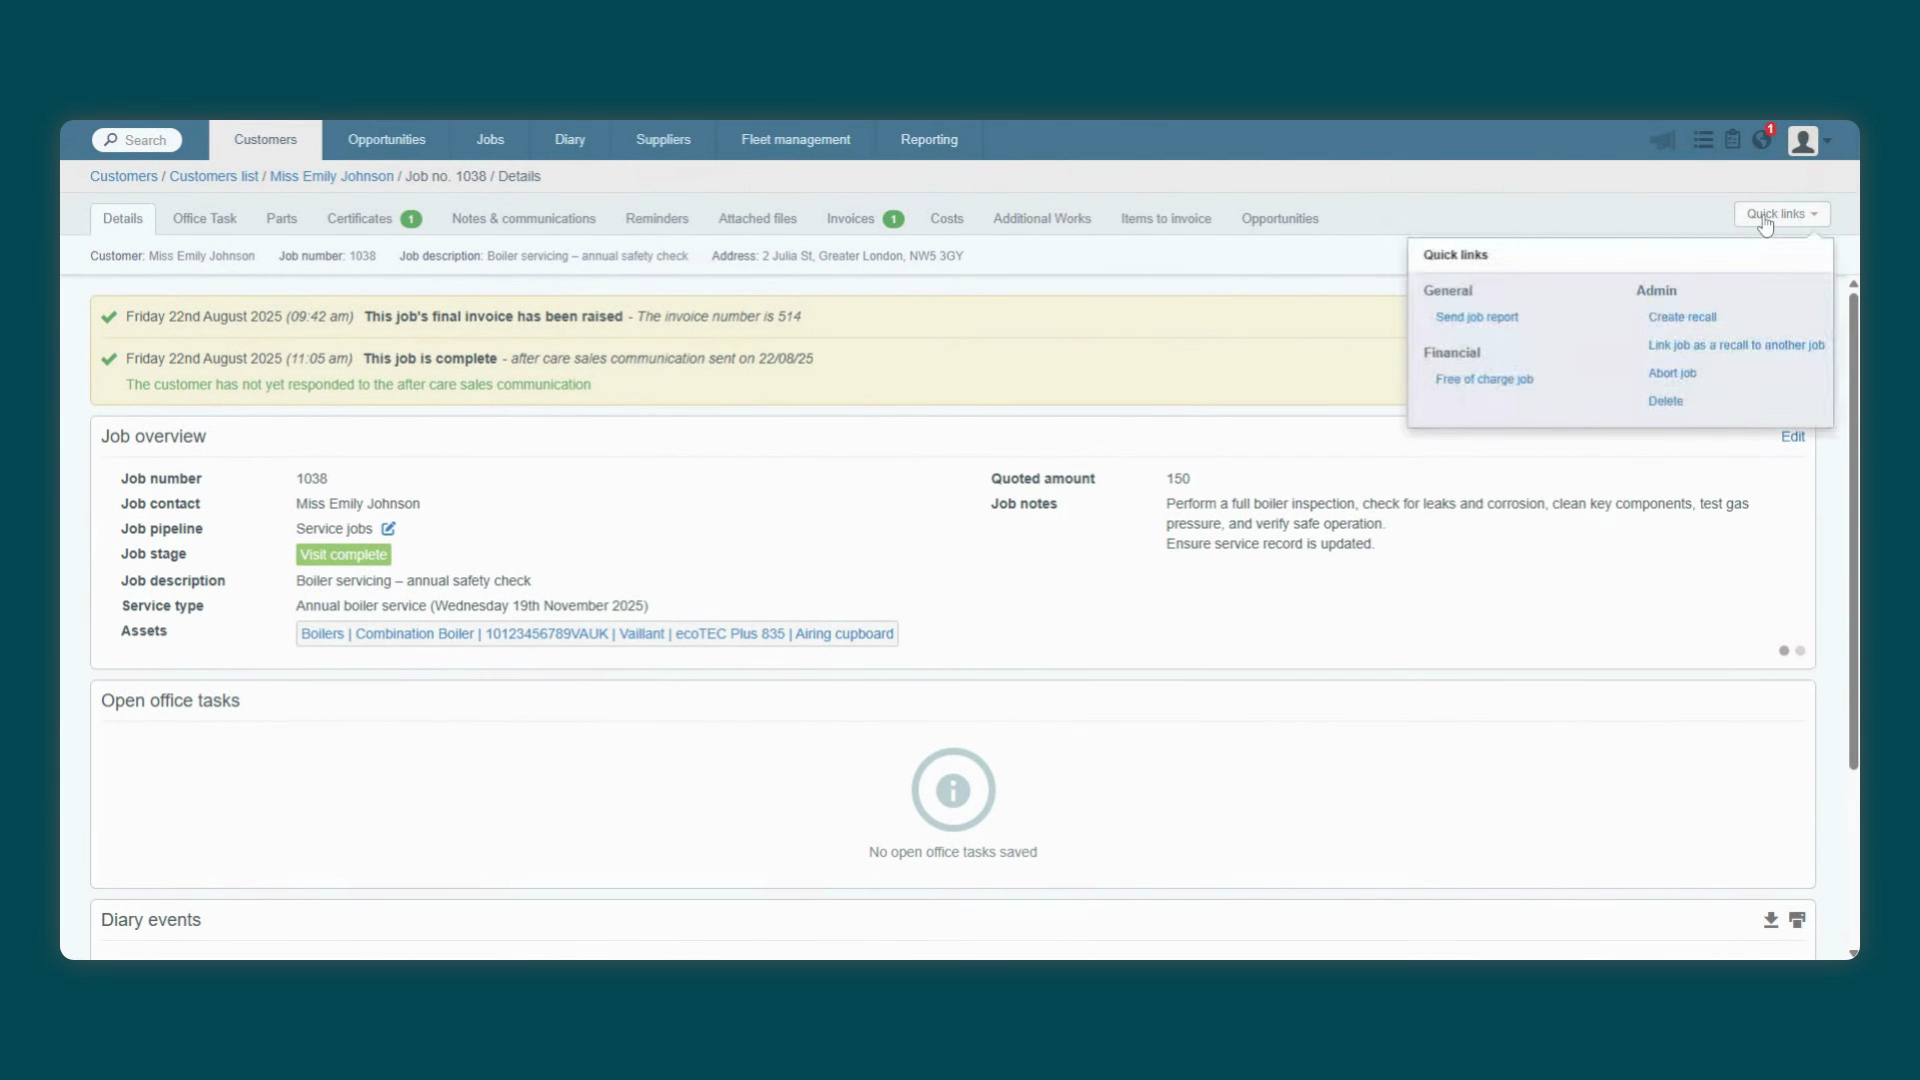
manually send a job report from the office. To send a report, first navigate to the relevant job record from the Job screen,
click the Quick Links button in the top right corner, and then select
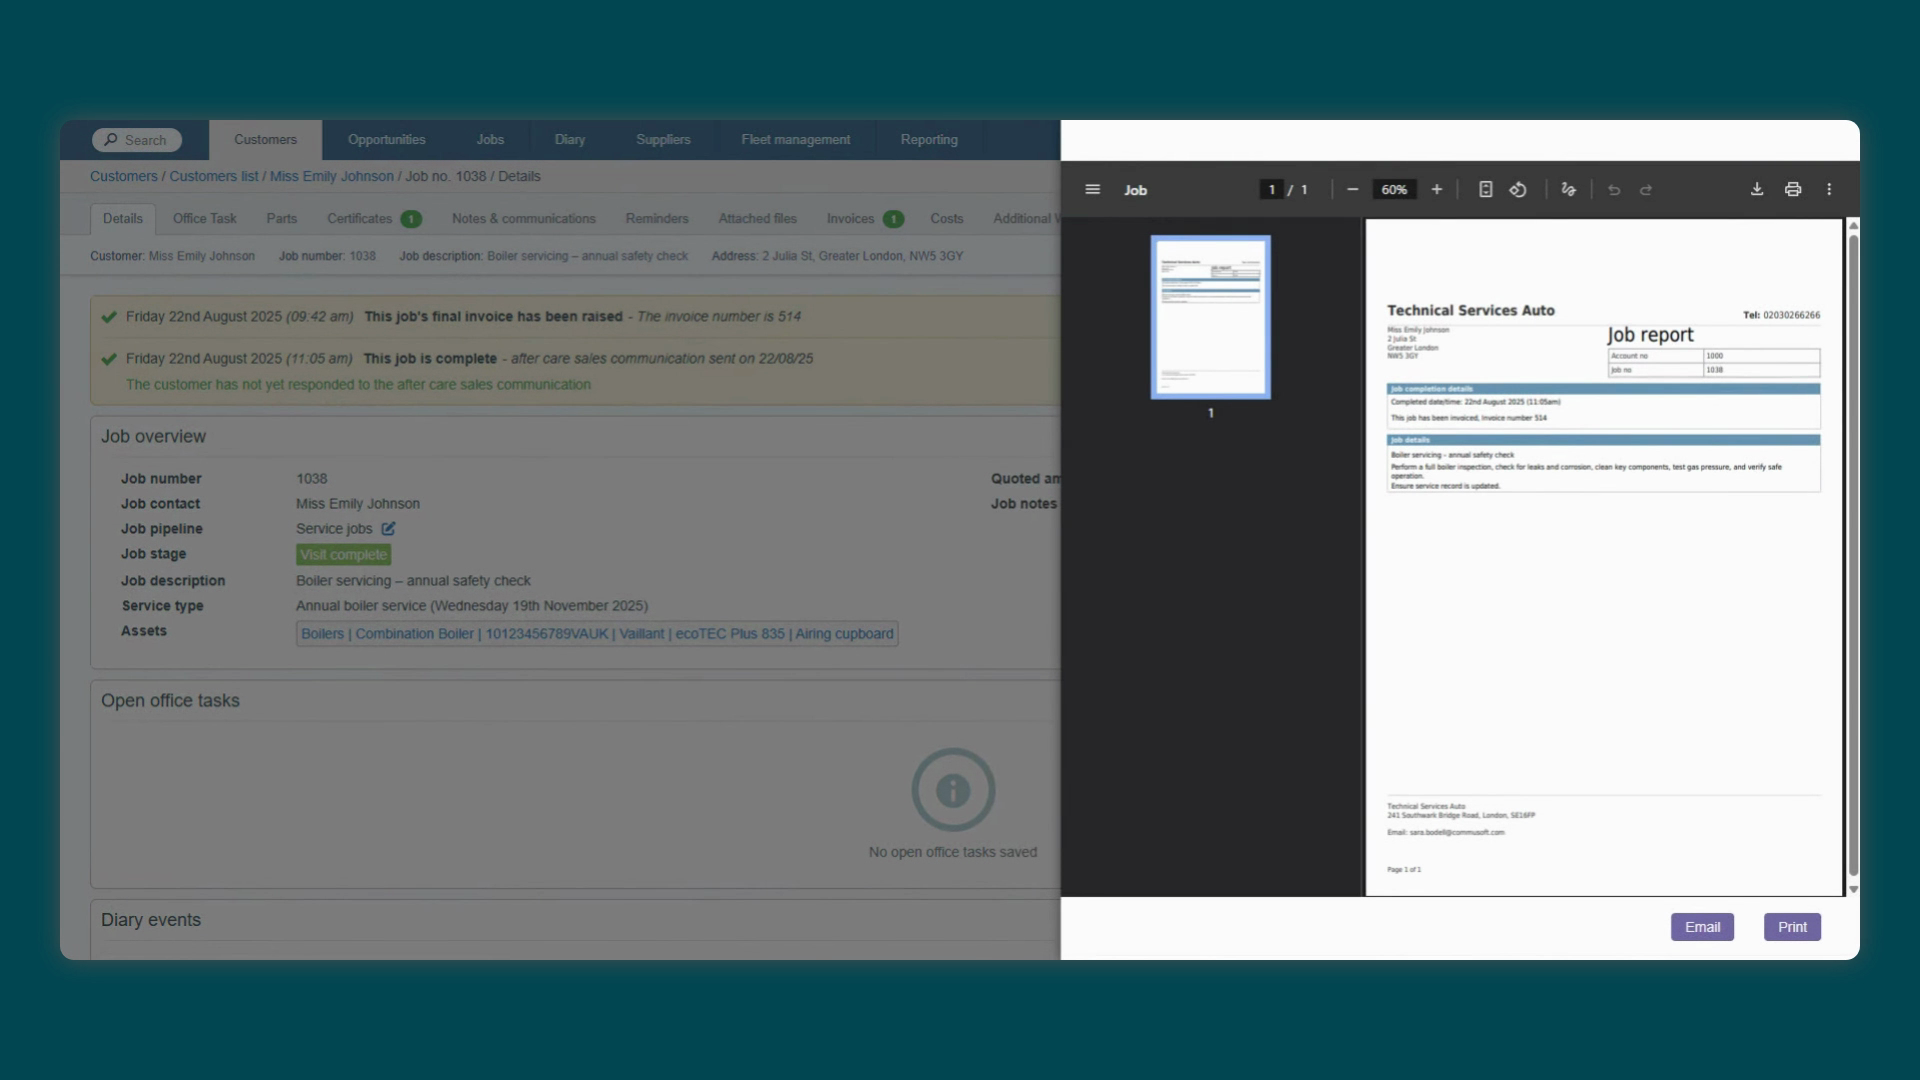
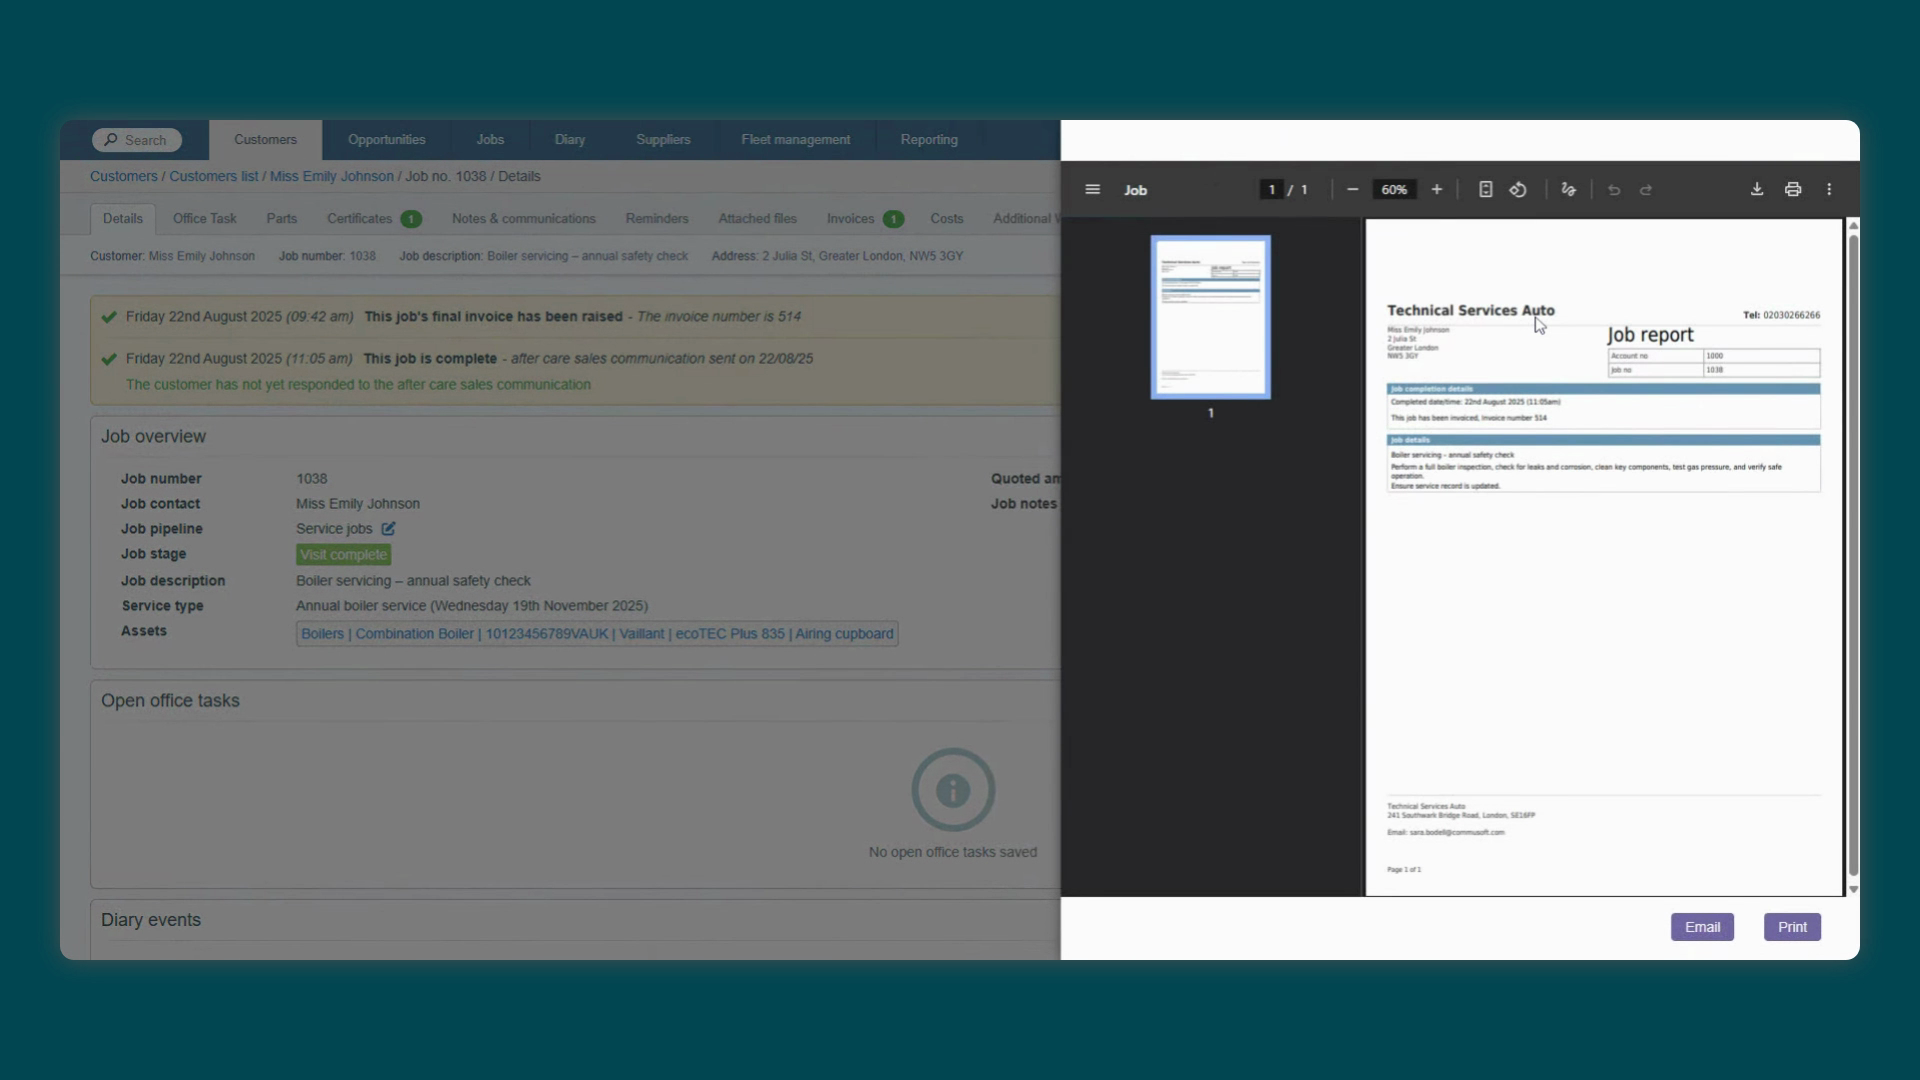
send job report. CommuSoft will then generate a preview of the Job report P. This gives you a chance to
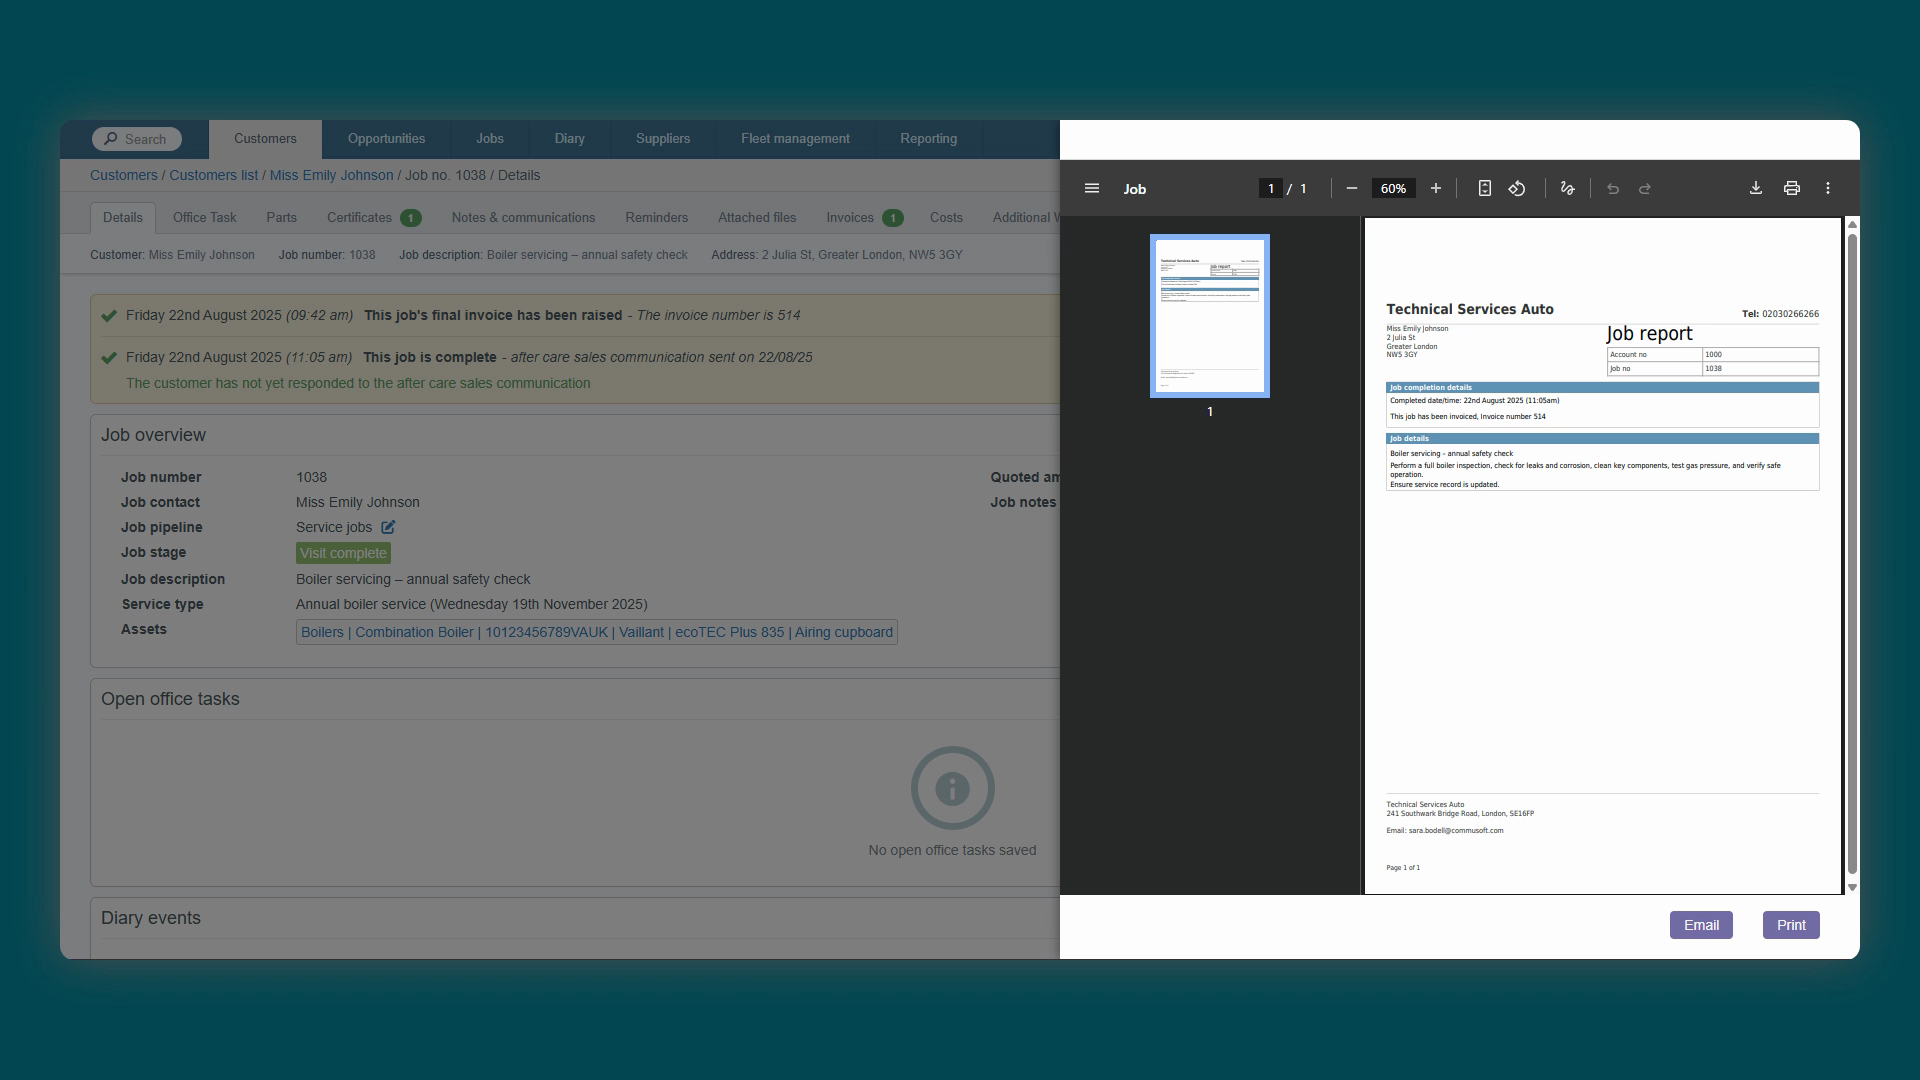
review the document and ensure all the information is correct before it goes to the customer. Once you're happy with the document,
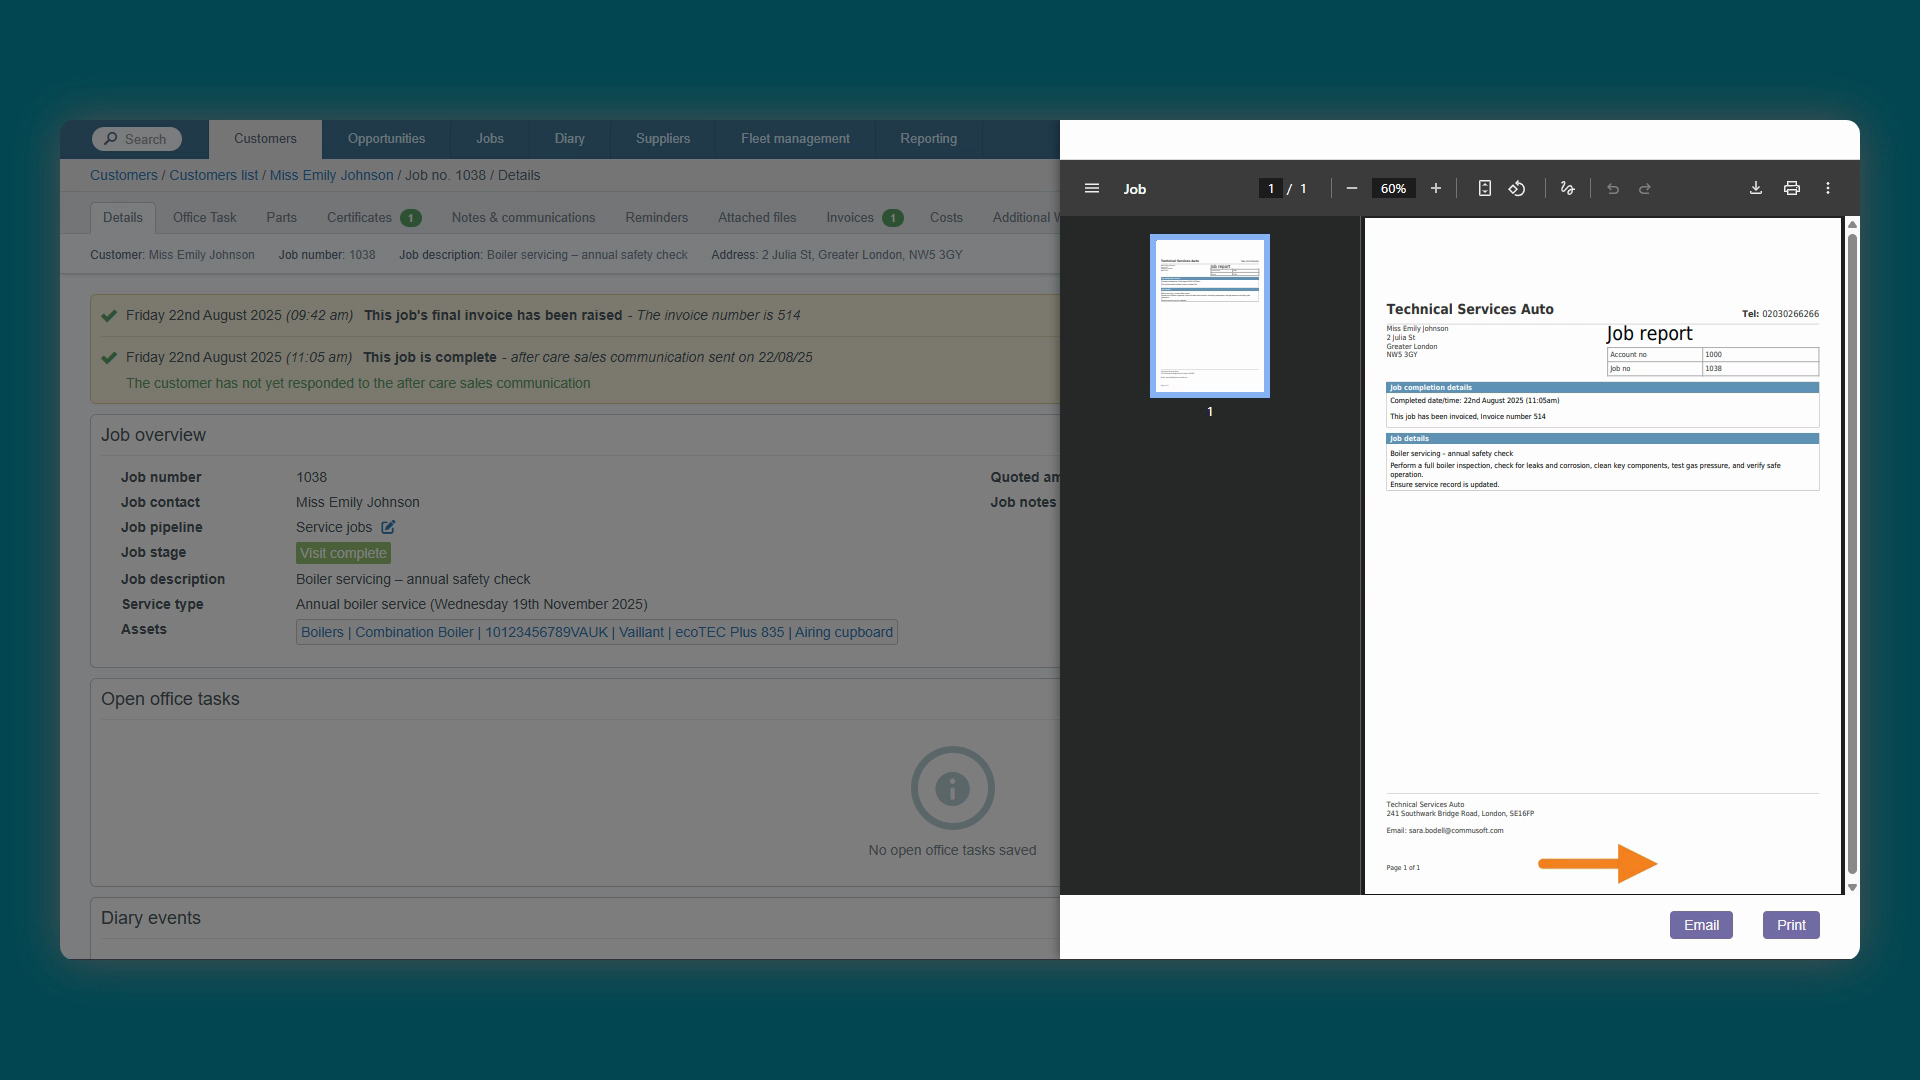
click the Email button at the bottom of the preview panel. Ensure you use this button to email documents for it to
register in the communication timeline. The email widget will then open. You'll see that it's automatically
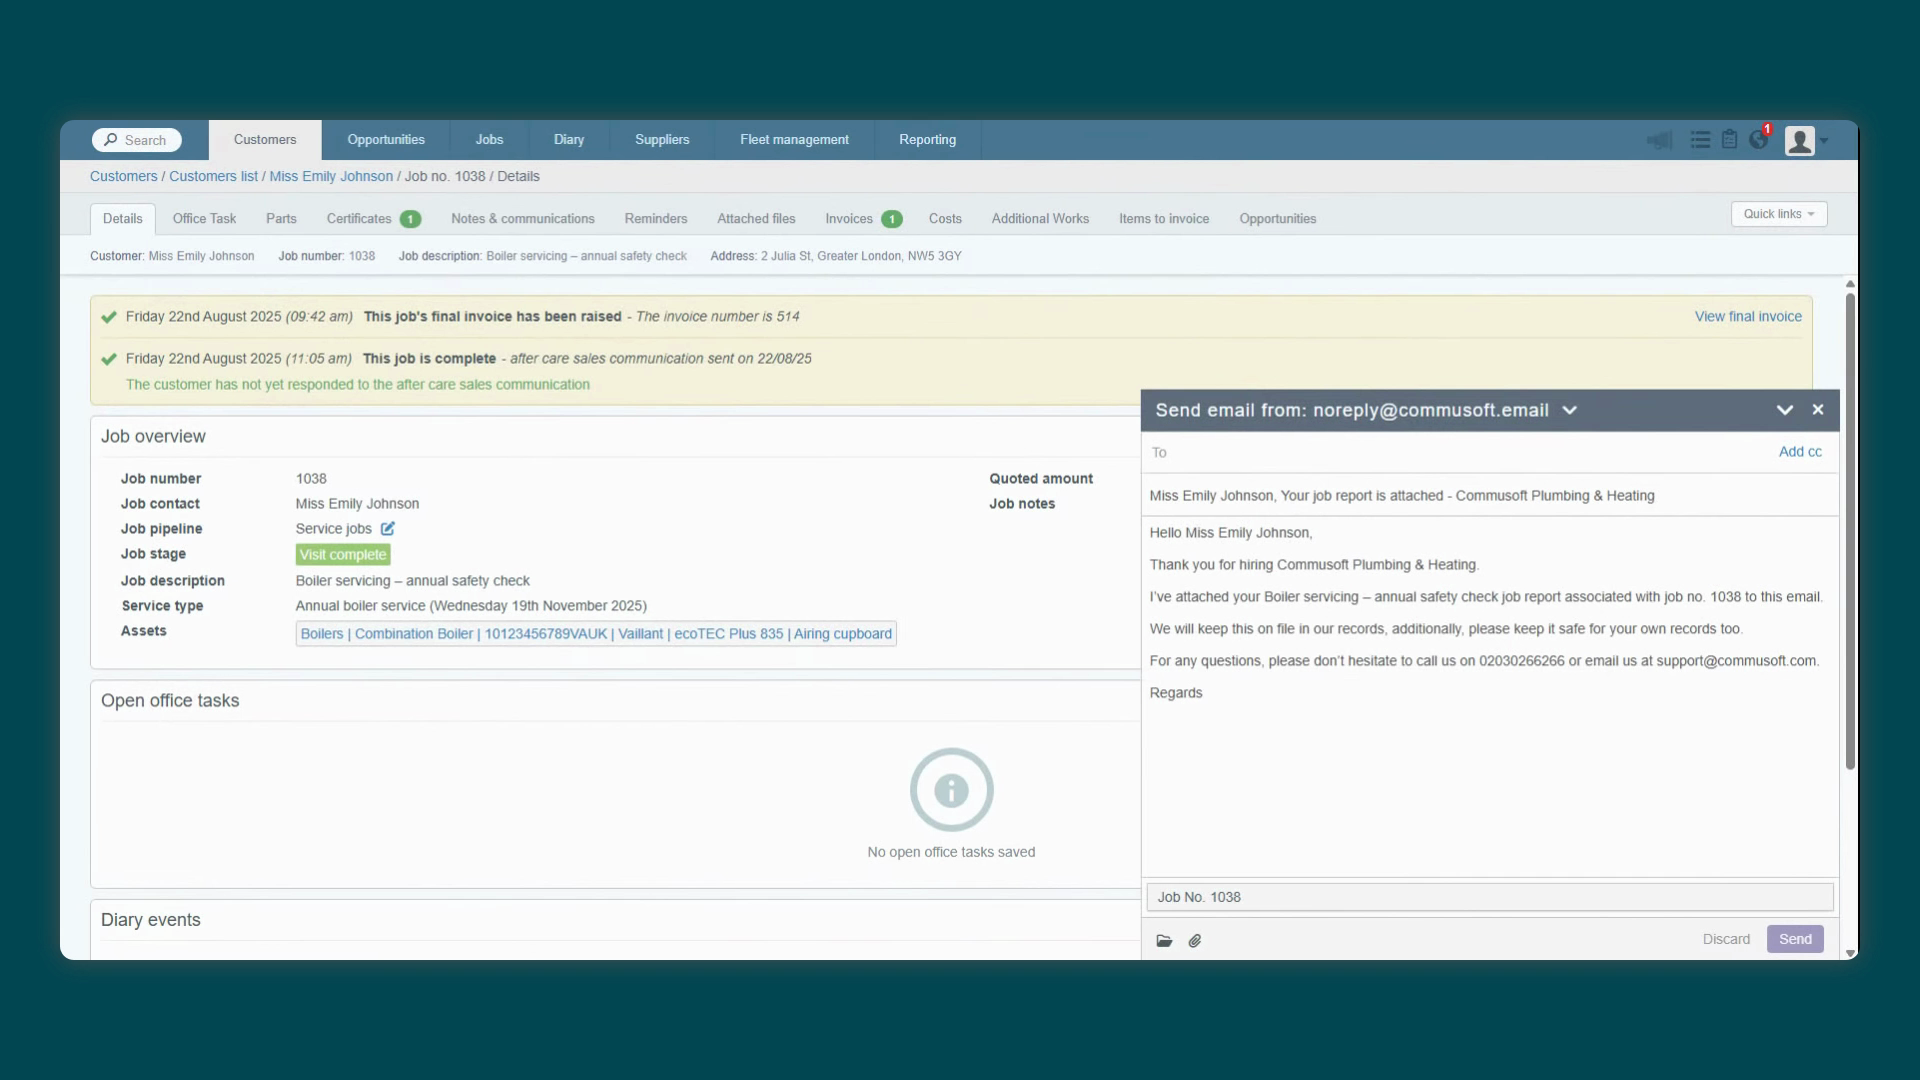
populated with the email template, which we configured earlier, and the Job Report PDF is already attached.
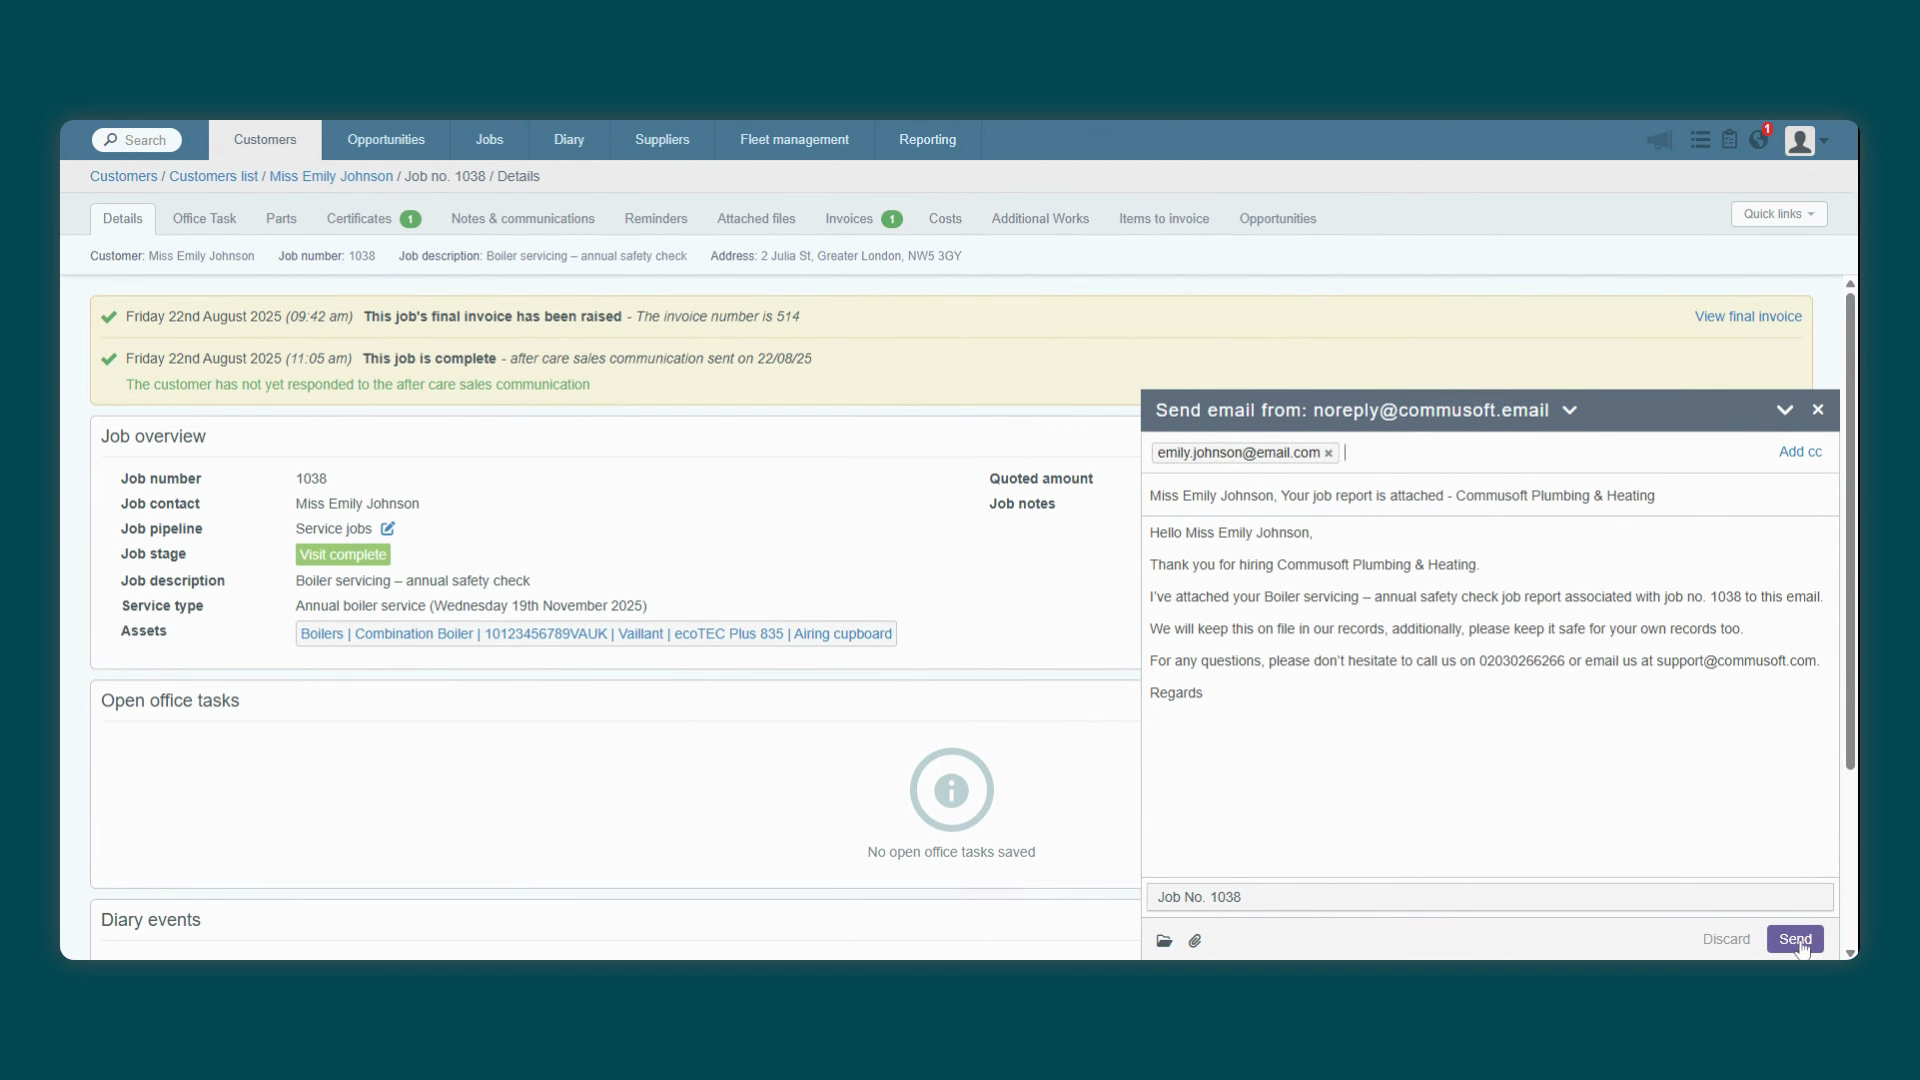
Add the recipient email, then send.
Created on
Did you find this article helpful?