

First, let's navigate to the right place in Settings. Click your profile icon,
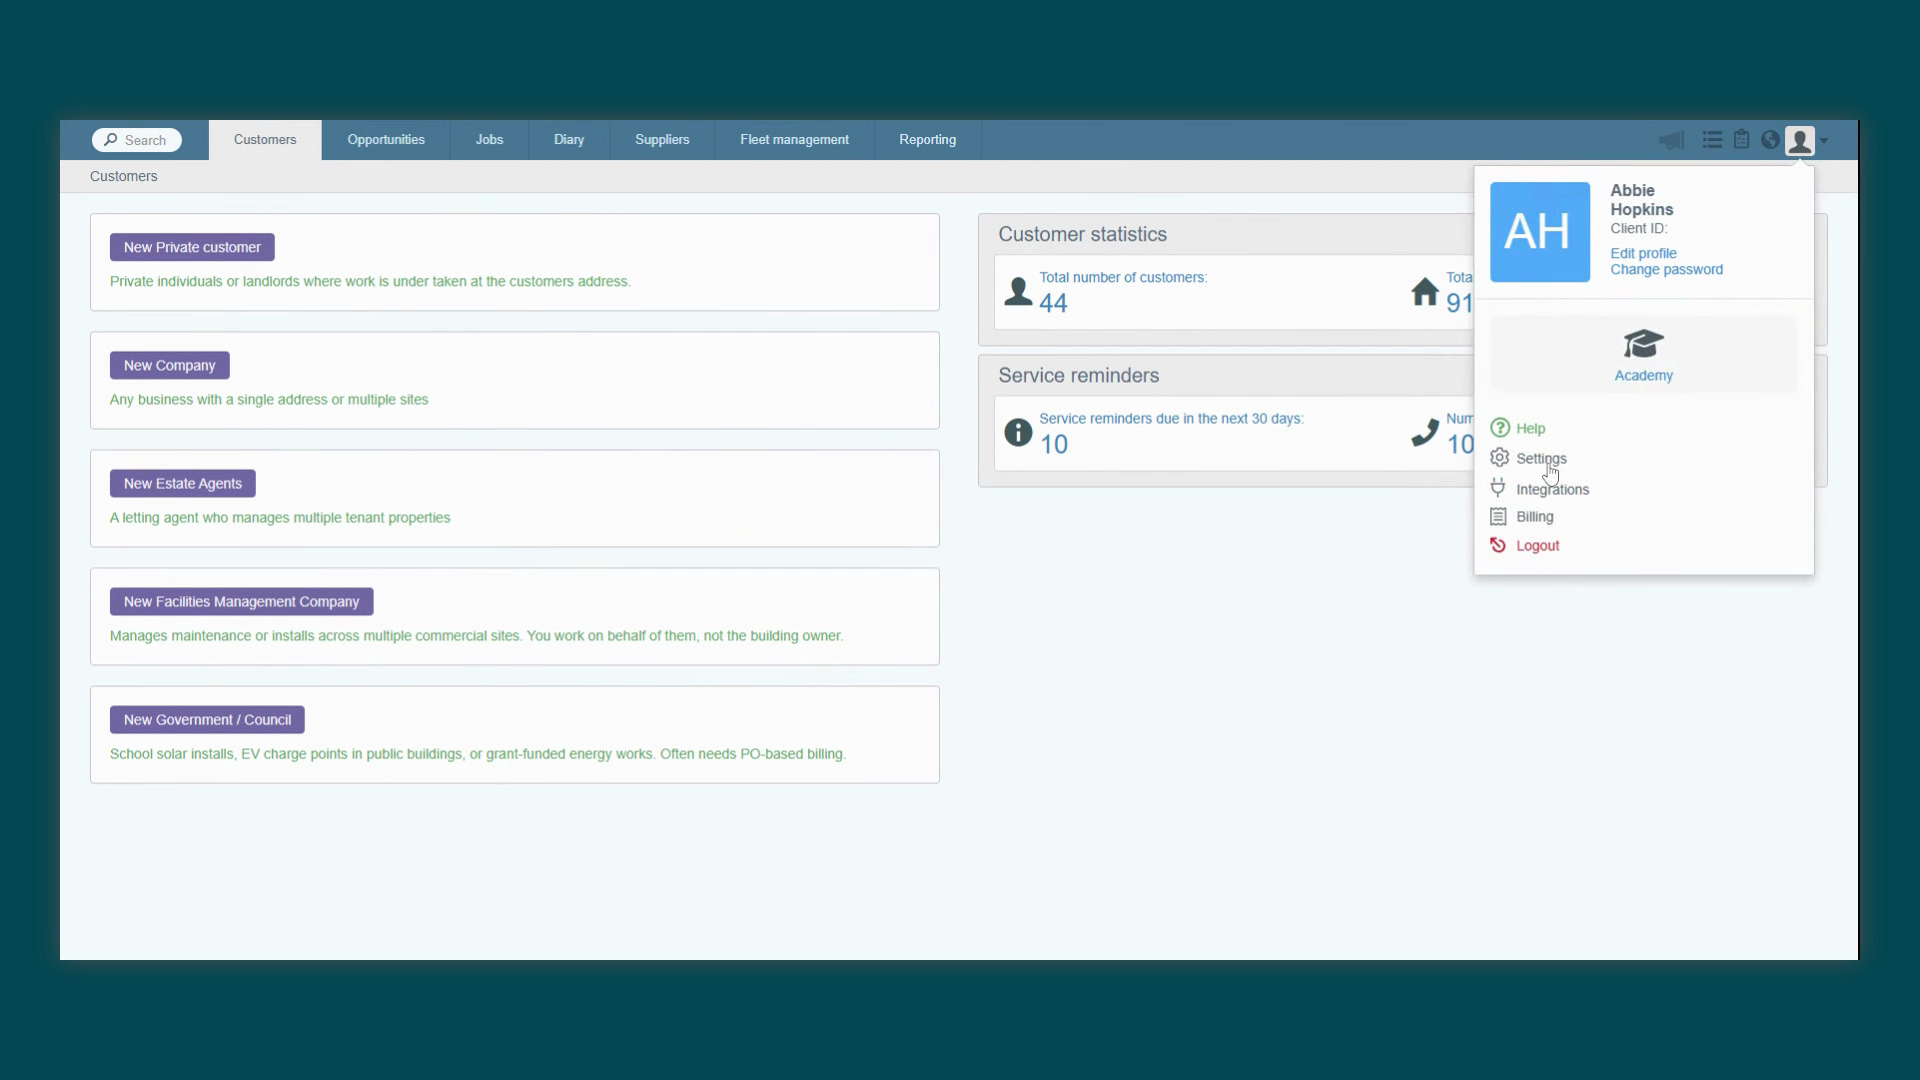
select Settings, then go to the
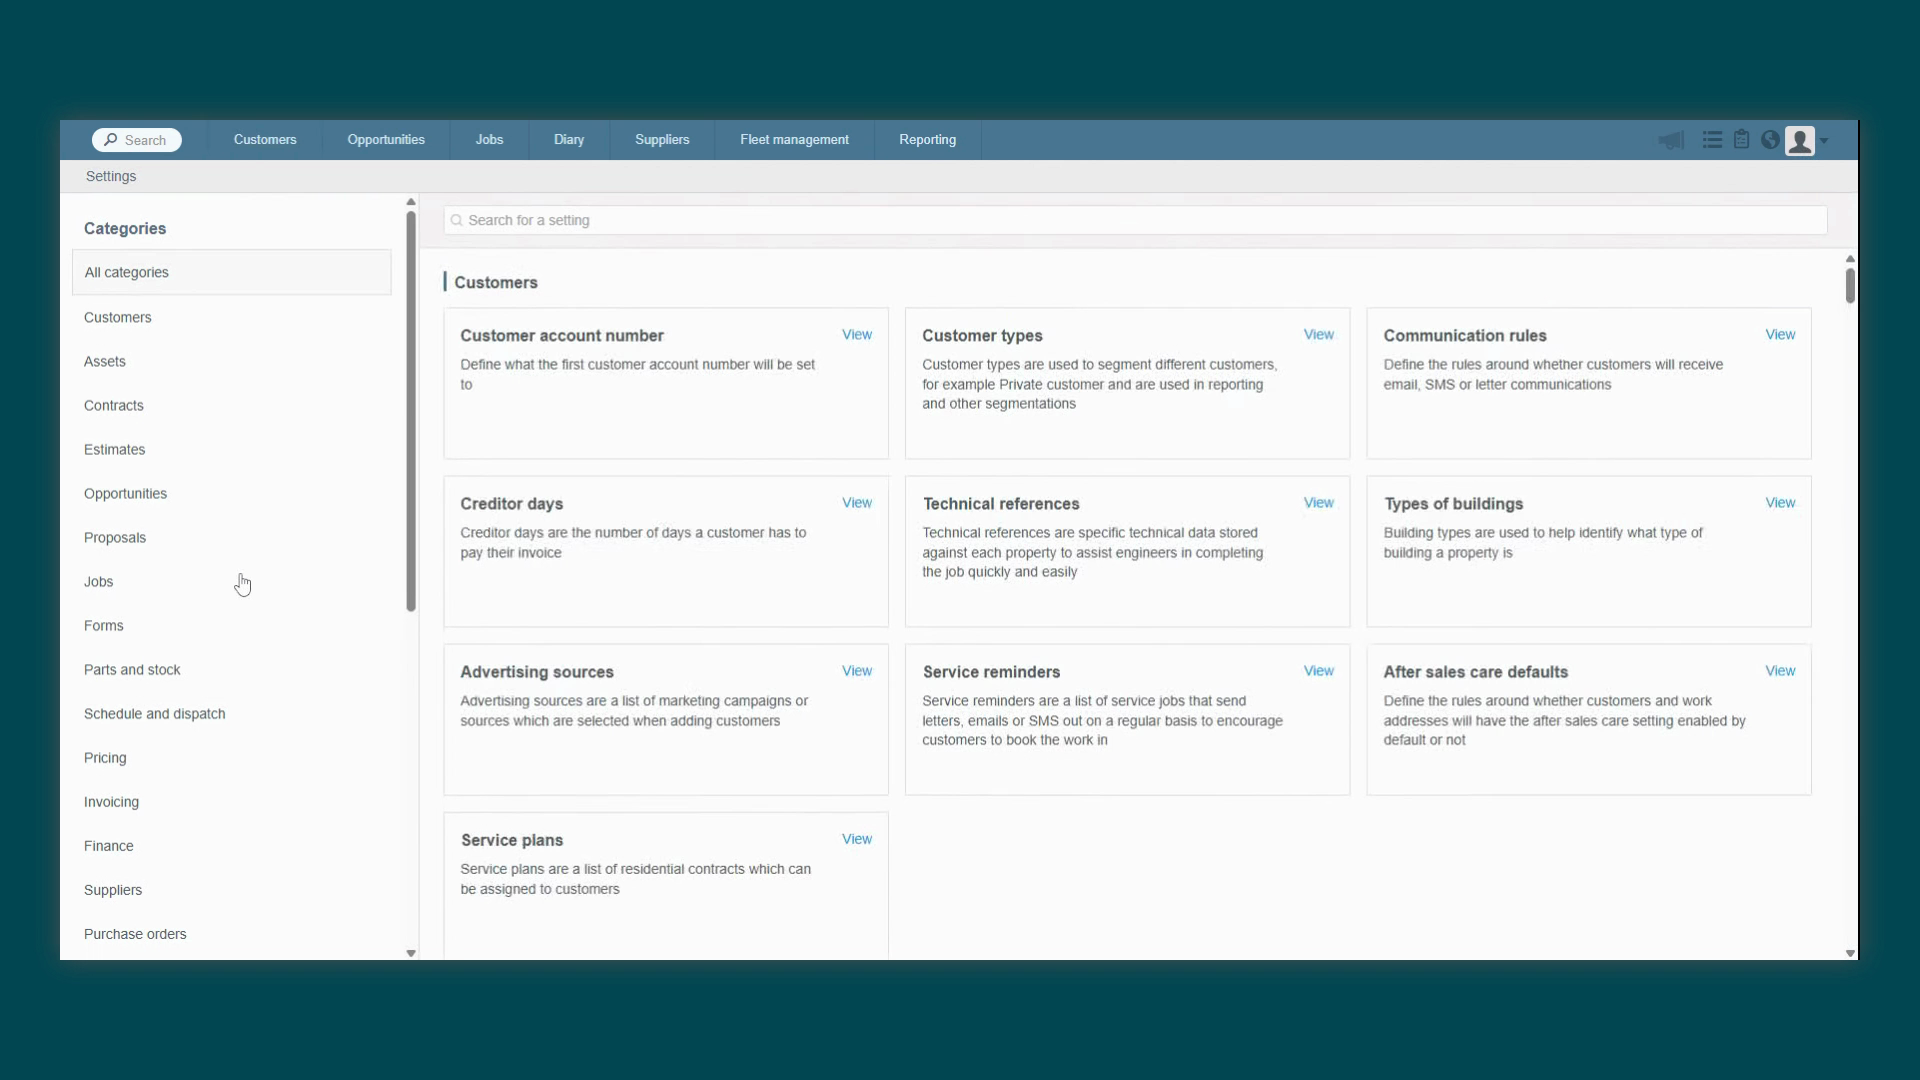
Jobs category. From there, click on Job Report
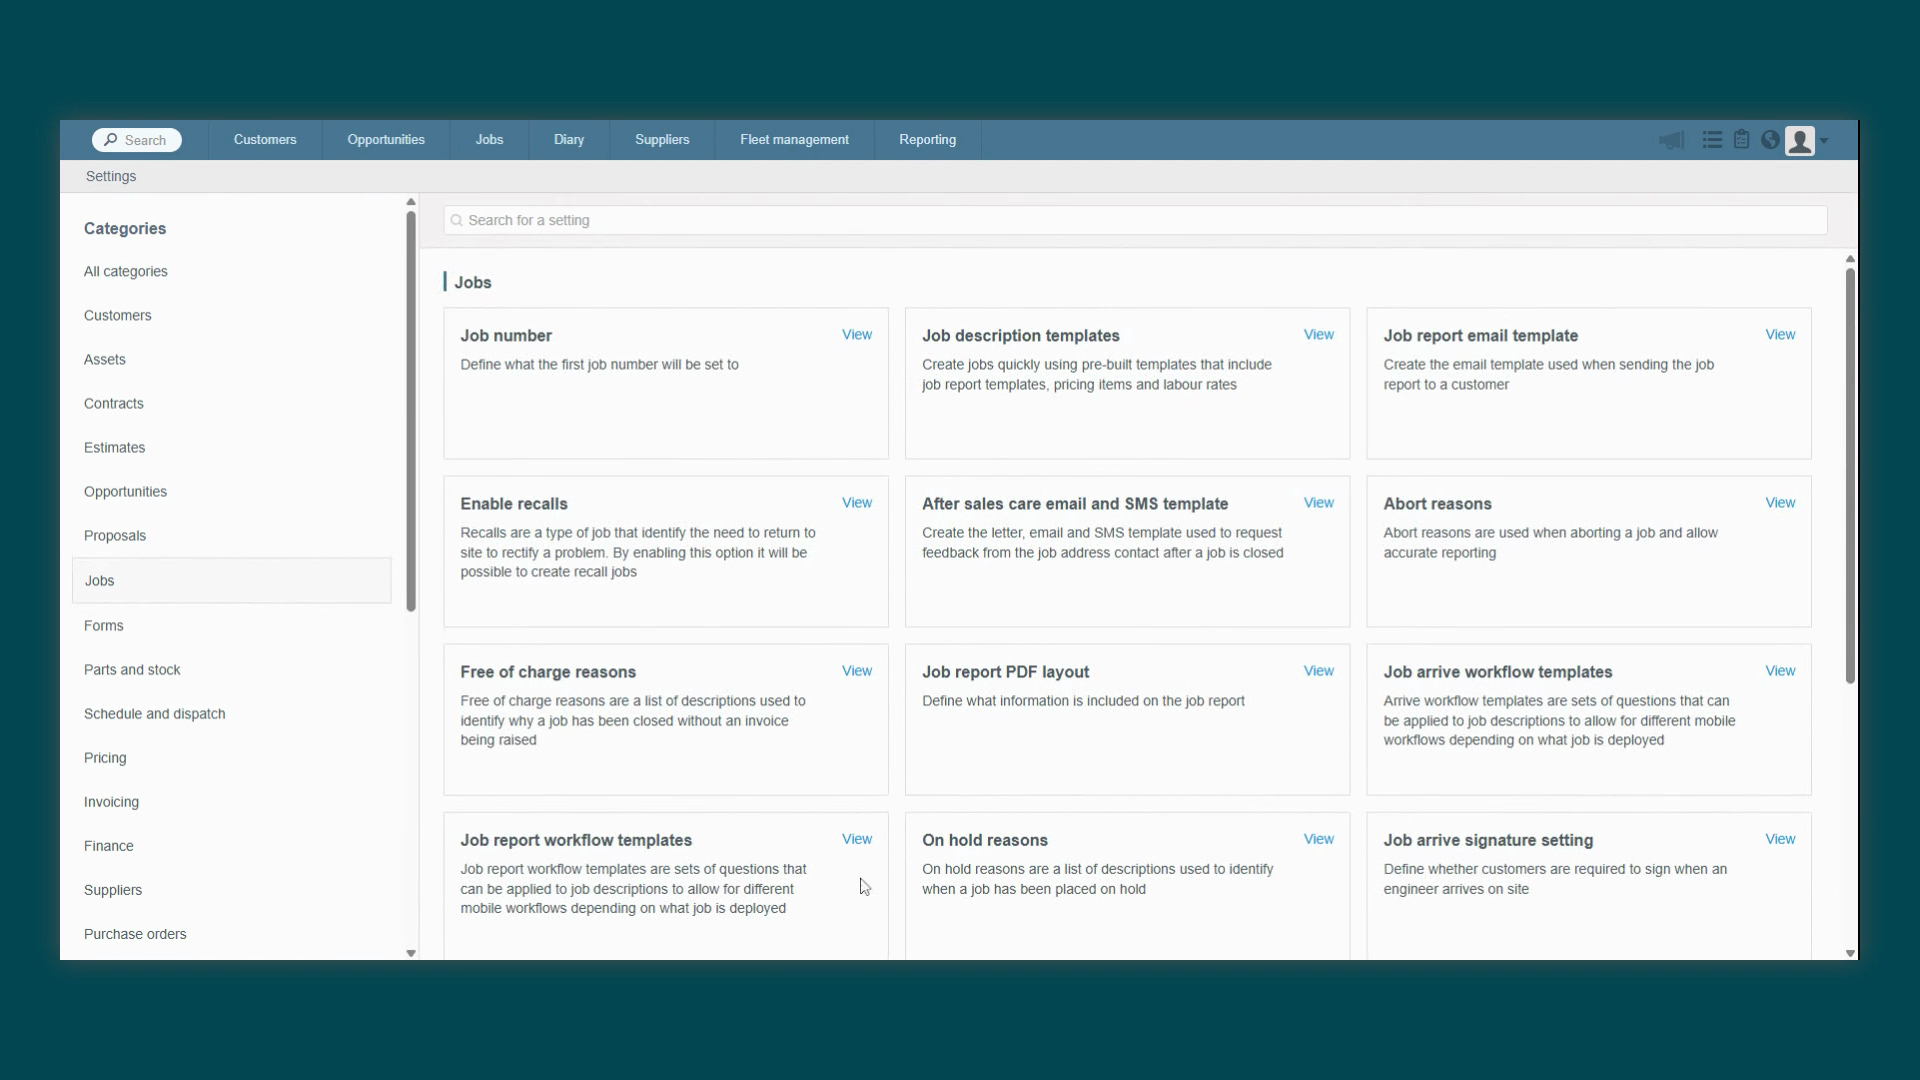
Workflow Templates. To create a new template, click
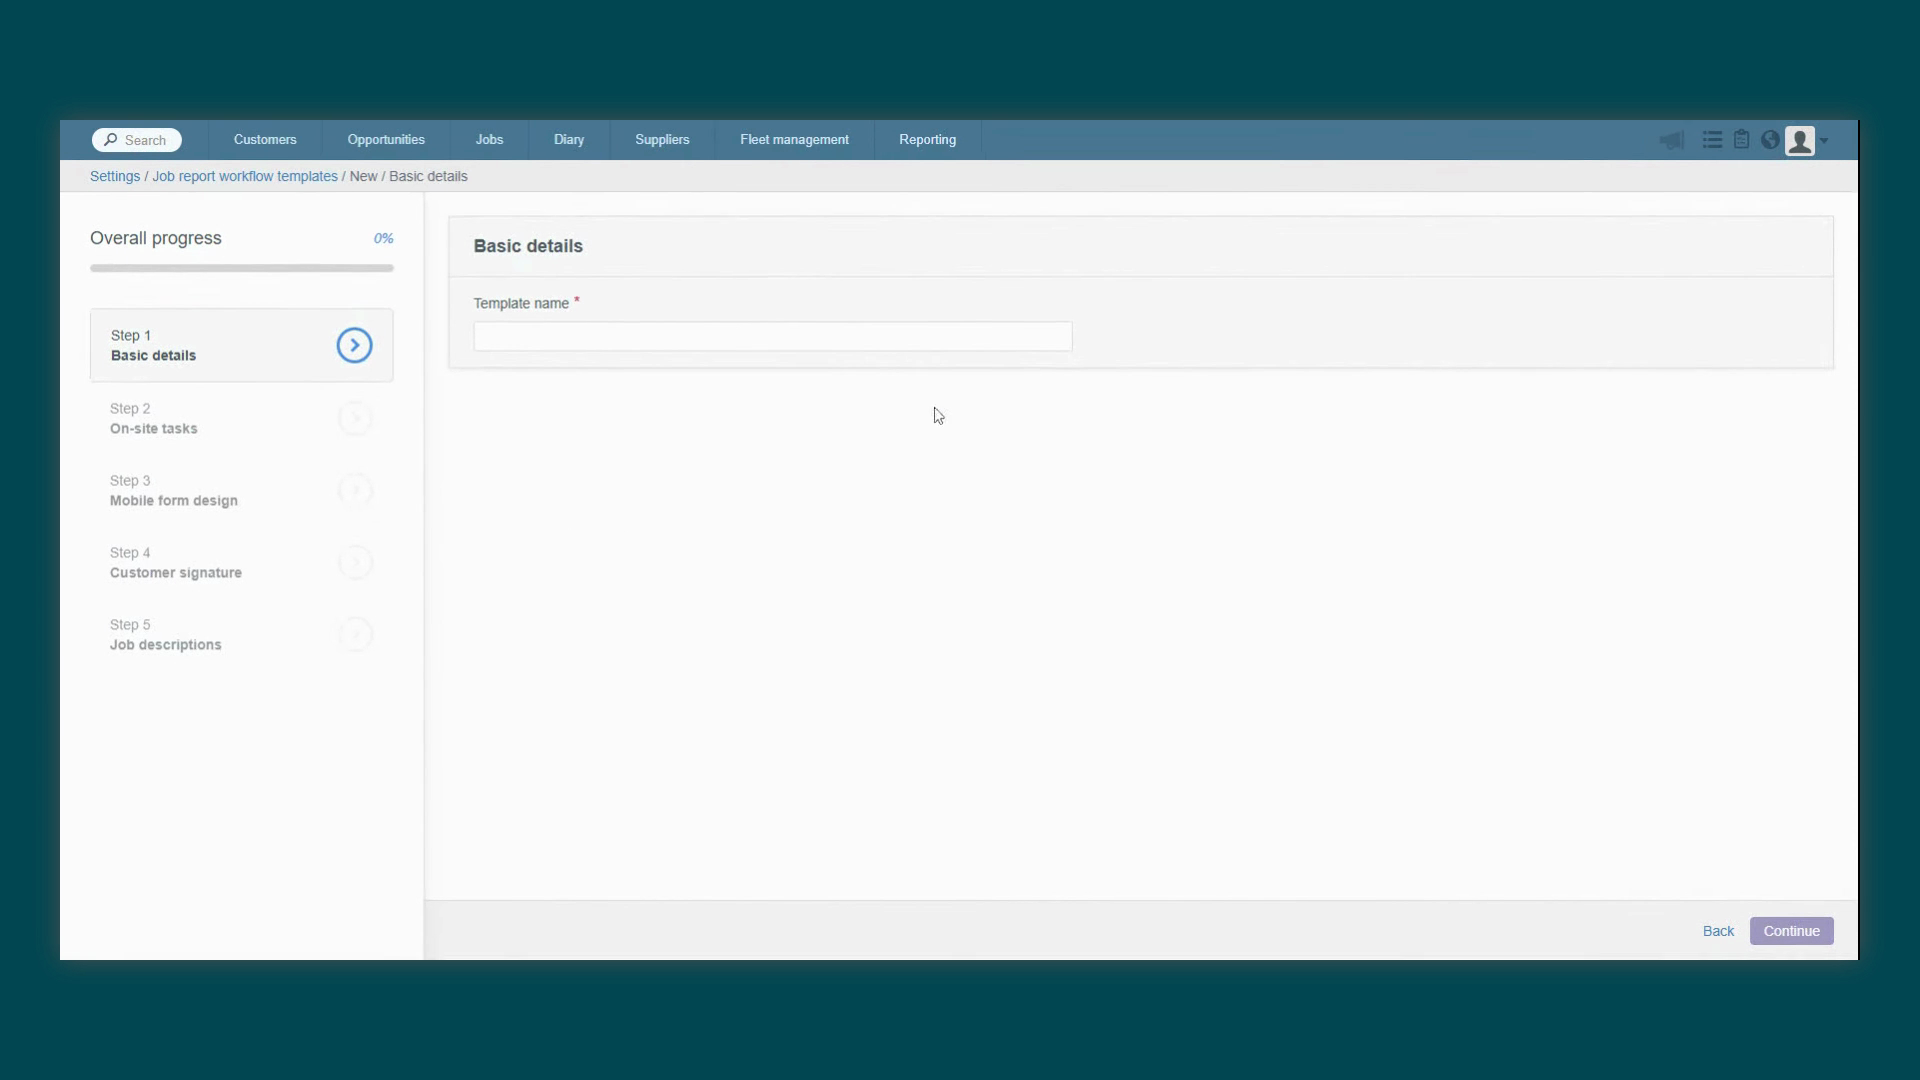
Add New Form. The first step is to give your template
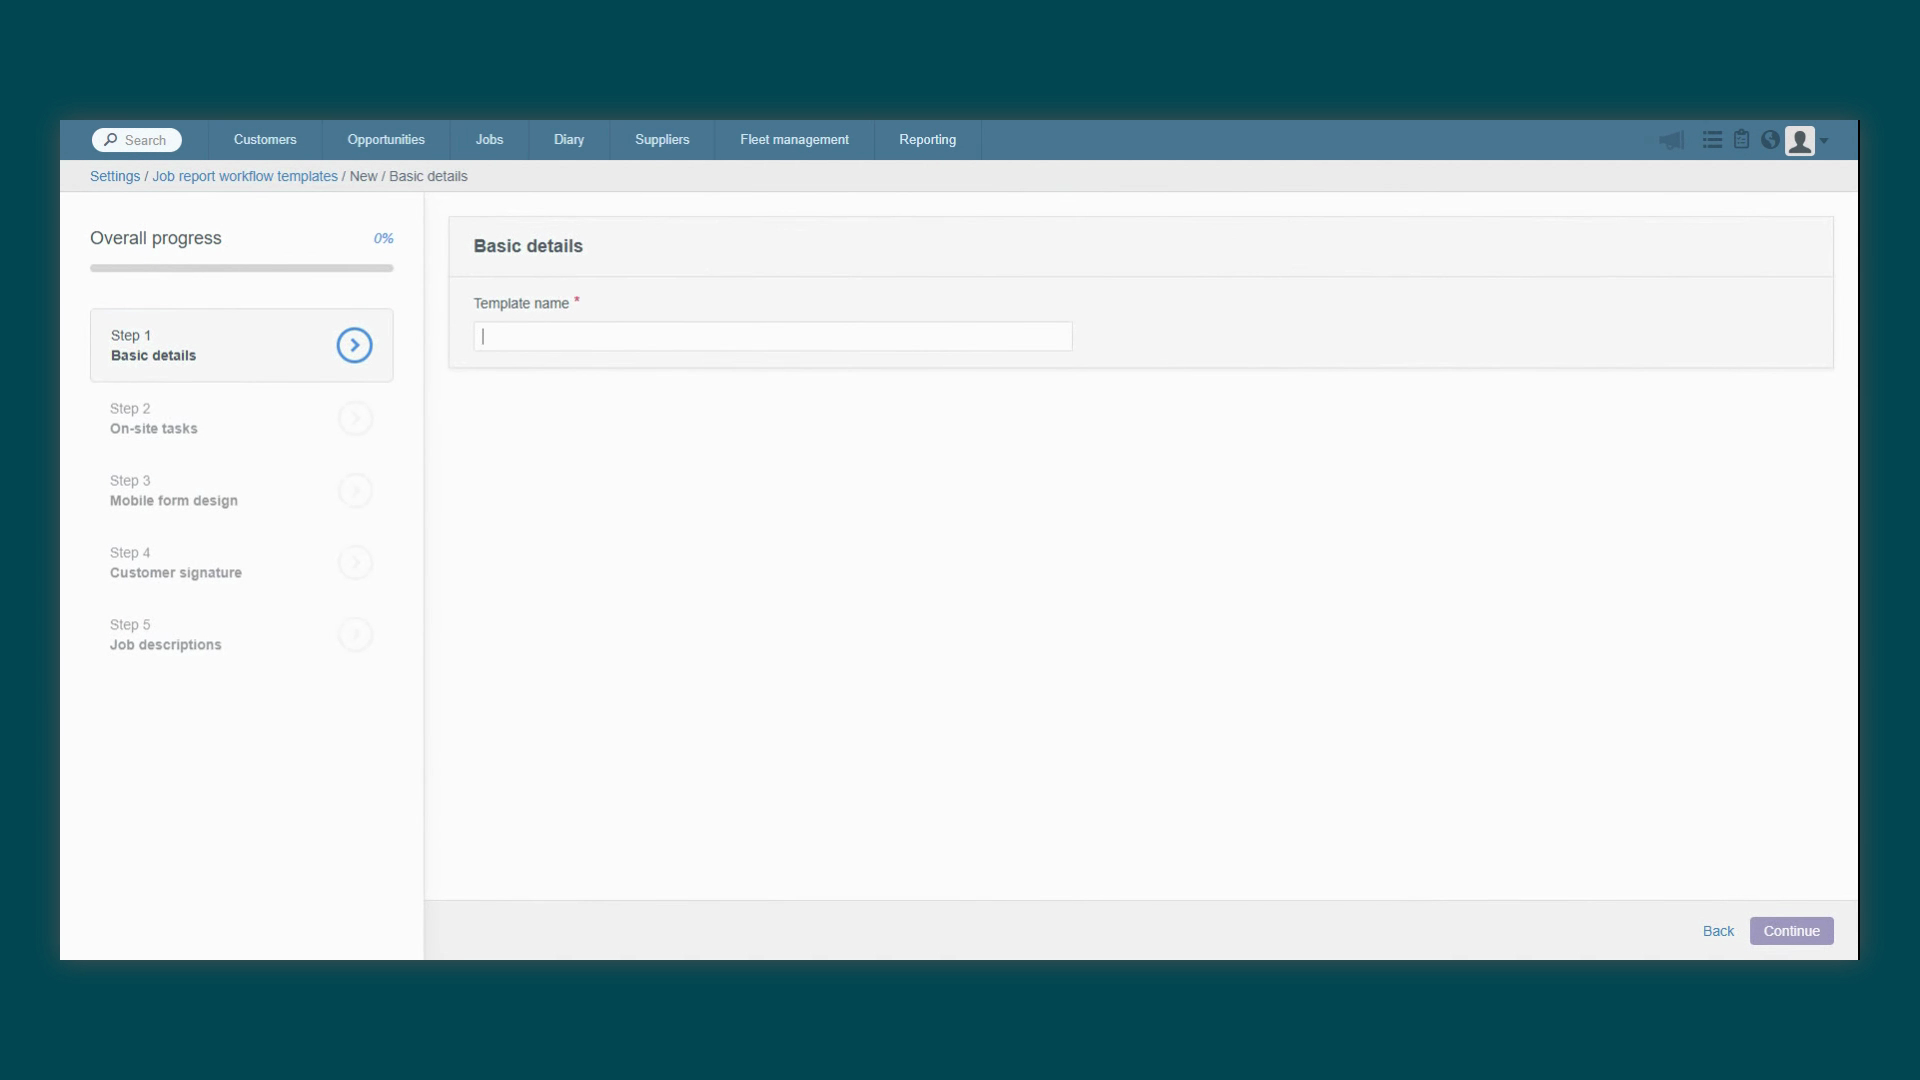
a clear and descriptive name. For this example, we'll create a report for an annual
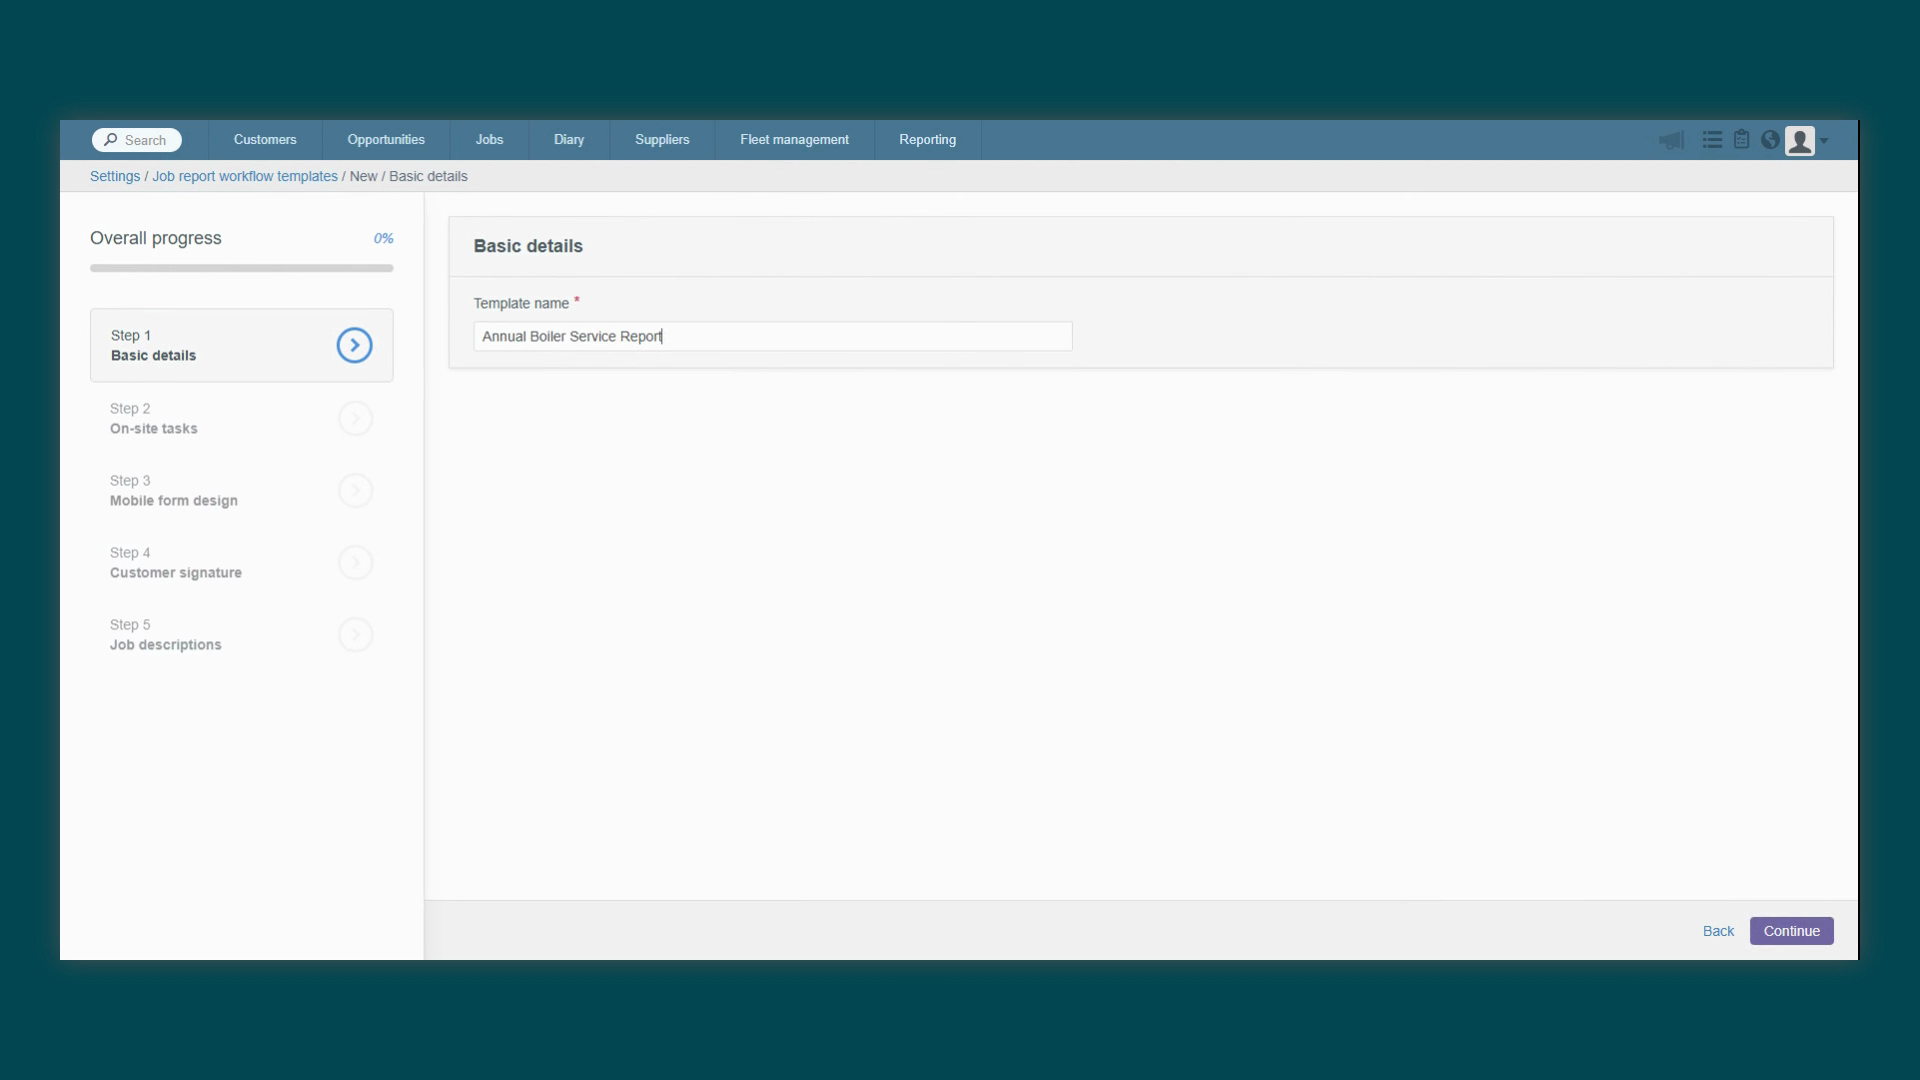
boiler service, so we'll name it Annual Boiler Service Report, then click
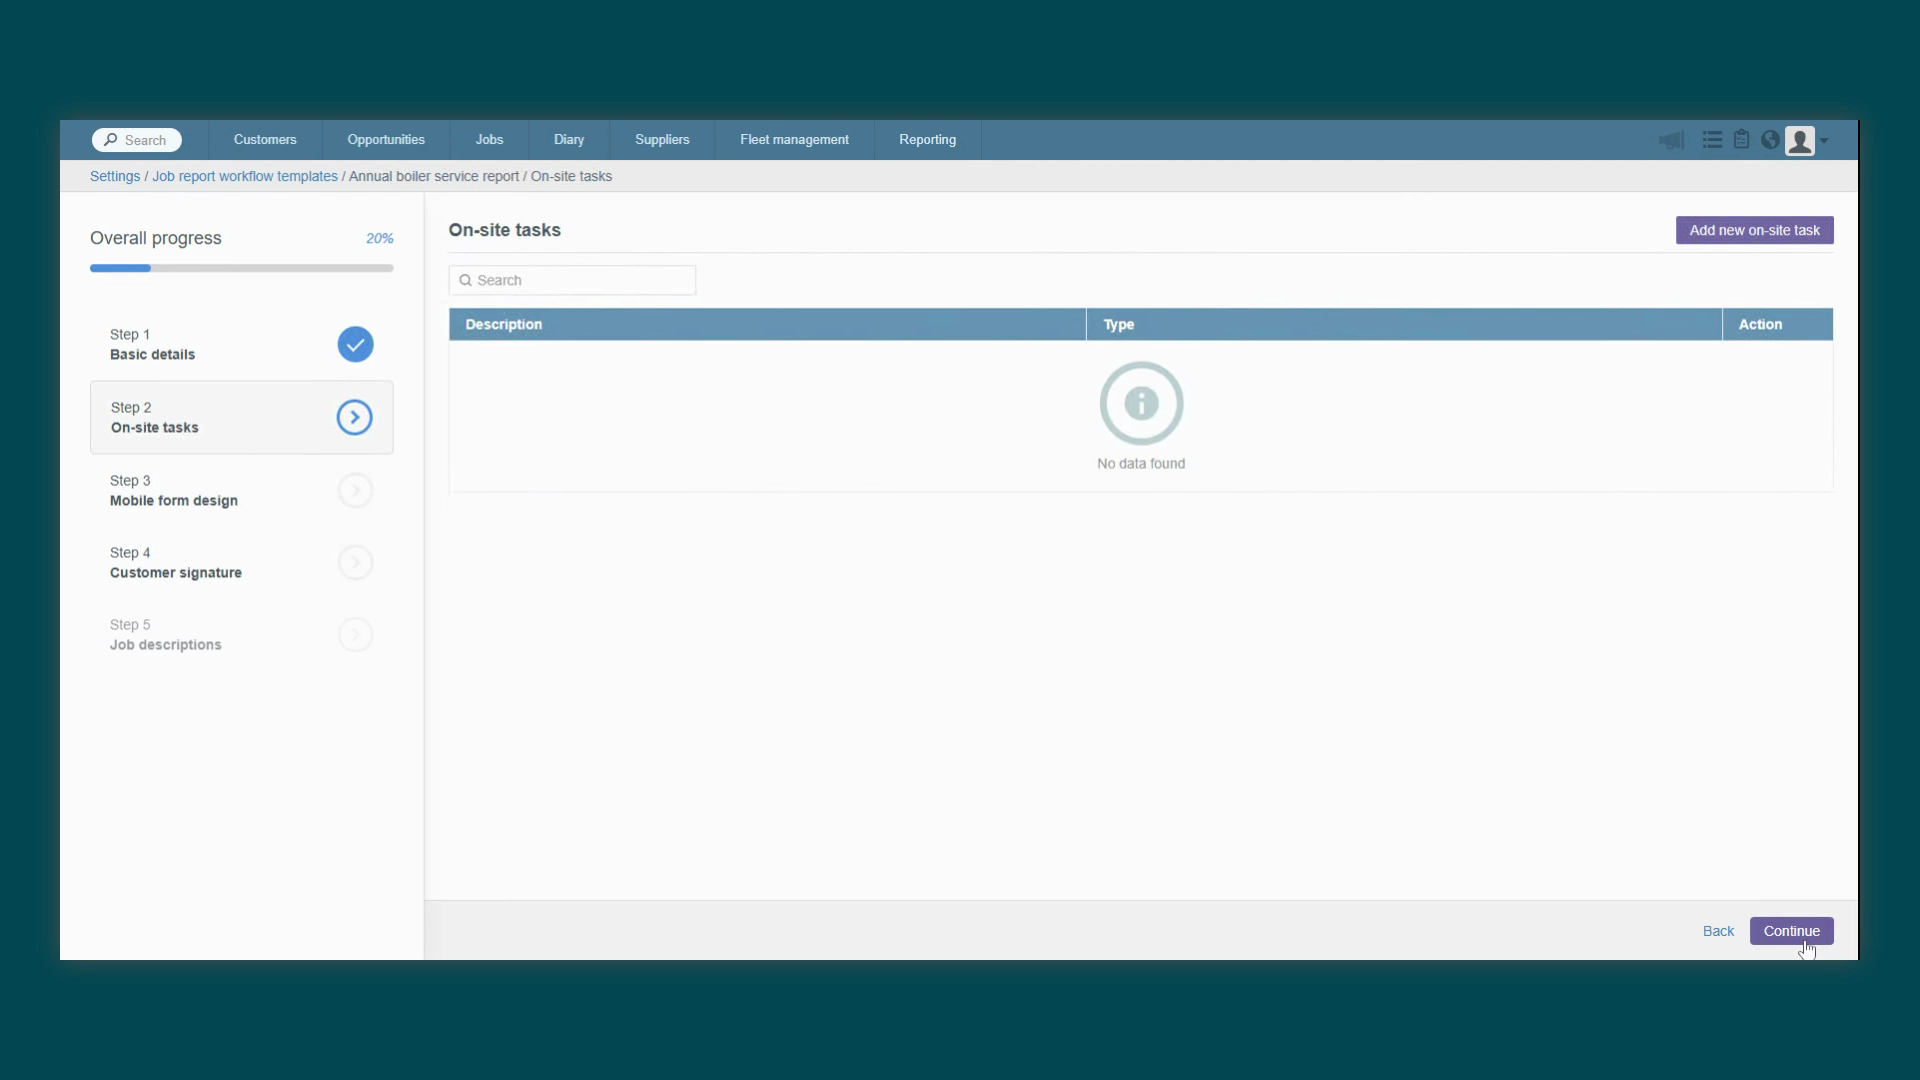
Continue. Here you'll find a powerful feature called On
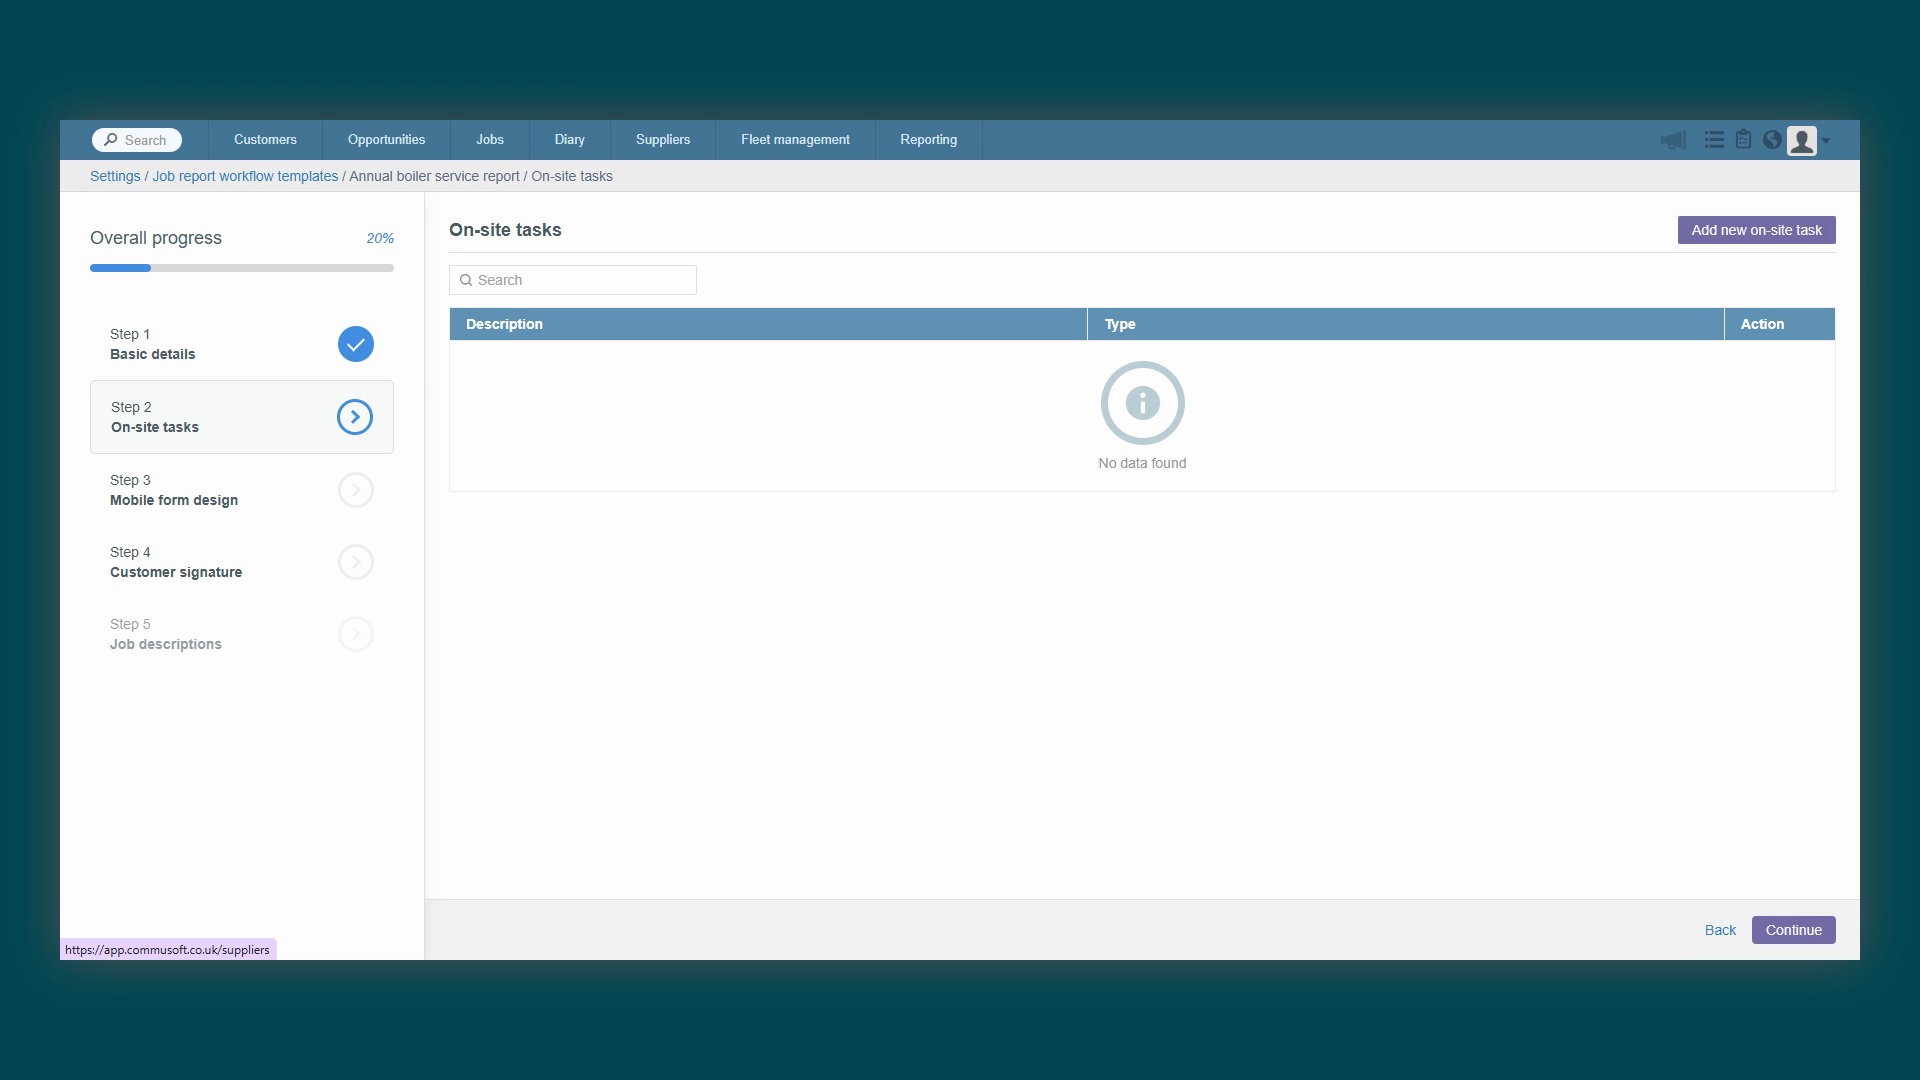
Site Tasks. This lets you create a mandatory to do list for your engineers.
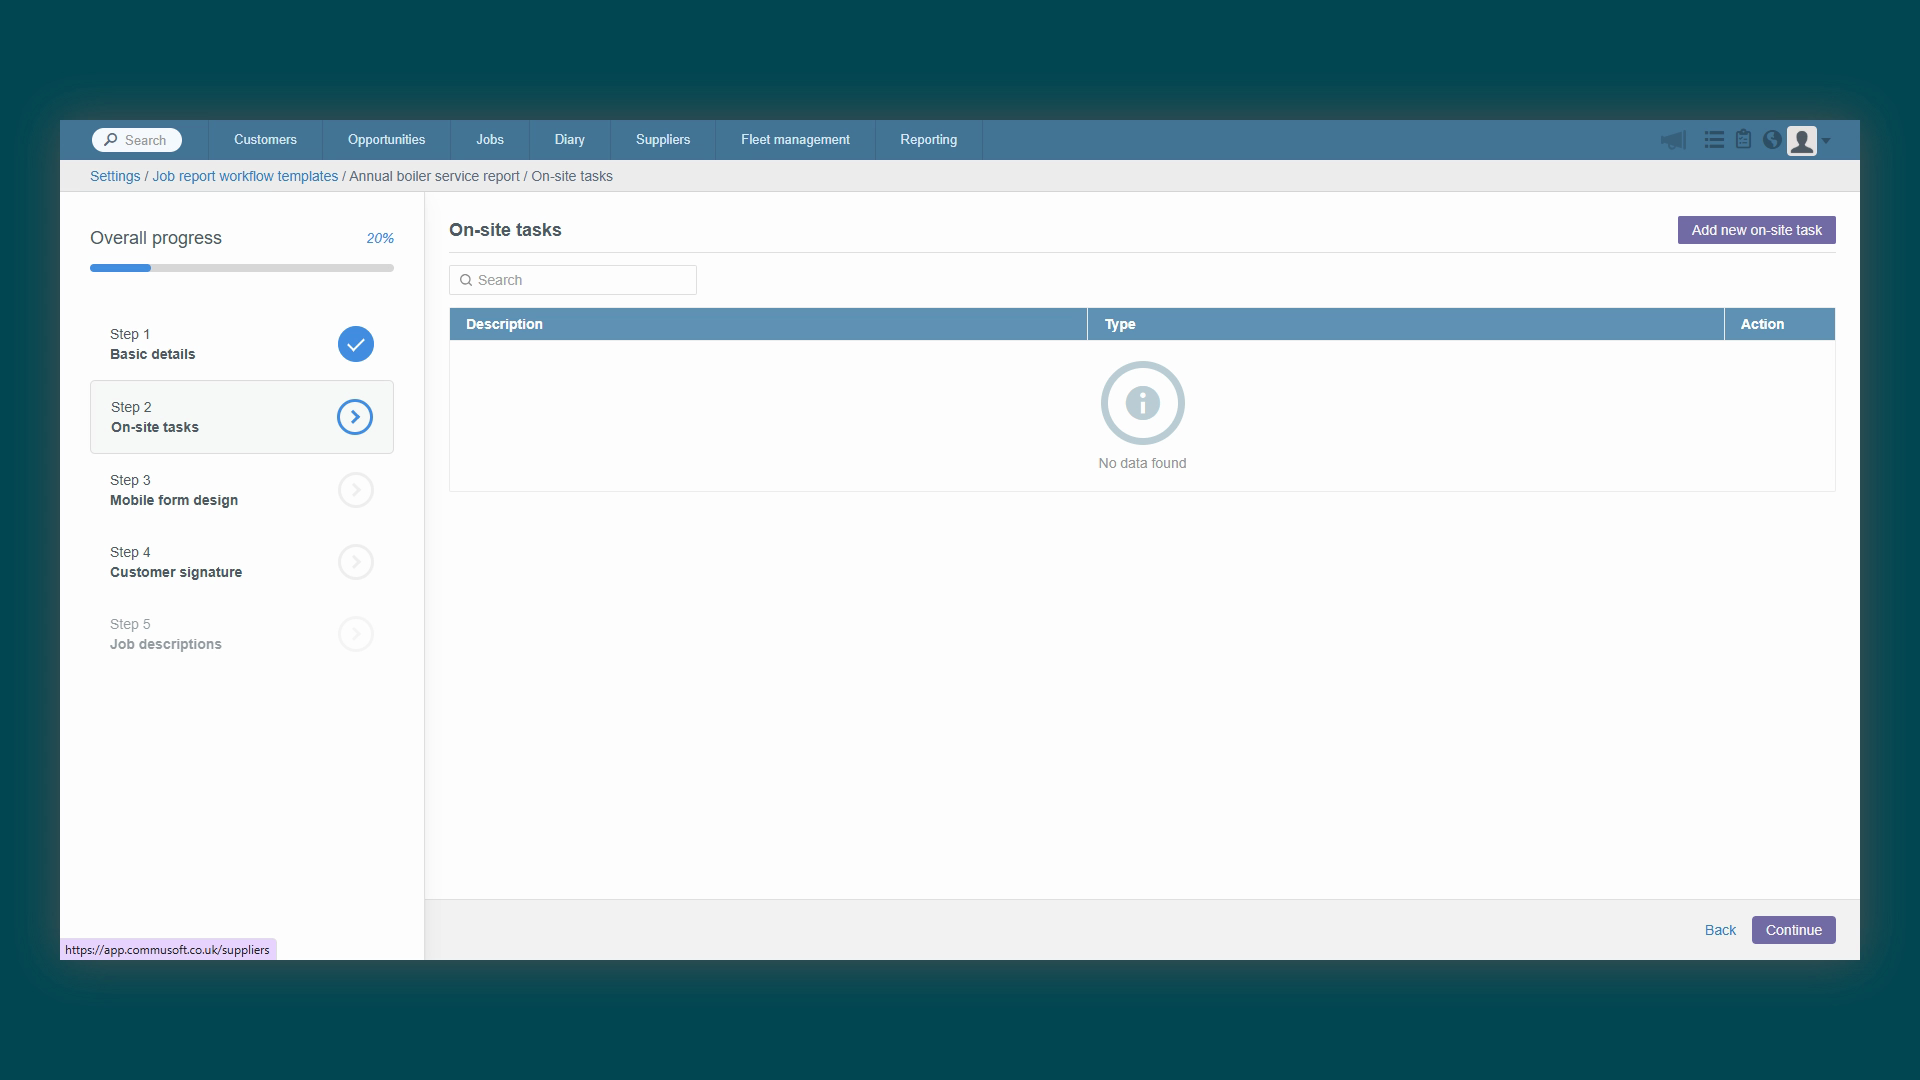
They will need to tick off each task on this list
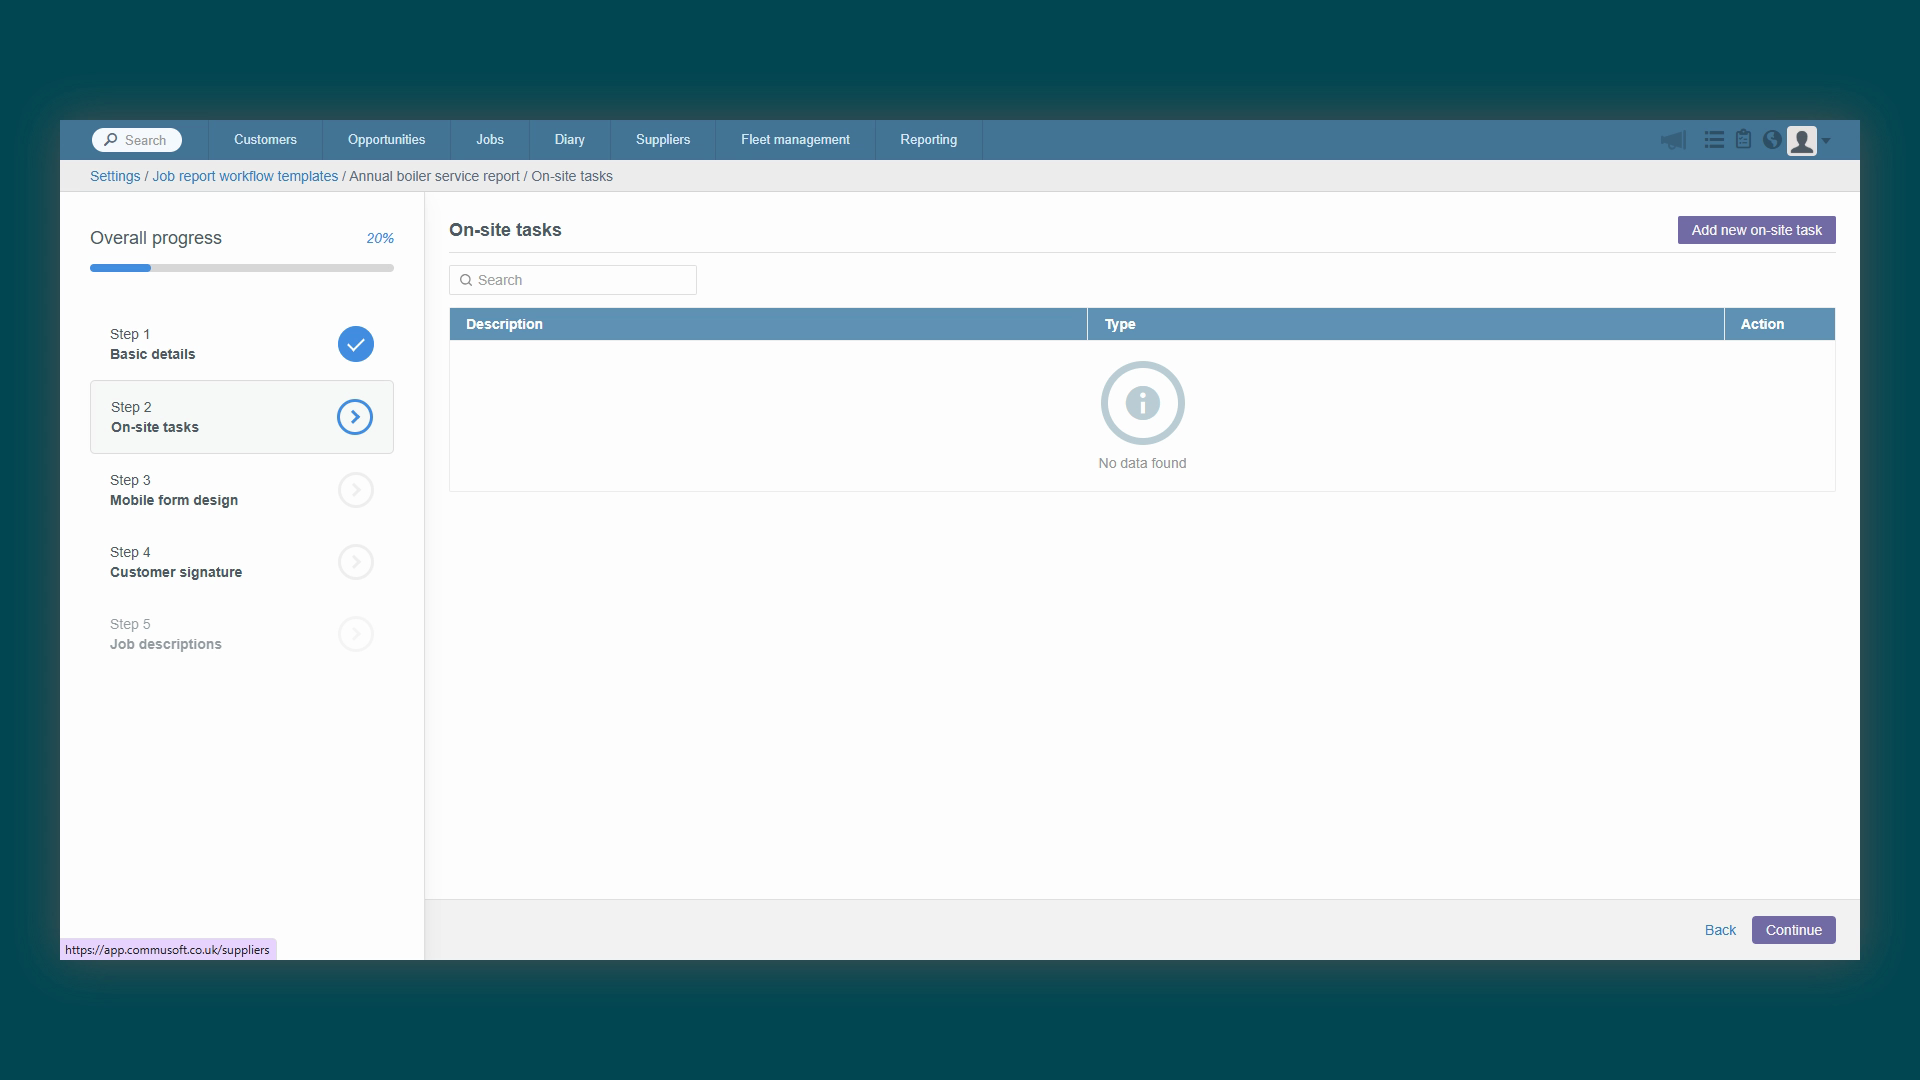
before they can leave site. This is perfect for ensuring critical steps like safety checks are always followed. To add a task, simply
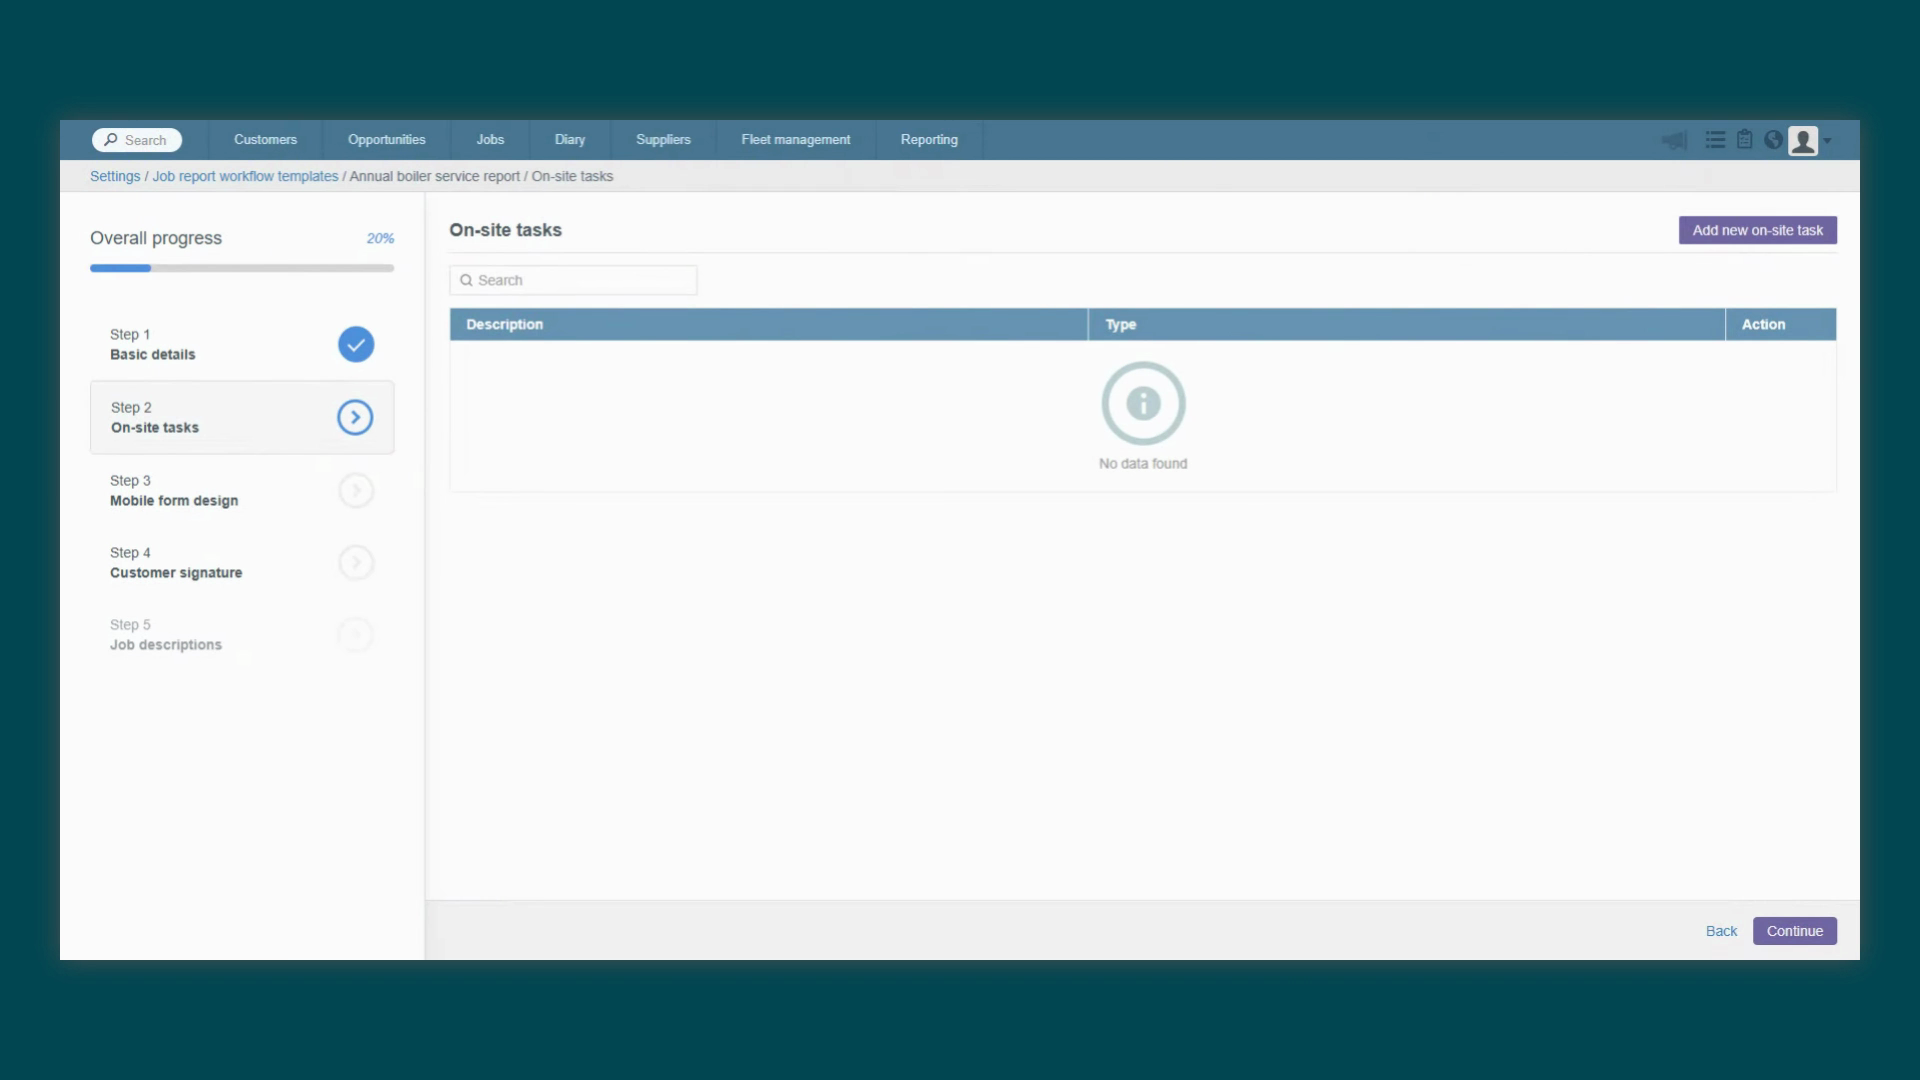
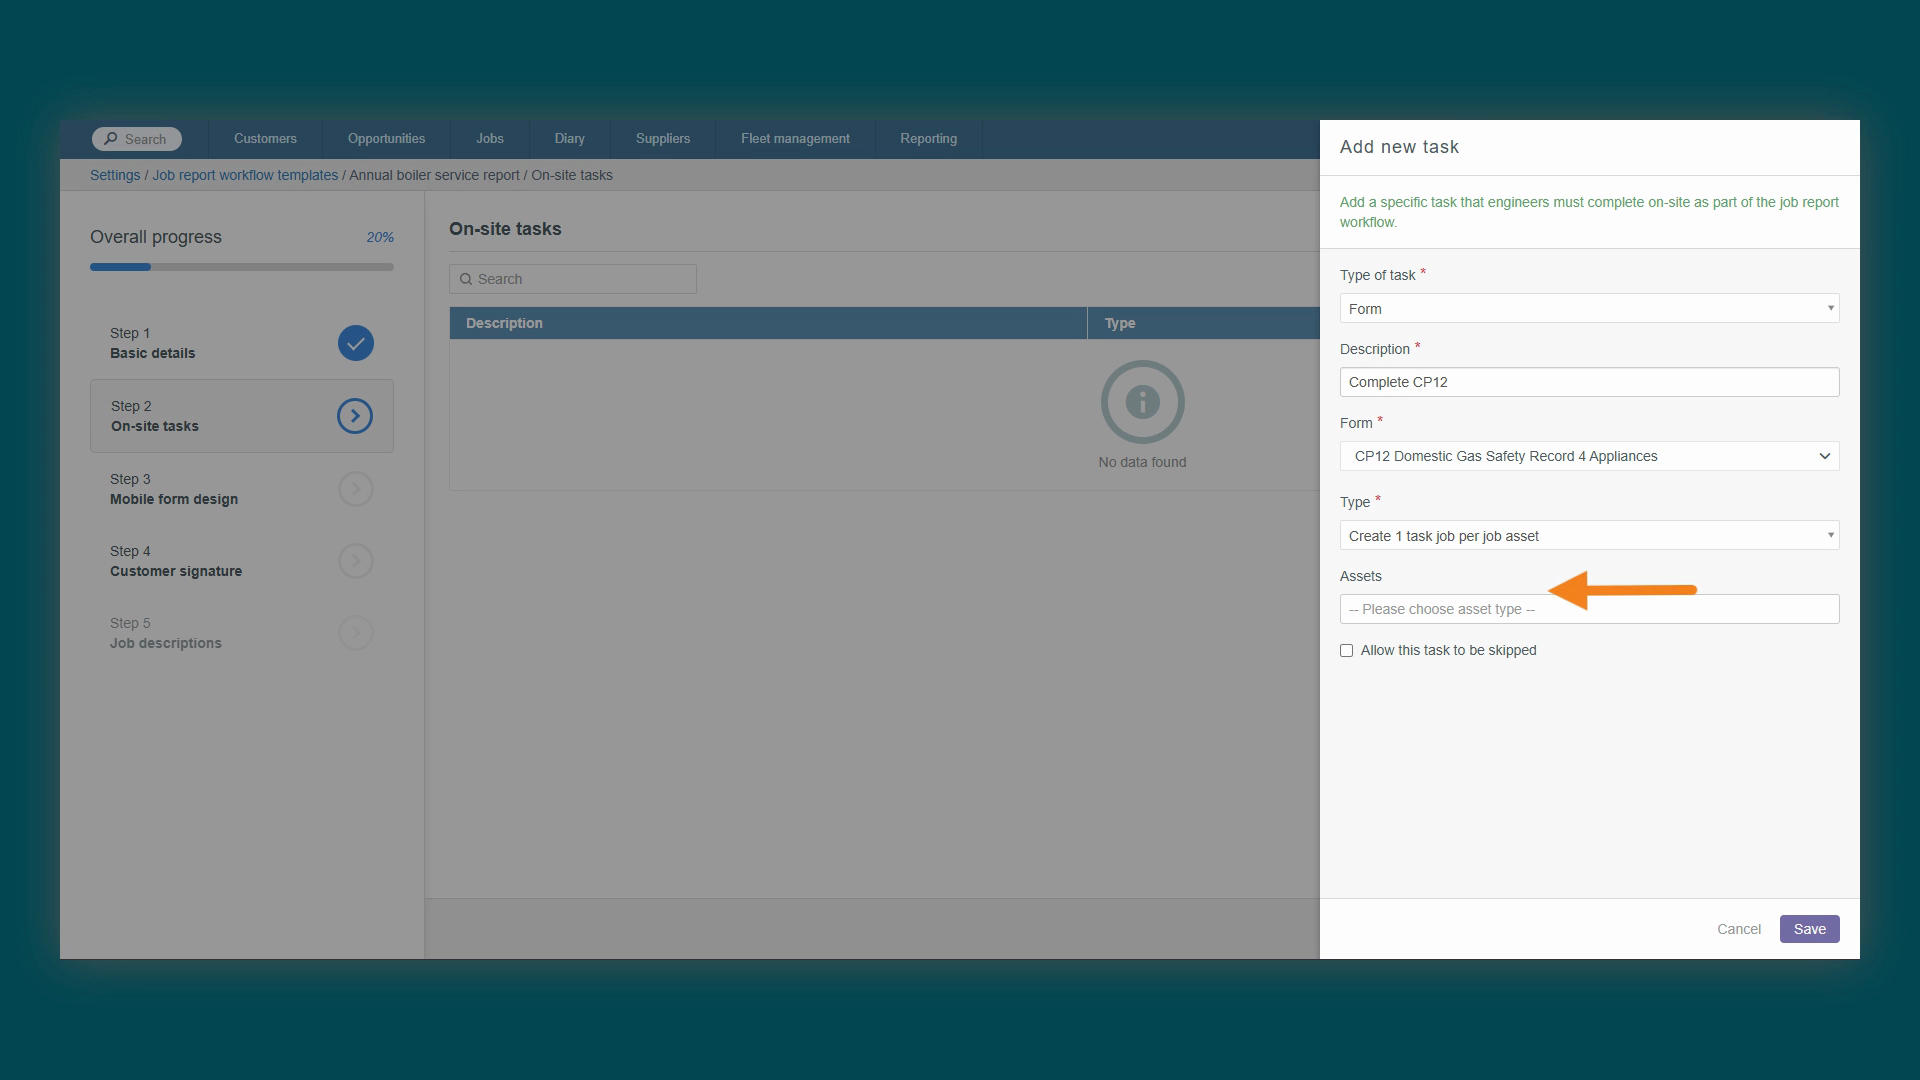
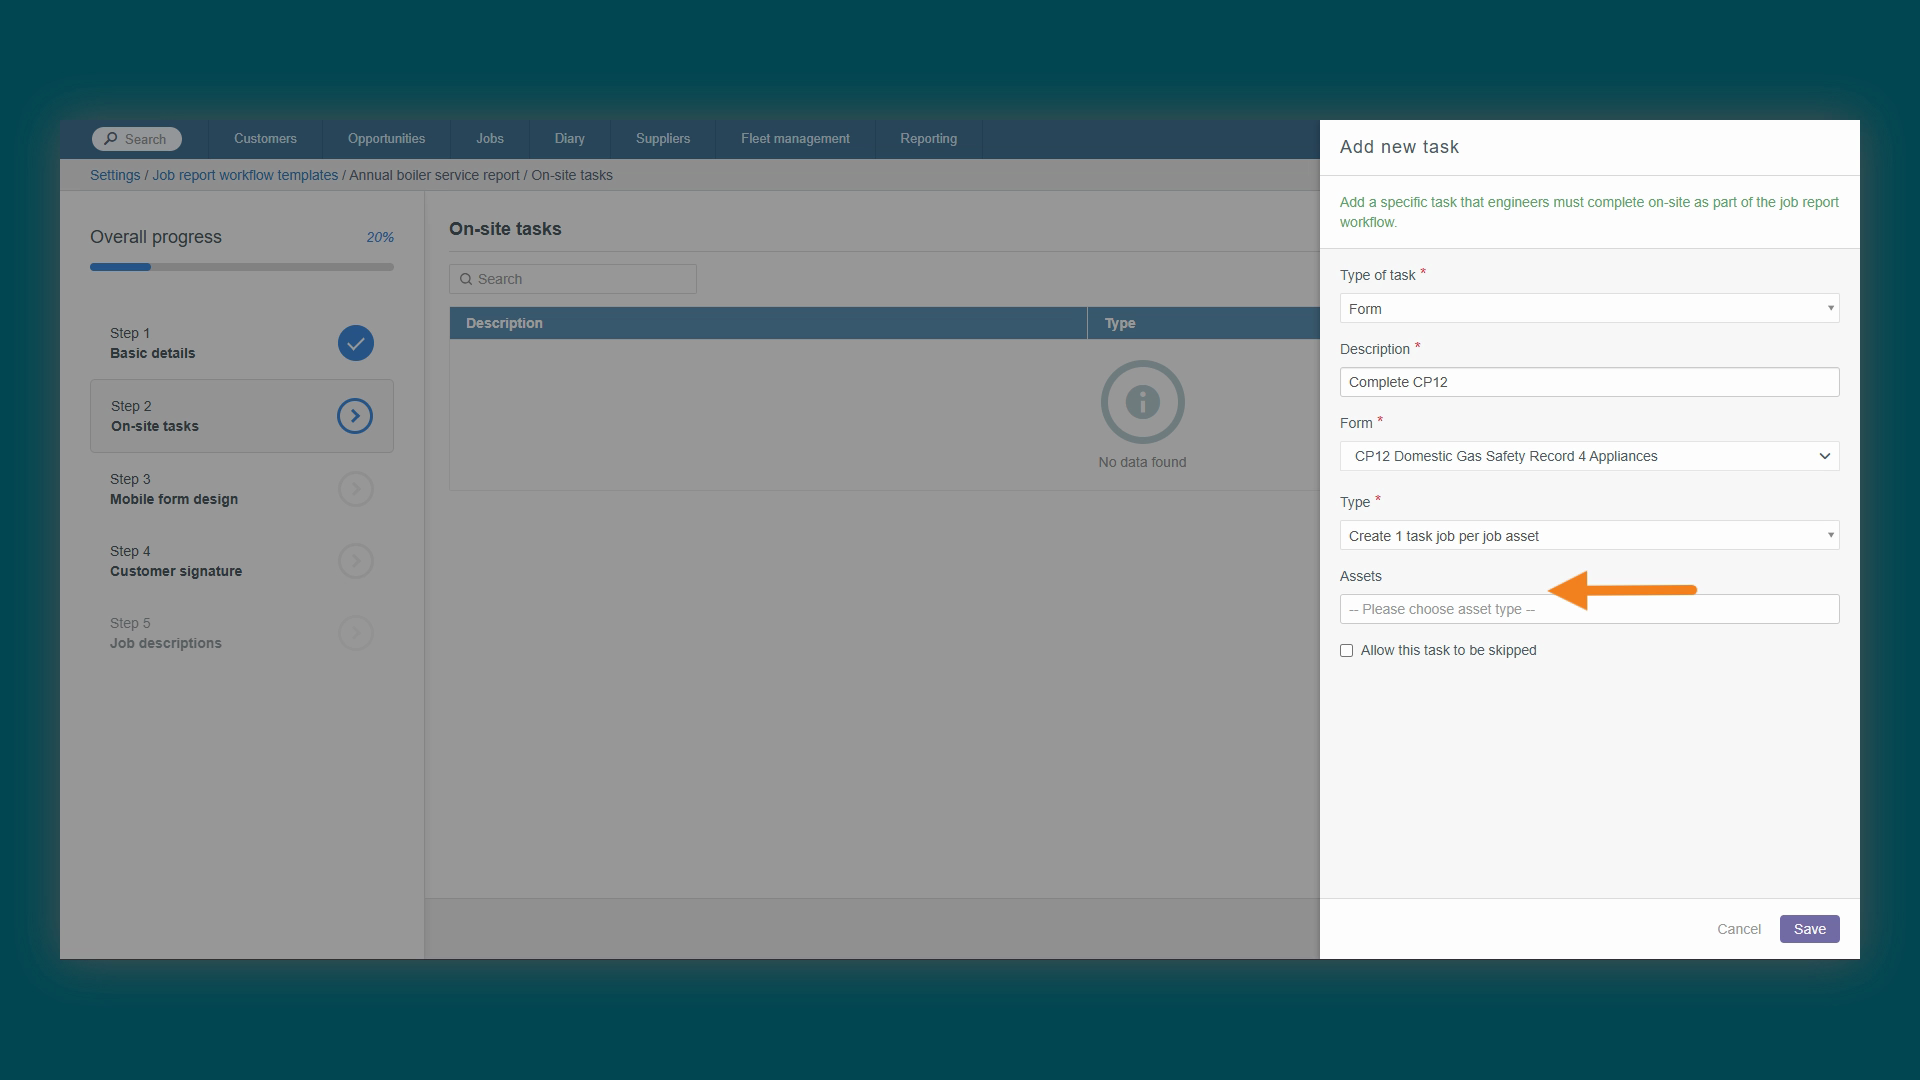
click the Add button in the side panel. We'll need to fist select the type of task,
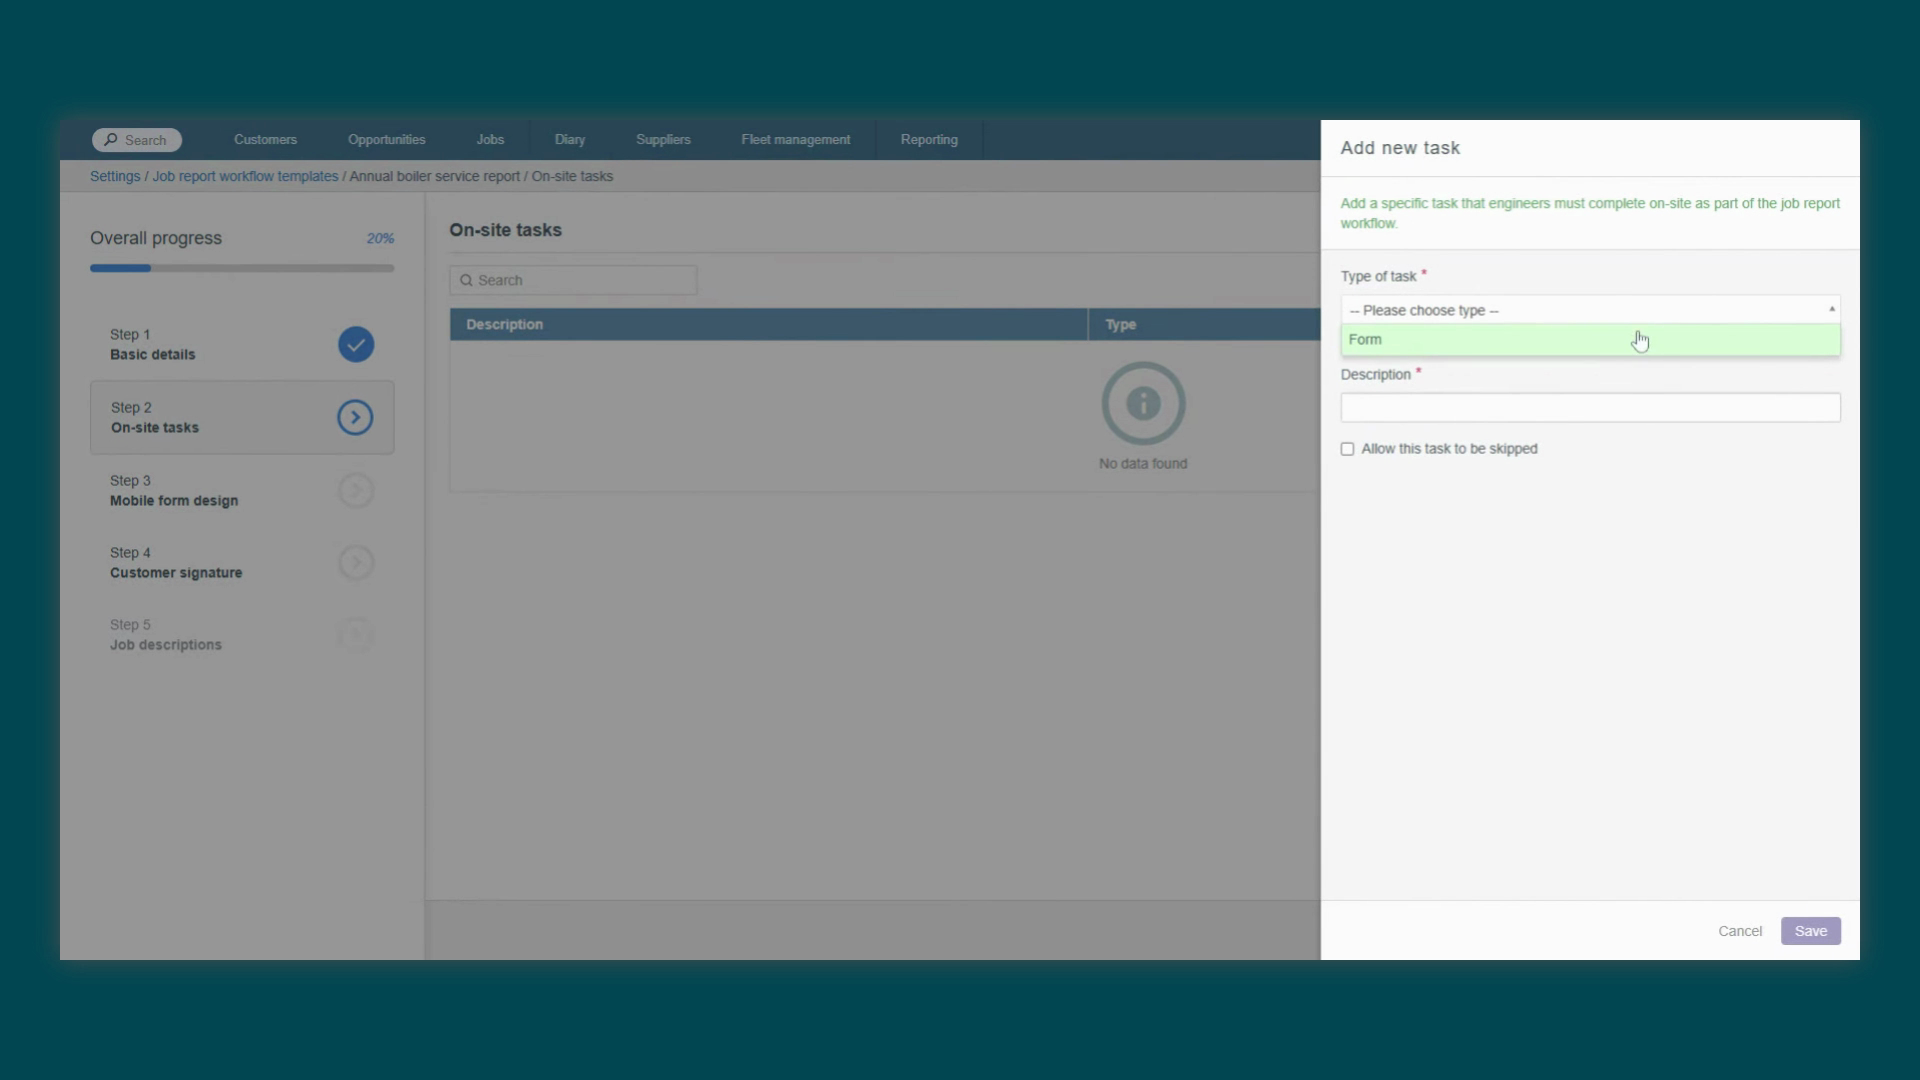
give it a clear description, which is the text your engineer will see in the mobile app.
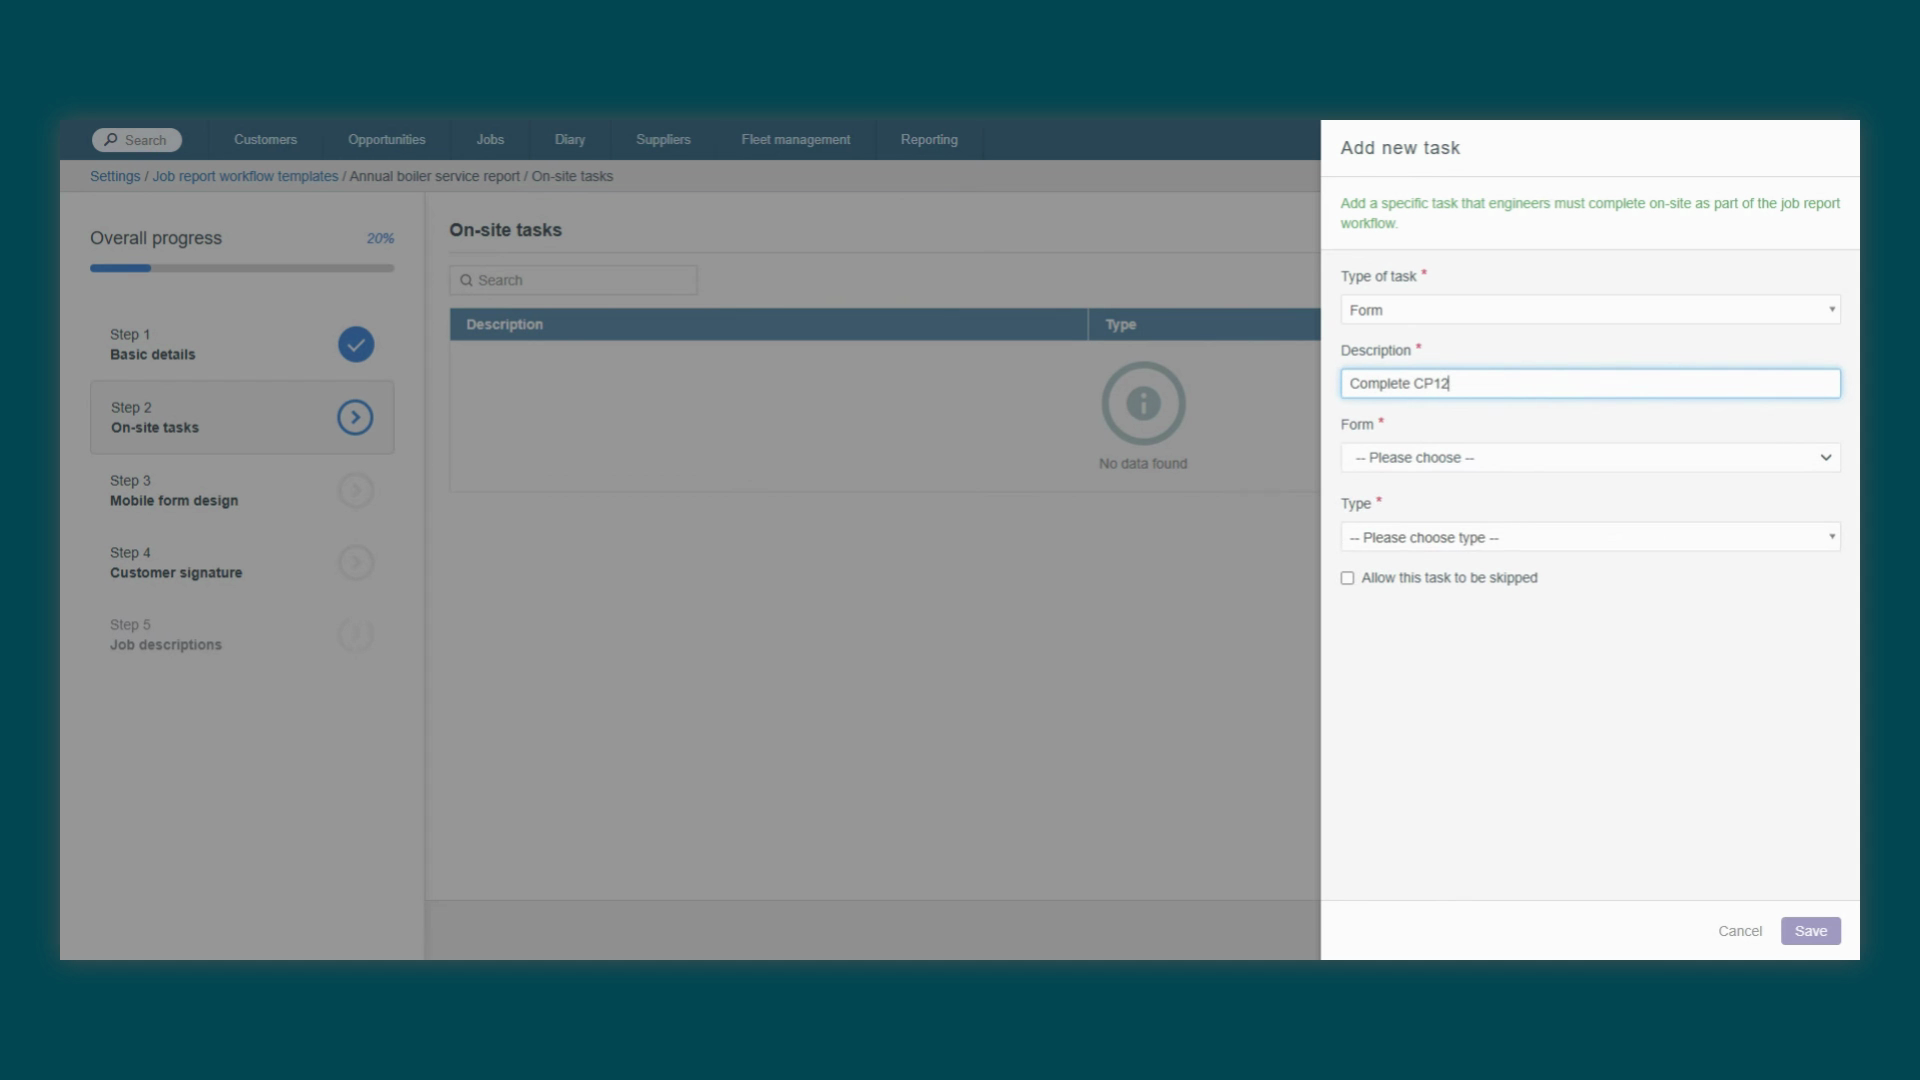
Next, choose the specific custom form you want them to
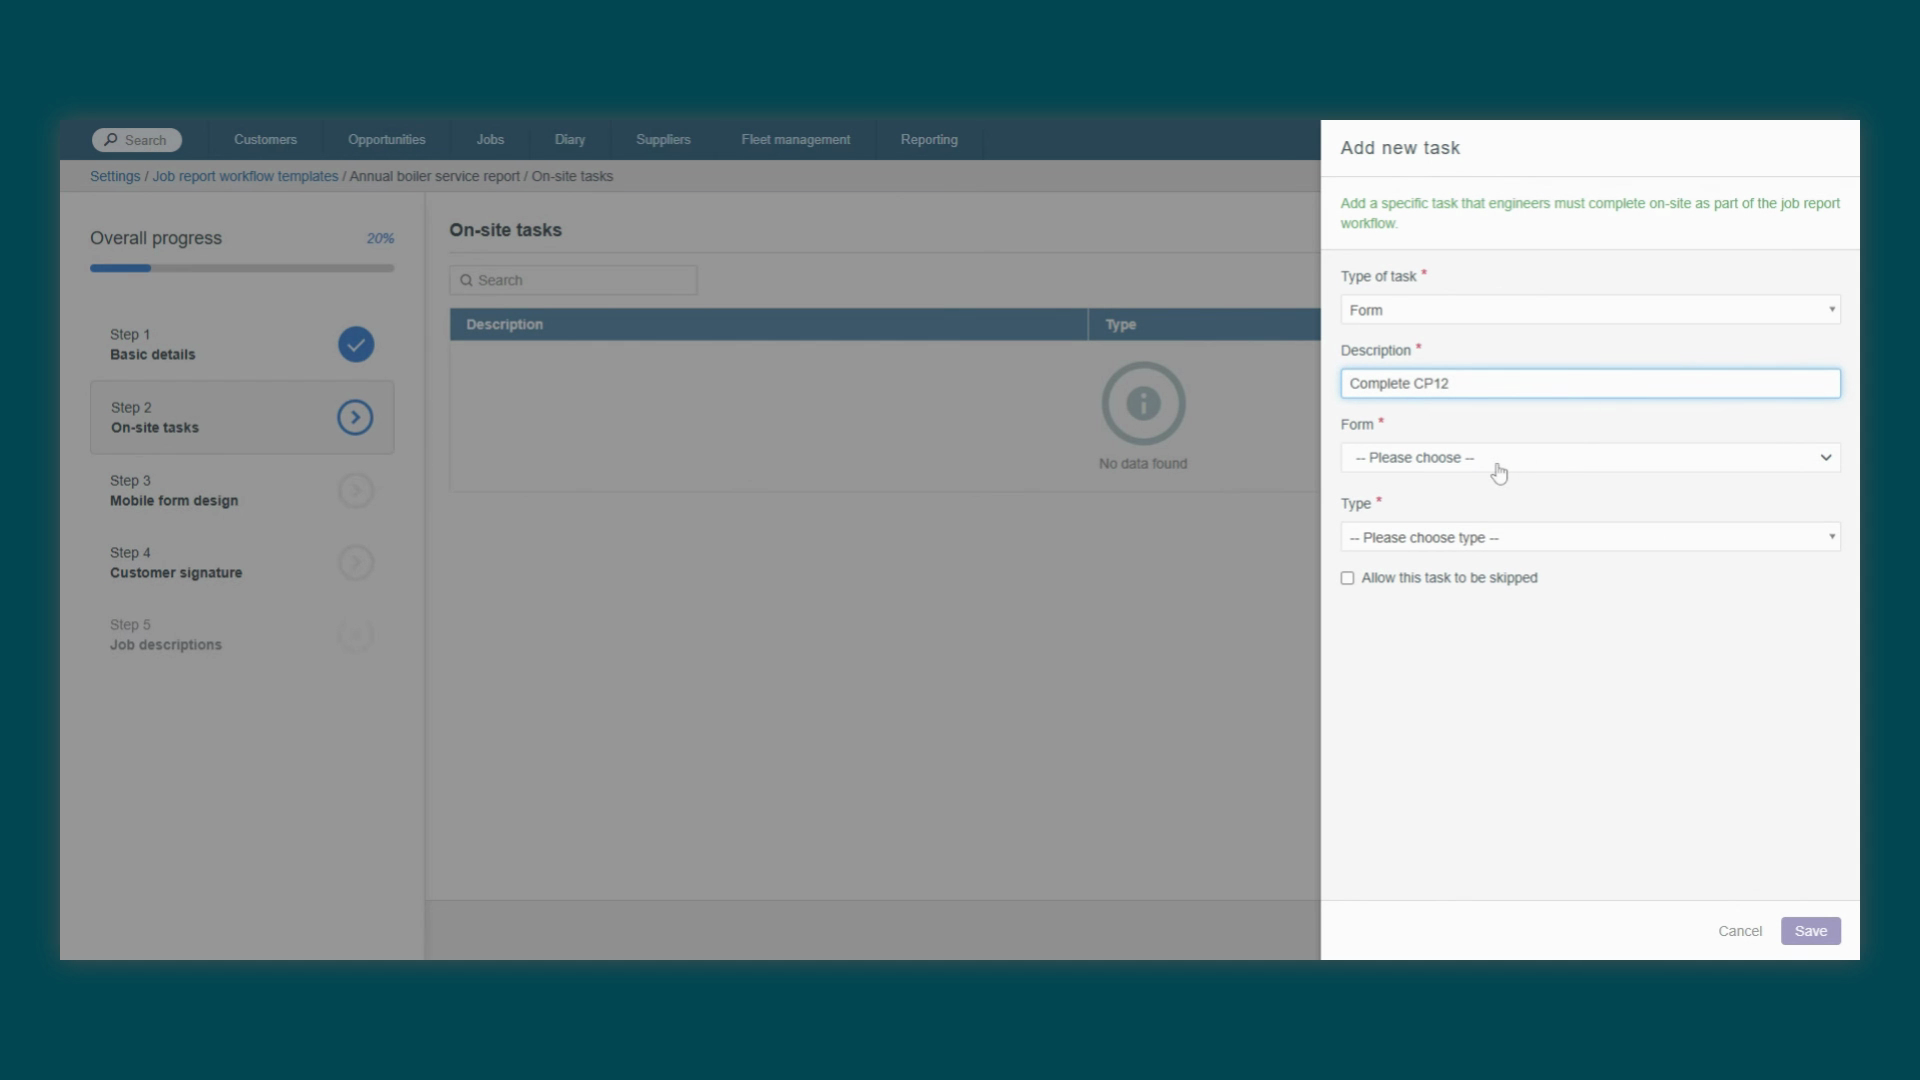
complete for this task. After selecting the form, you'll choose how if 2 relates to any
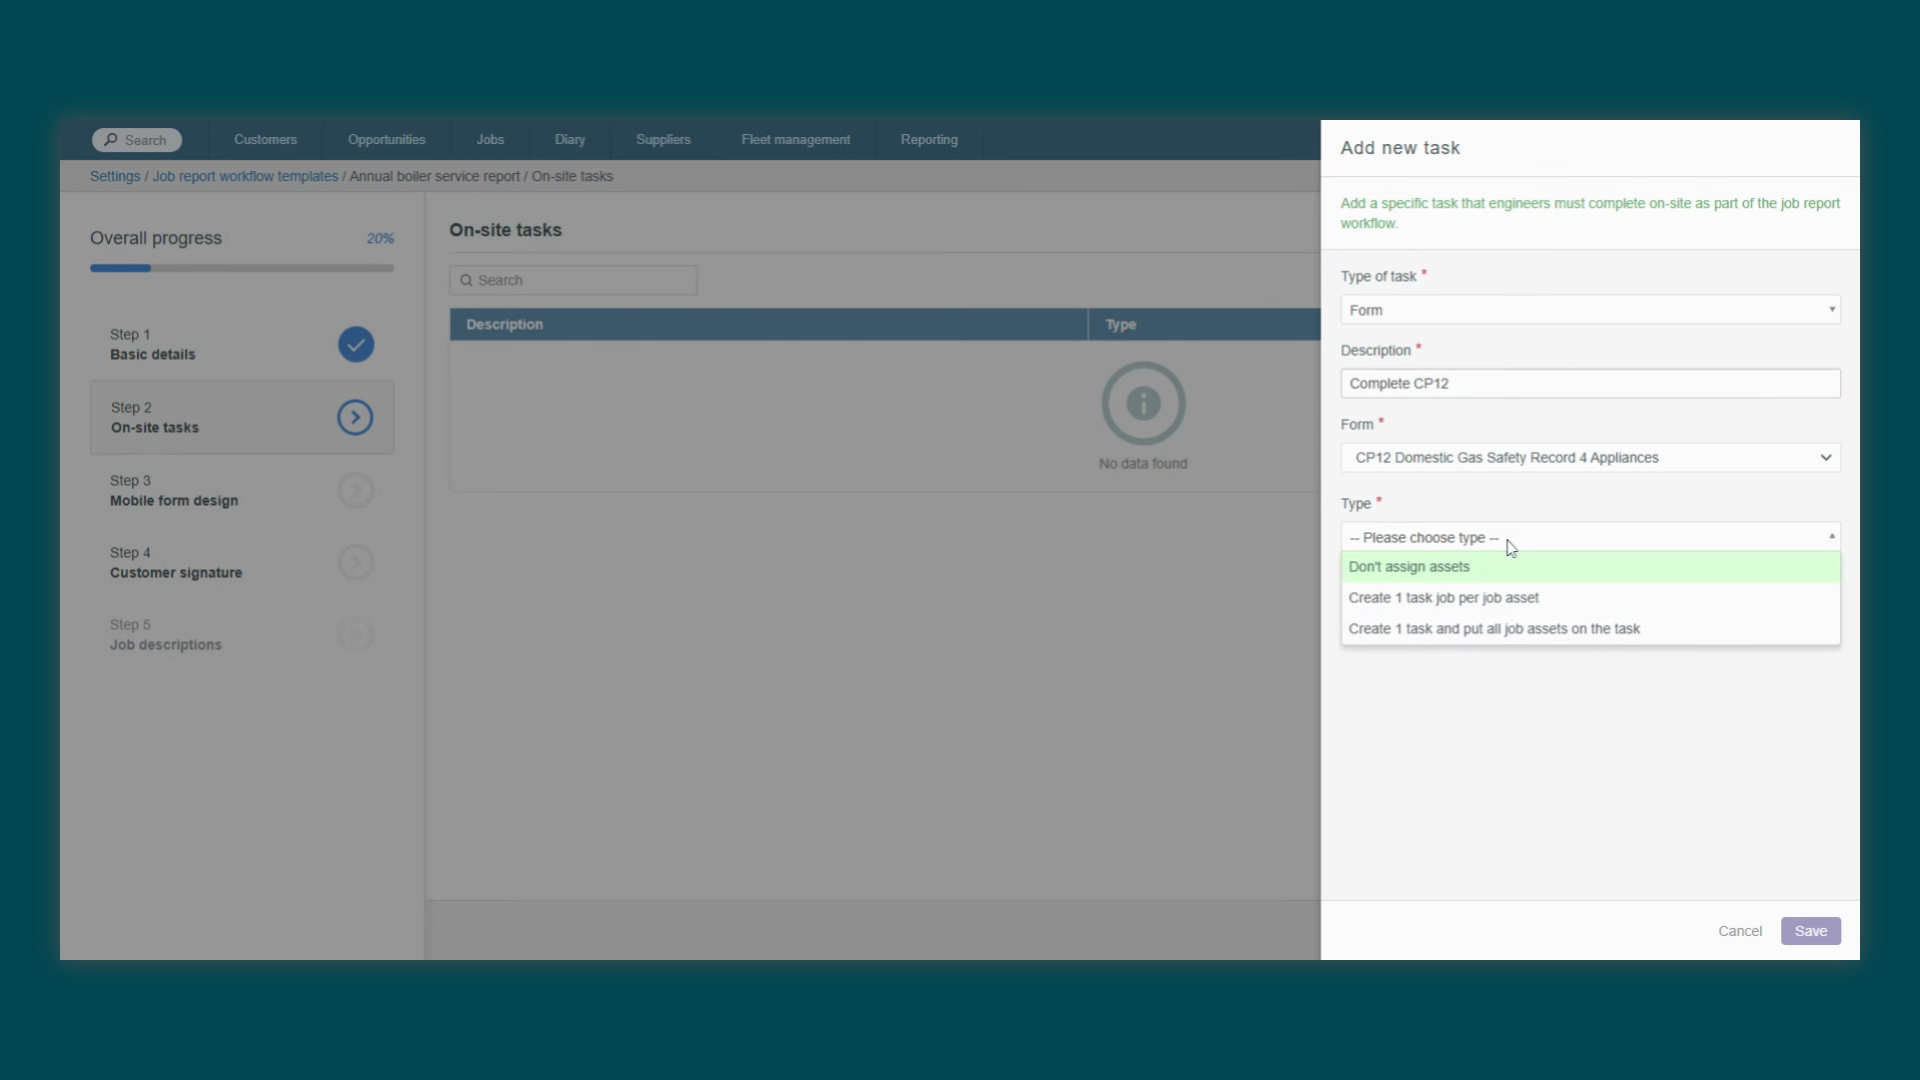
assets recorded on the job, you can have the engineer complete one form for each individual asset, or a single
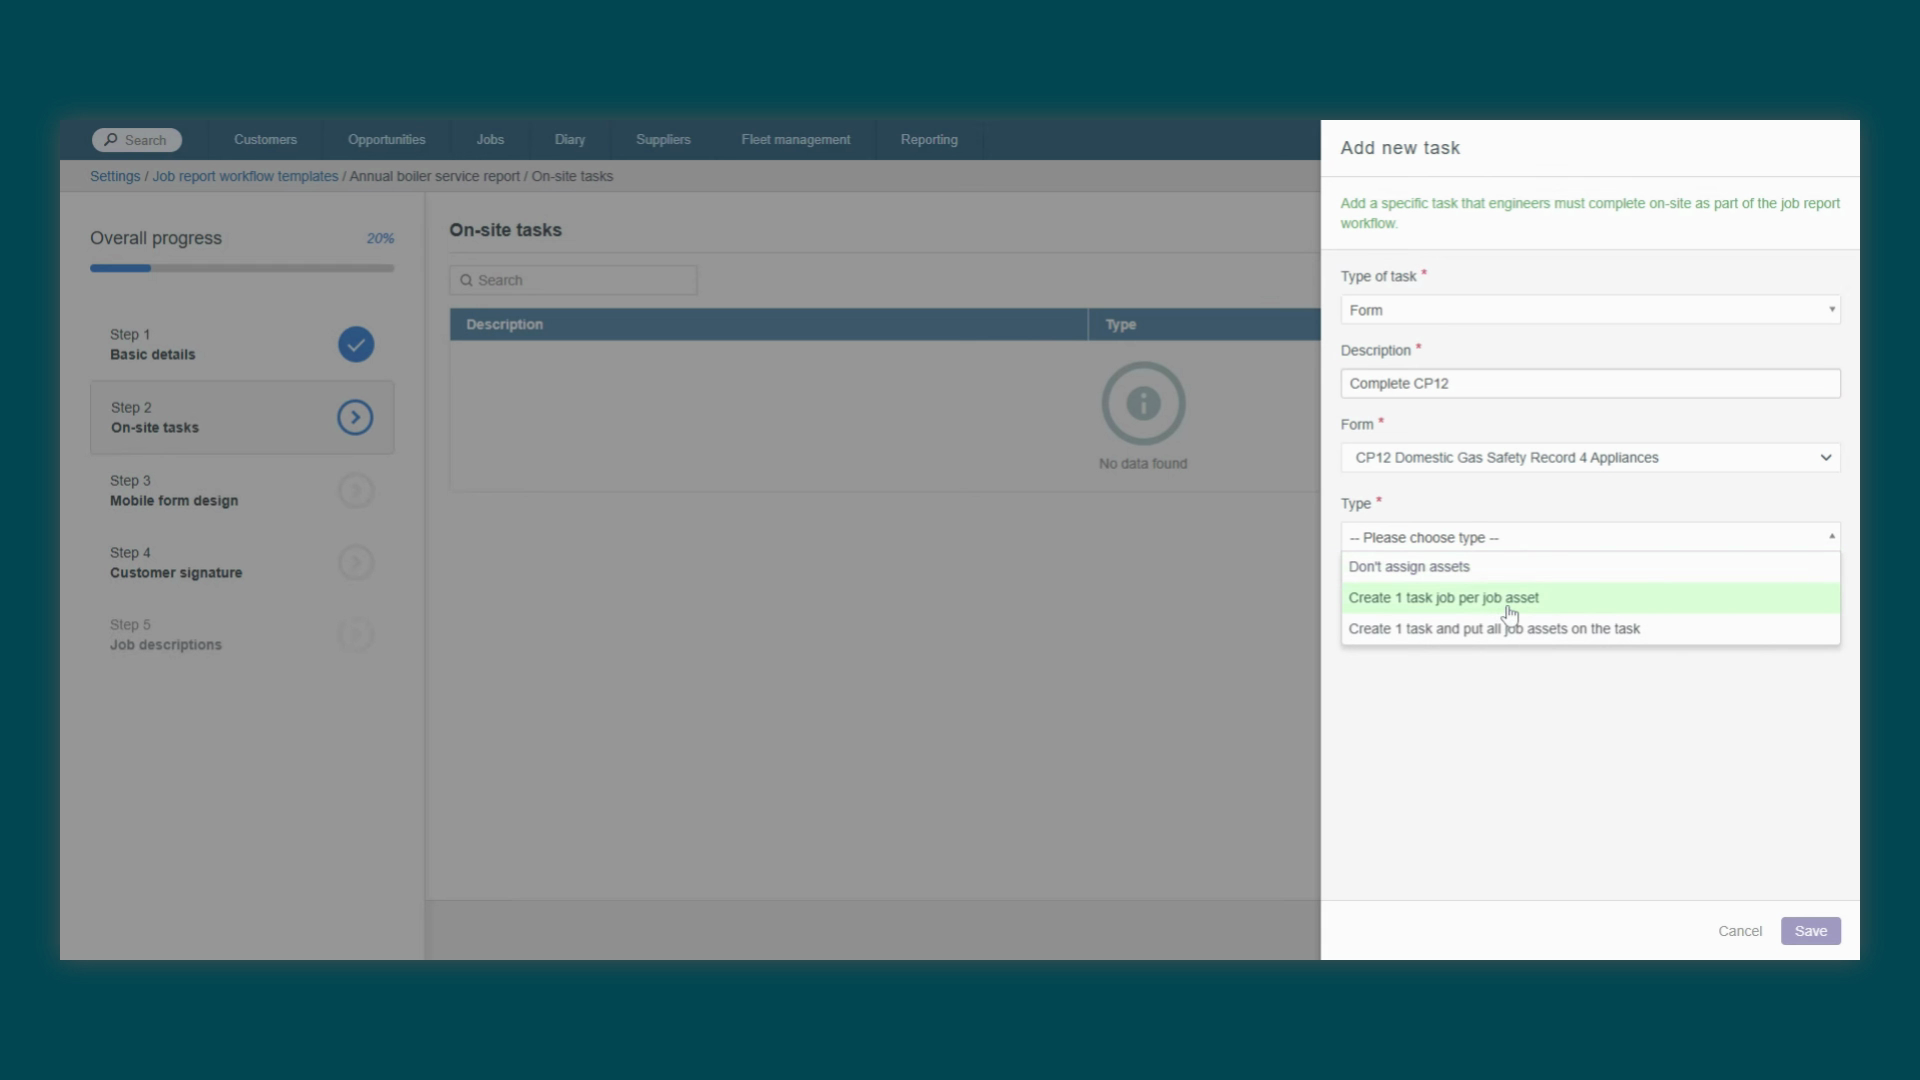
form that covers all assets on the job. This ensures you capture the right level of detail for your service records.
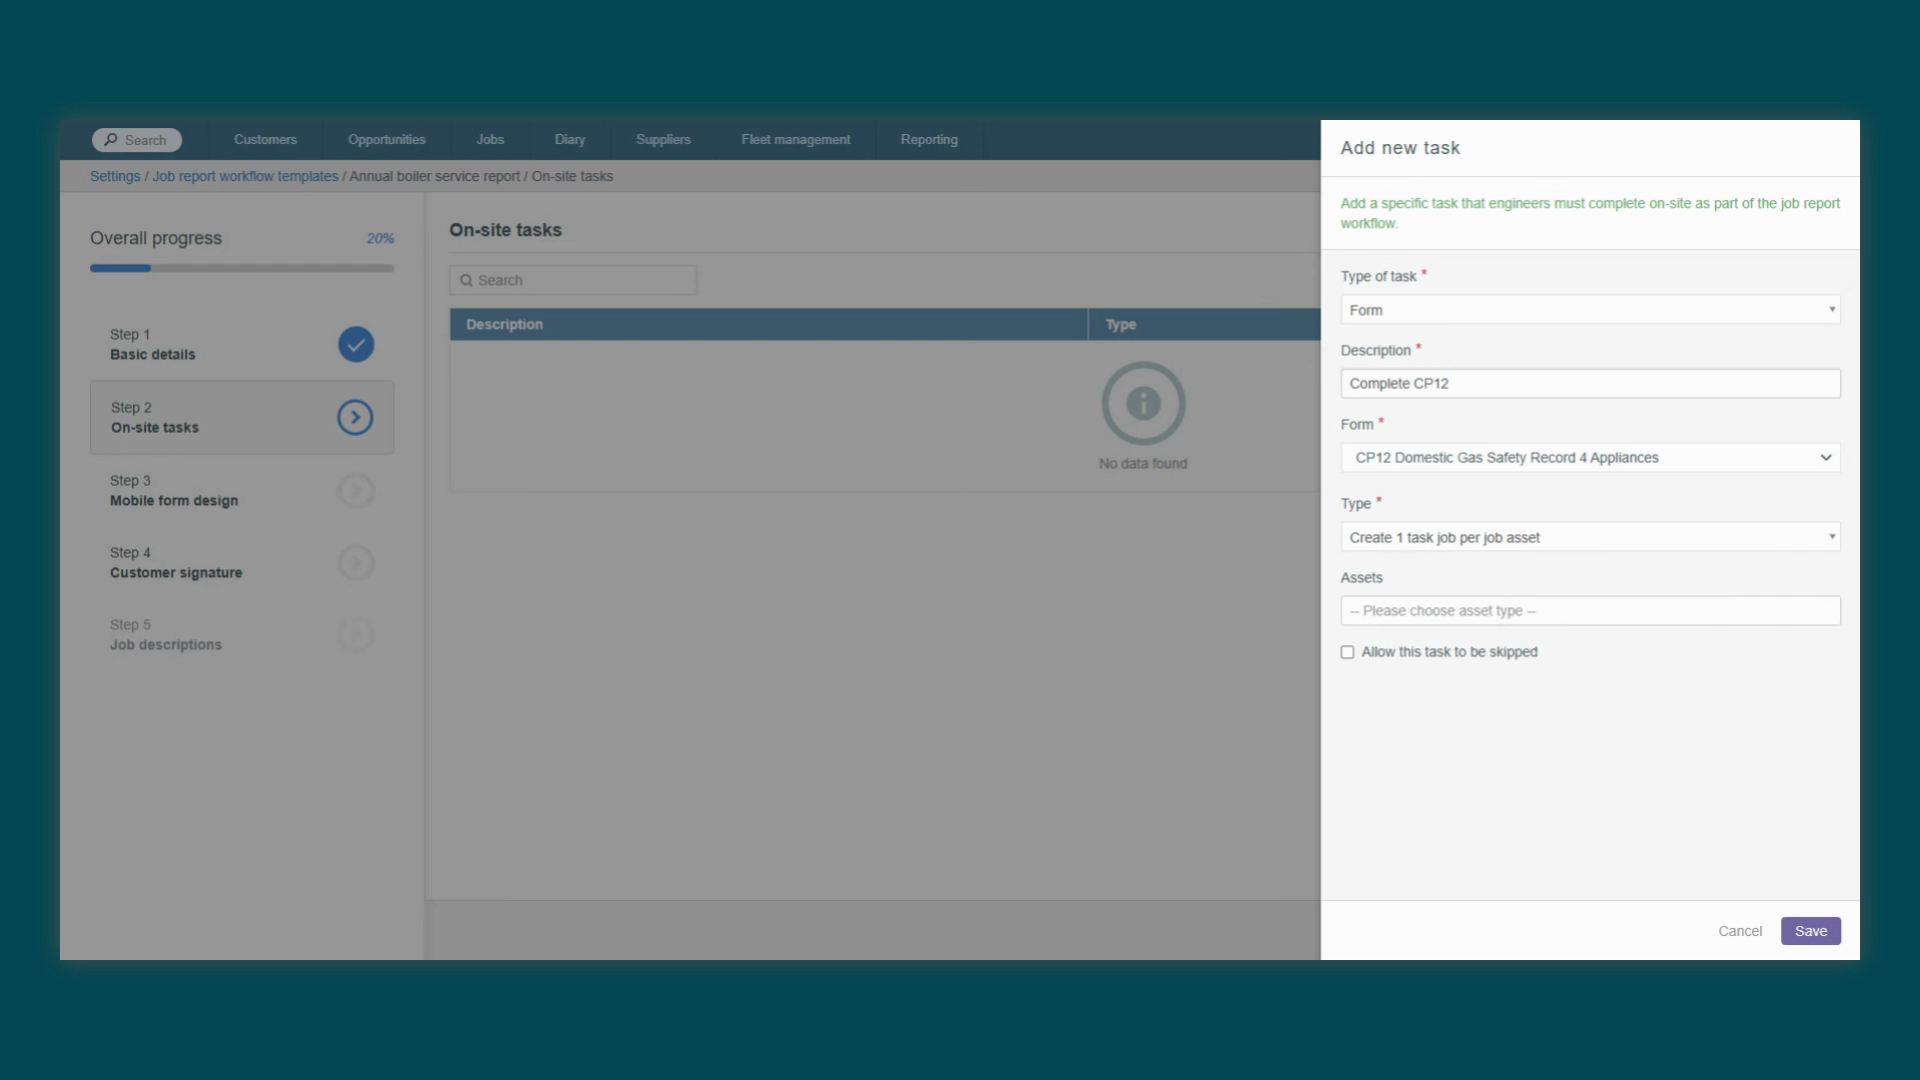
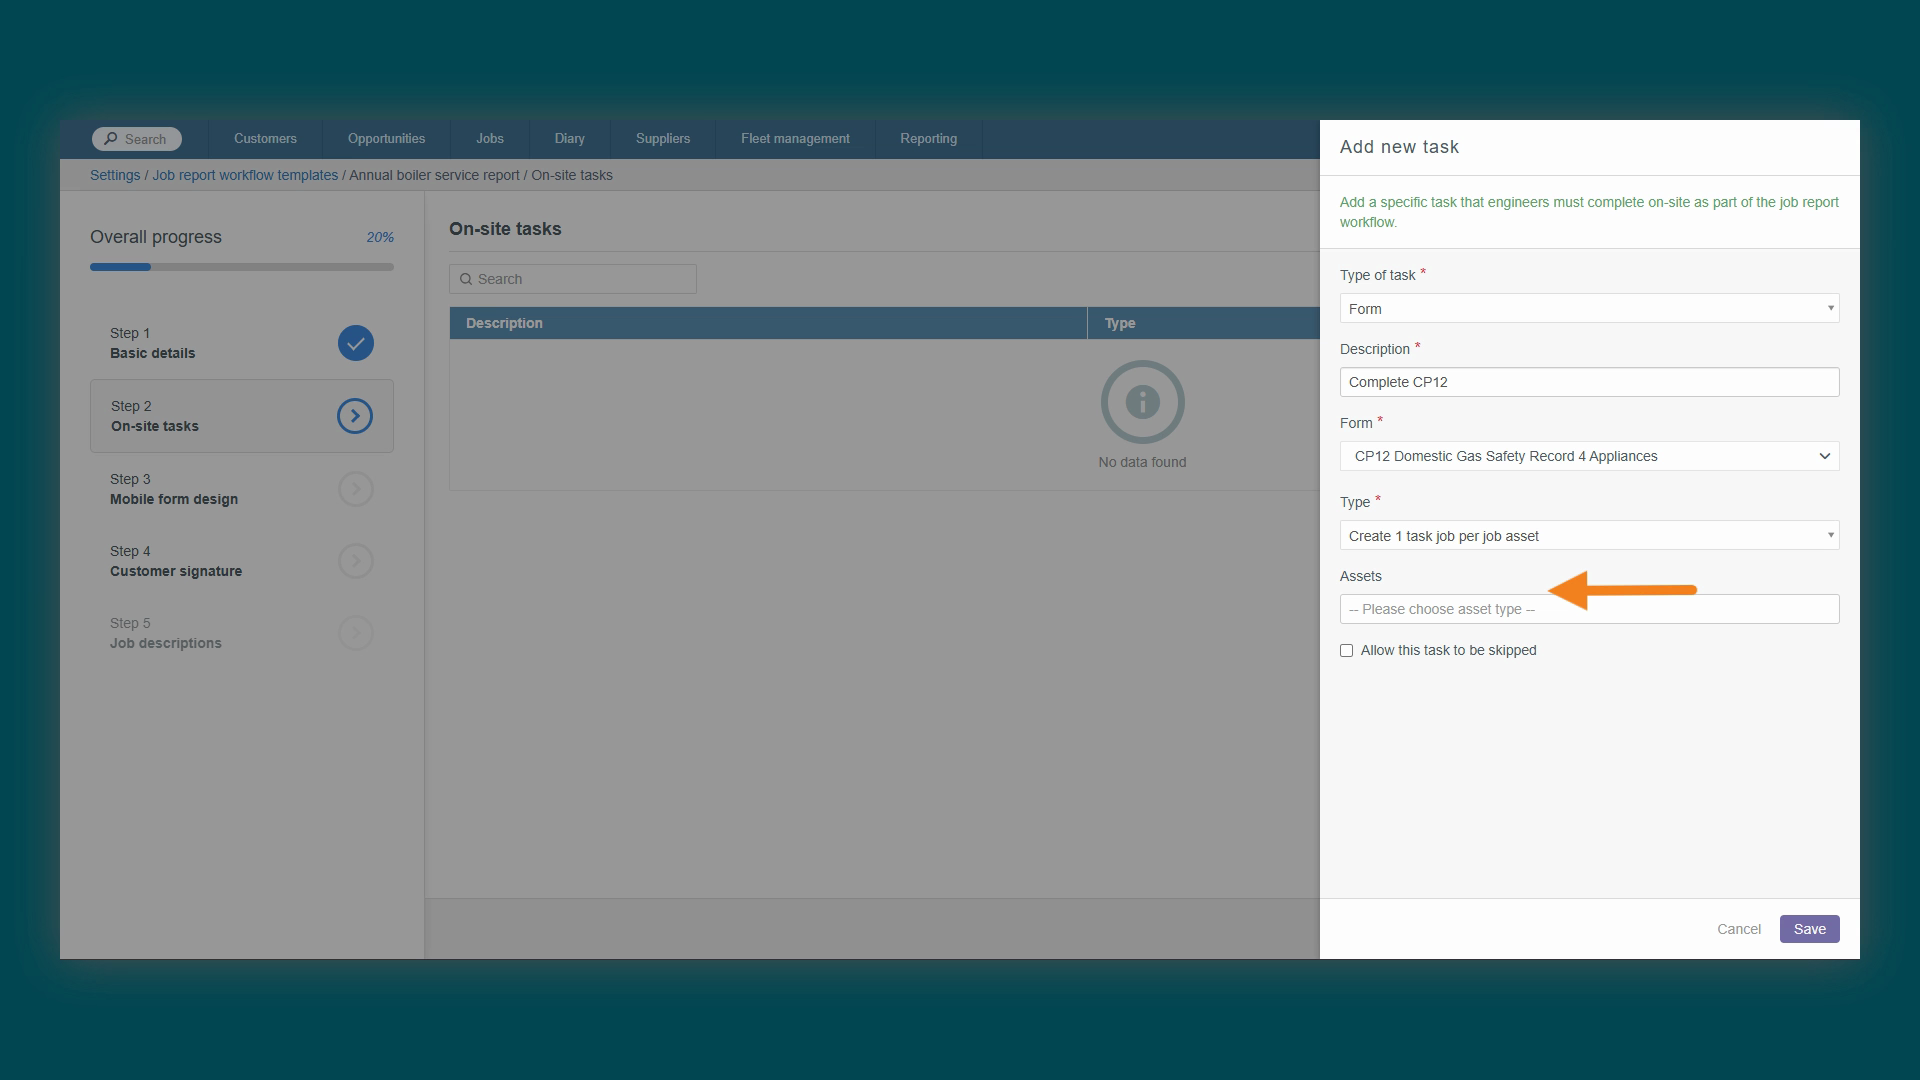
If you select one of the asset related options, an optional assets
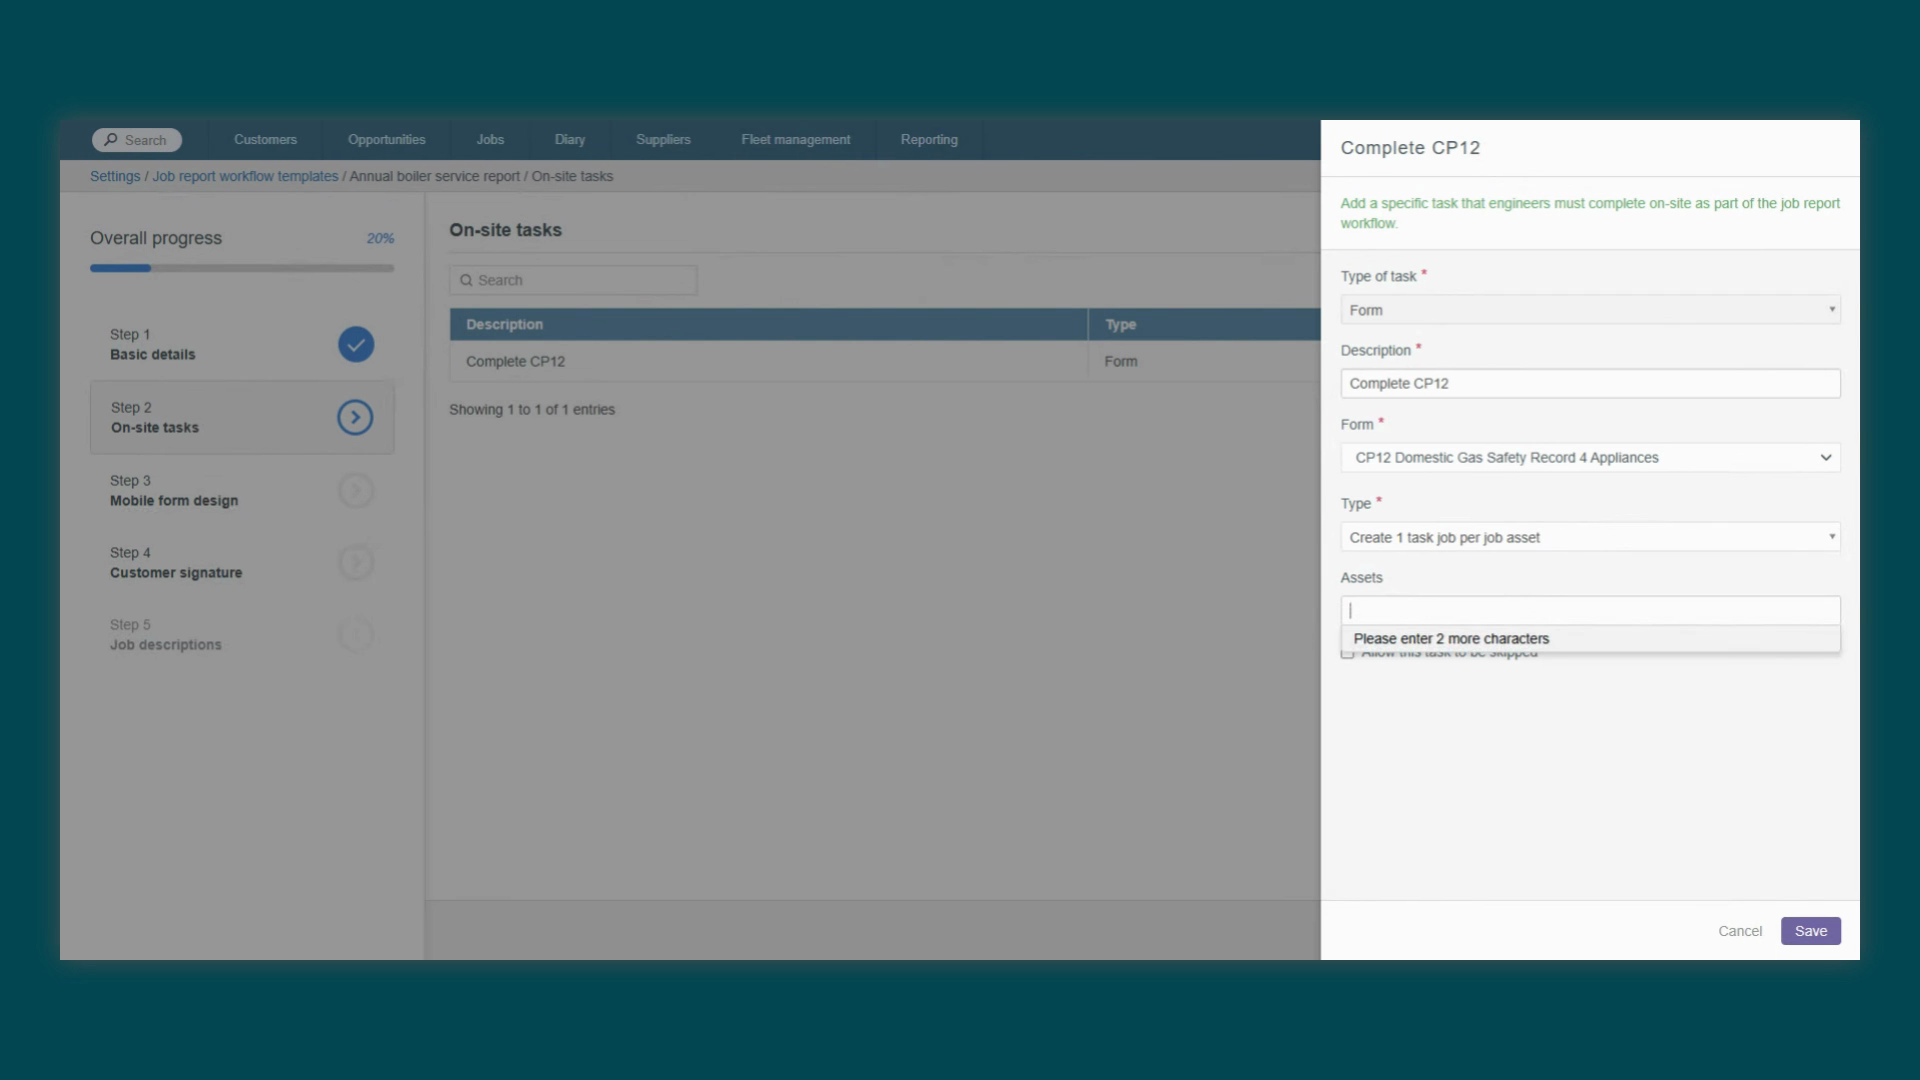
field appears here. You can specify which asset types the task should apply to. For instance, you could ensure a GAS Safety
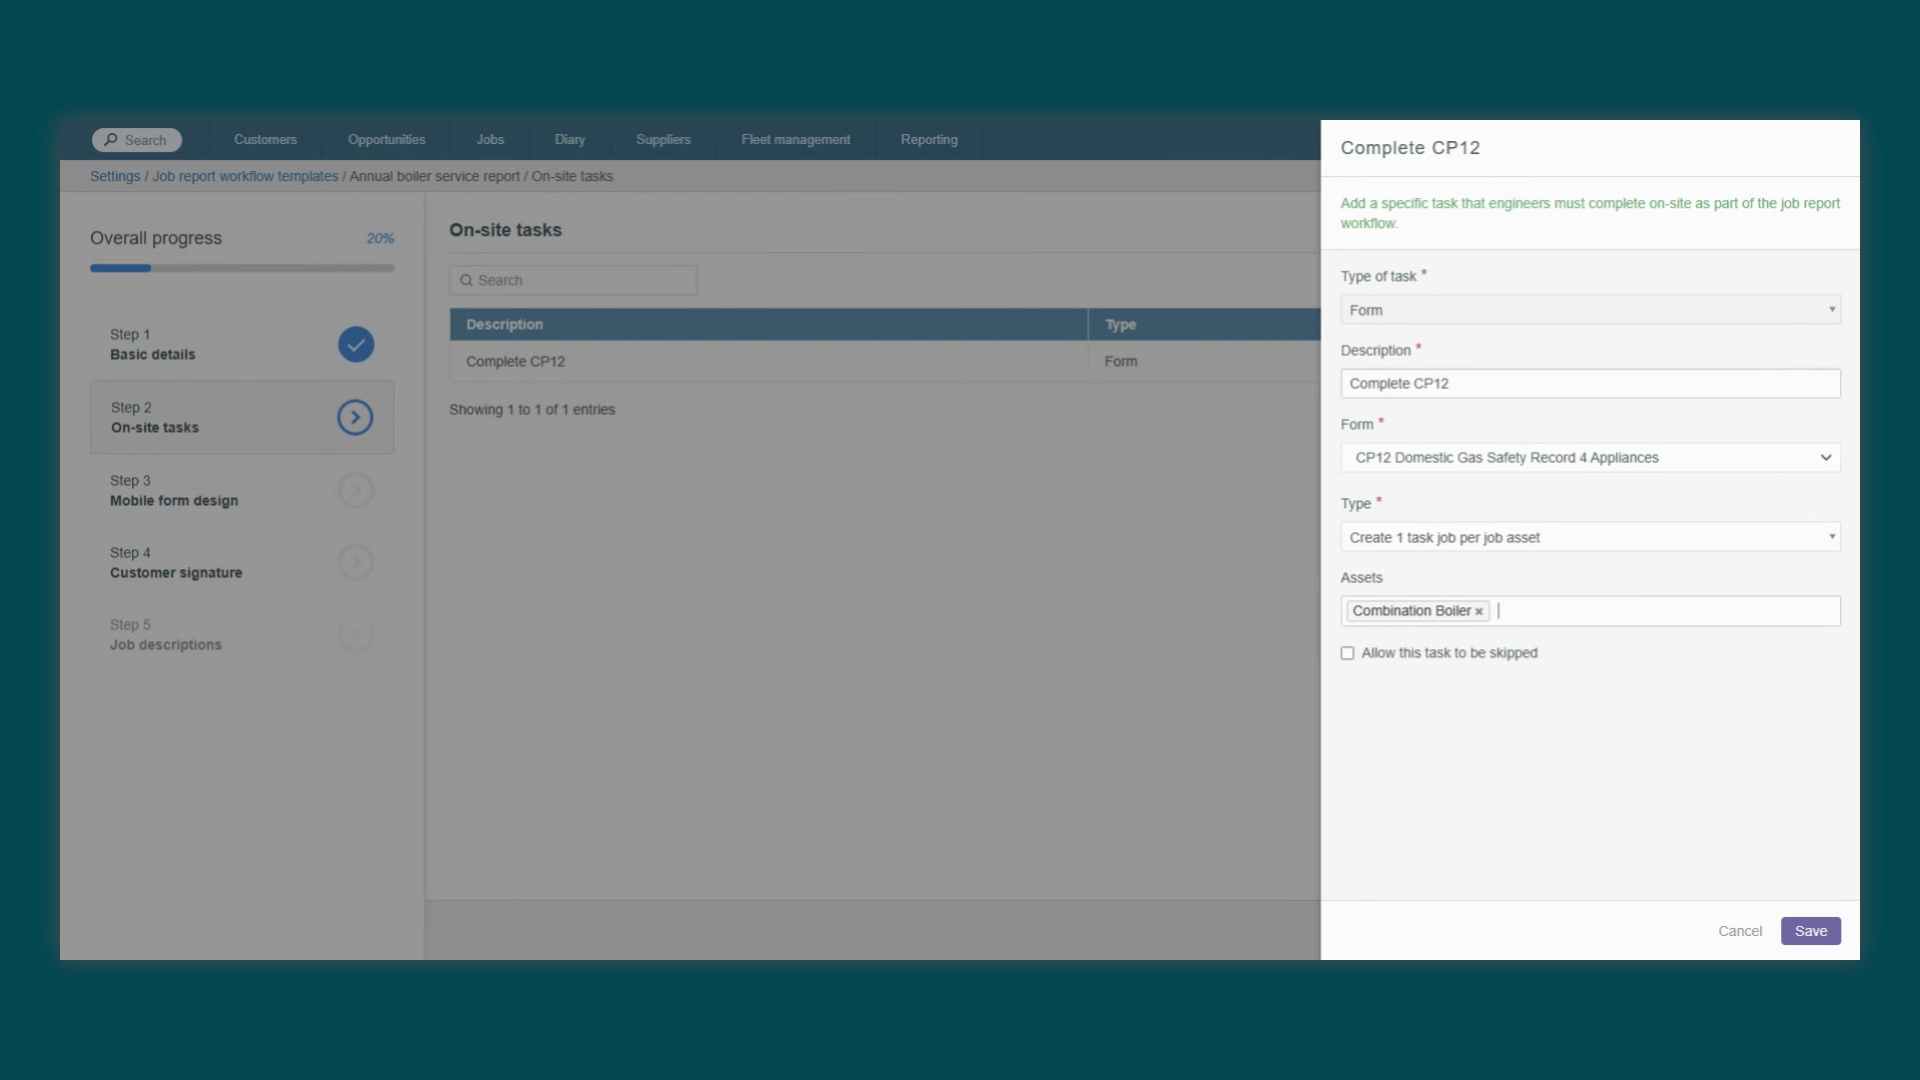
form is only assigned to all relevant boiler types. Only these asset types will be used on the selected form.
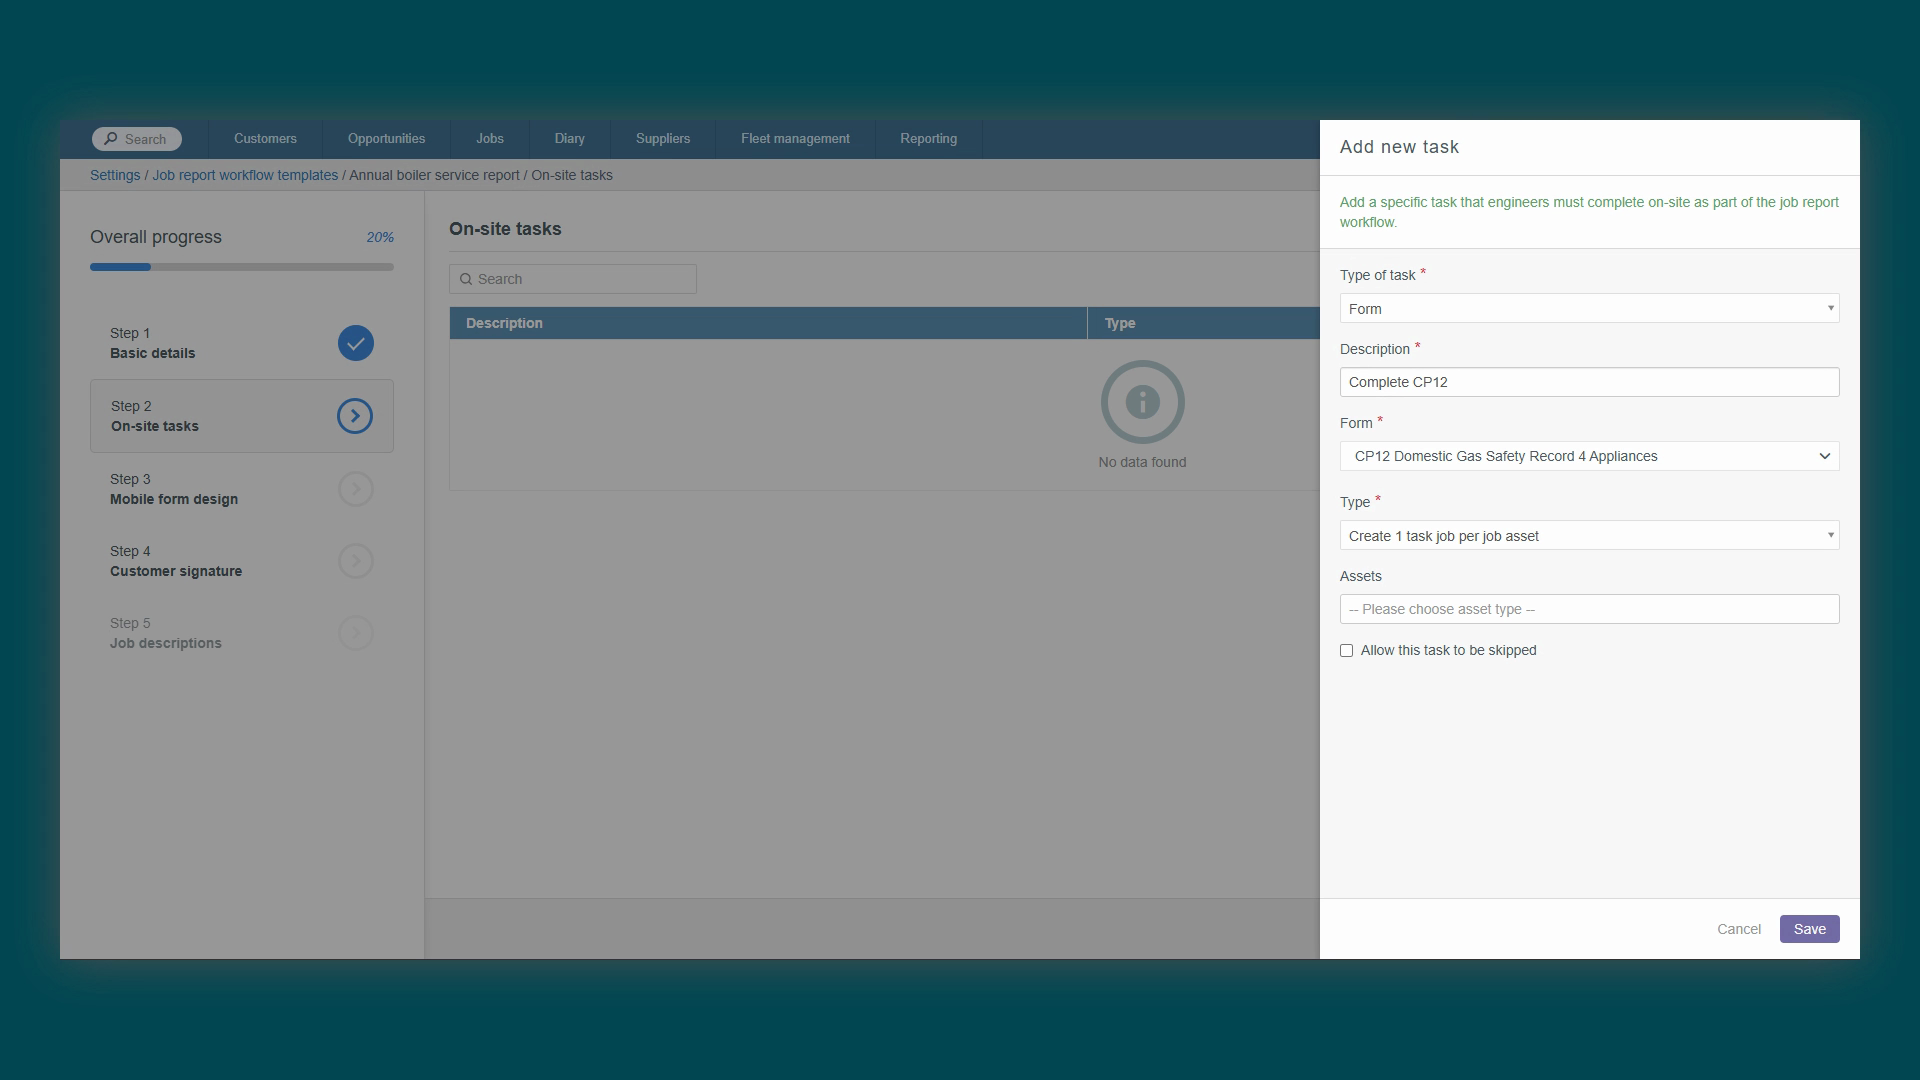
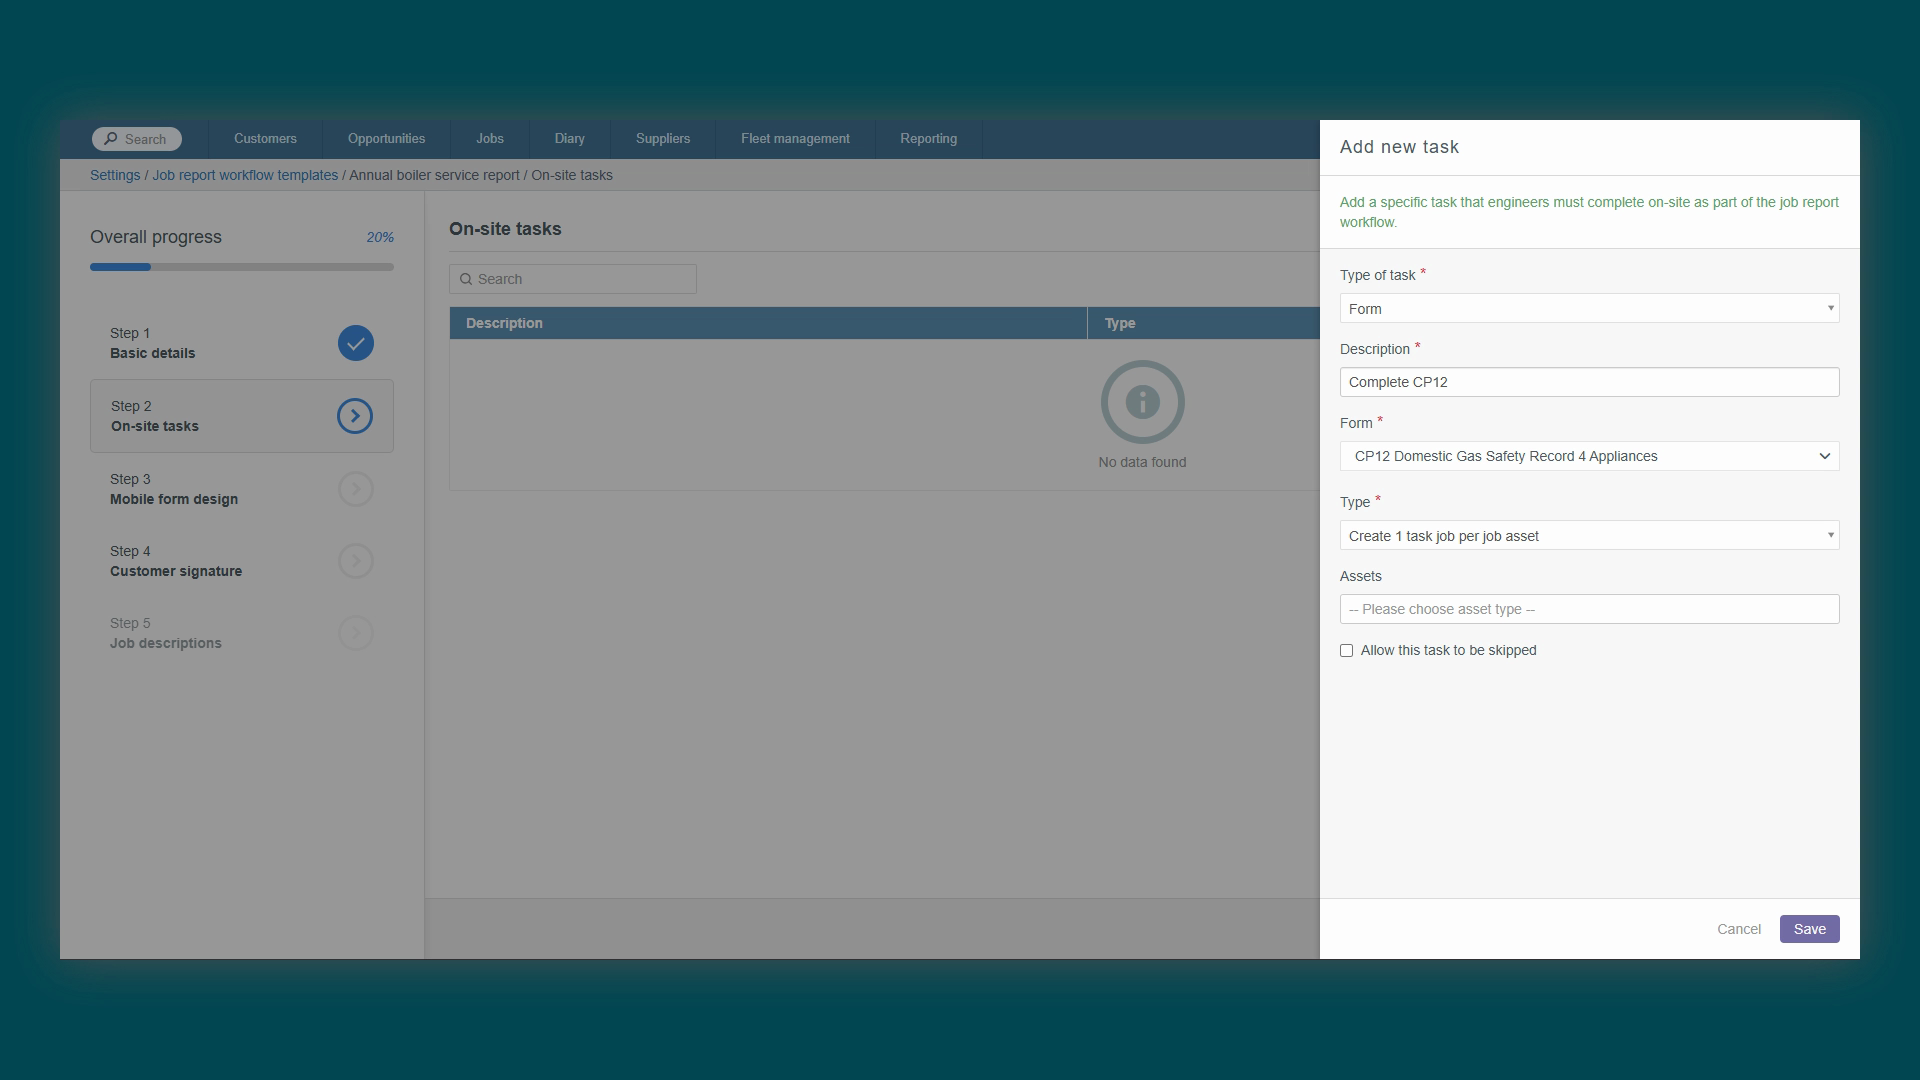
Finally, you'll see a checkbox to allow this task to be skipped.
By default. All On Site tasks are mandatory. This means your engineer cannot mark the
appointment as left until all tasks are complete. If a task isn't essential, you can tick
this box. However, it's important to know that once a skipped task has been bypassed,
it cannot be returned to later. Once you've saved your first task, you can add
as many as you need for this workflow. If you have multiple different forms that need to be completed,
you should add each one as a separate task. Remember, if you set a task to create one task per job asset,
your field staff will be prompted to complete a new form for every relevant
asset on the job. Next up is the Mobile Form
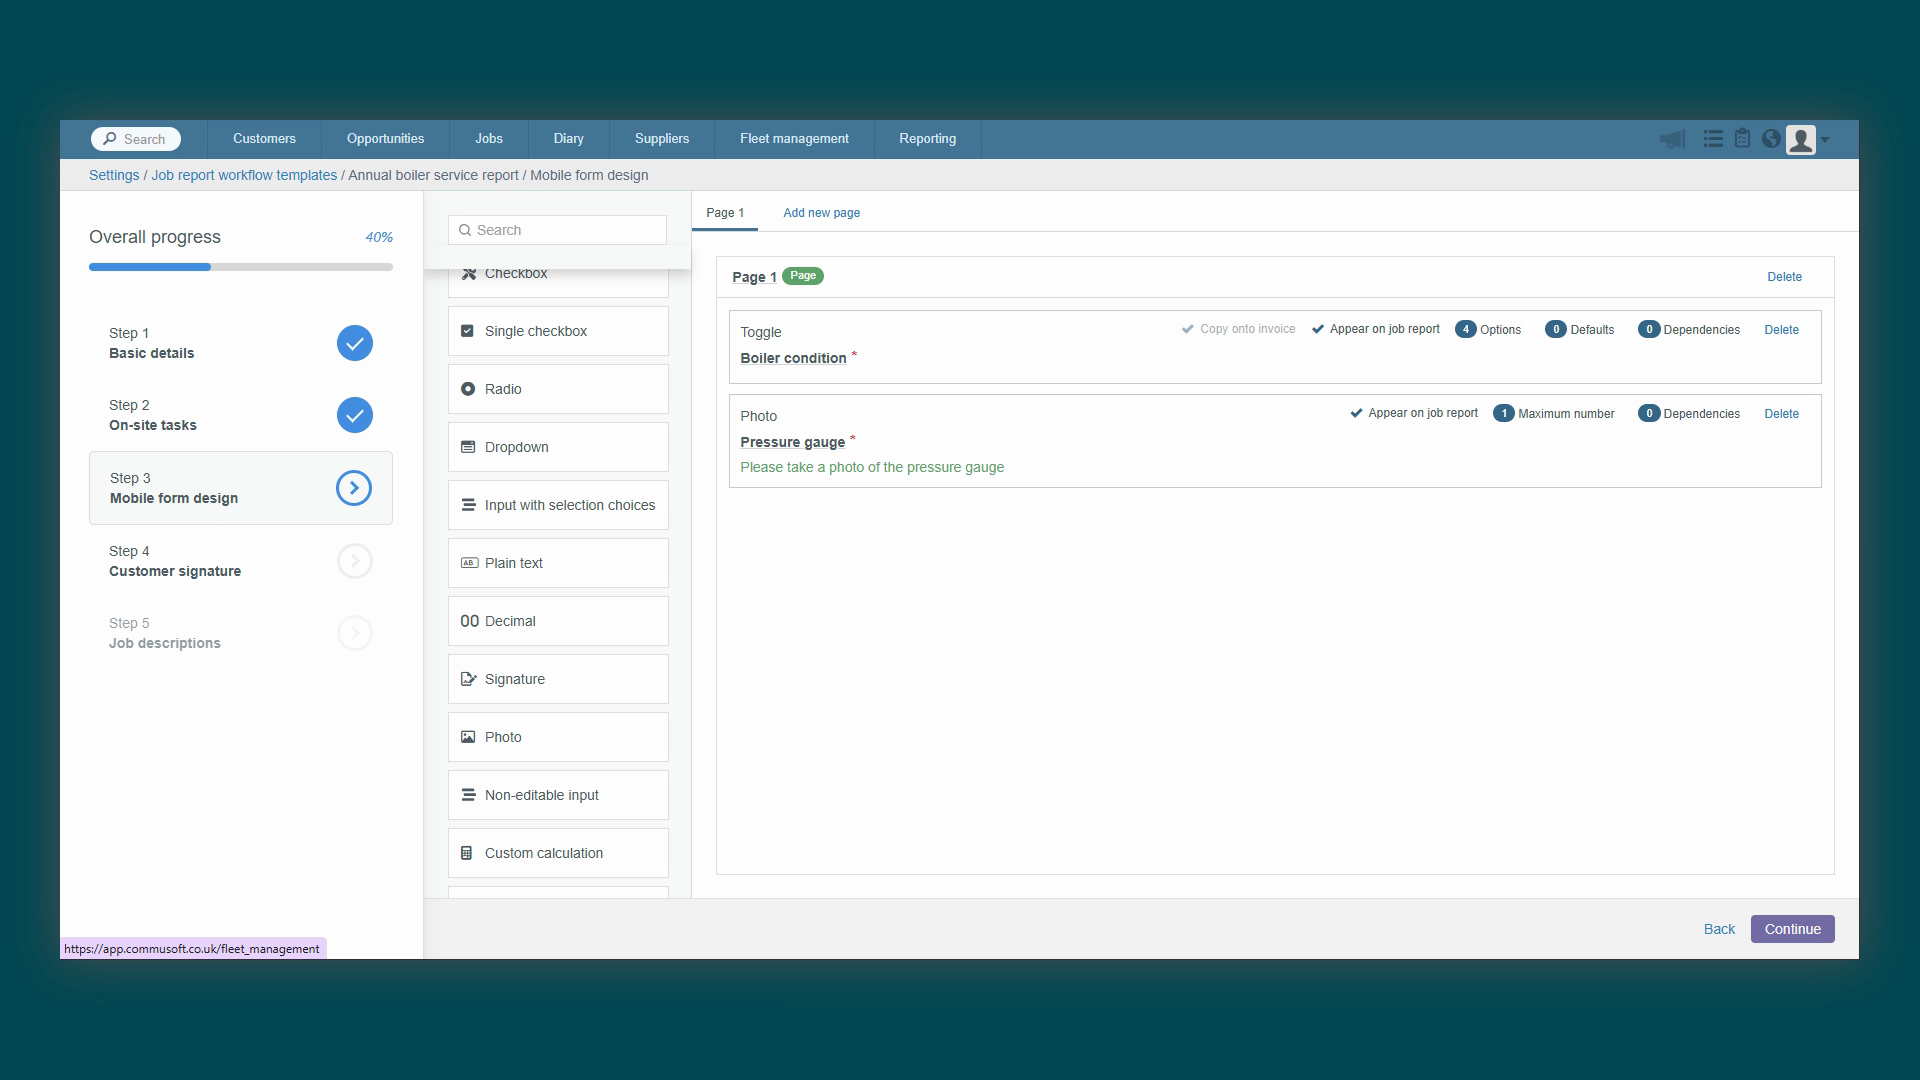
Design step. Here you can build a custom form to capture any additional information for the job
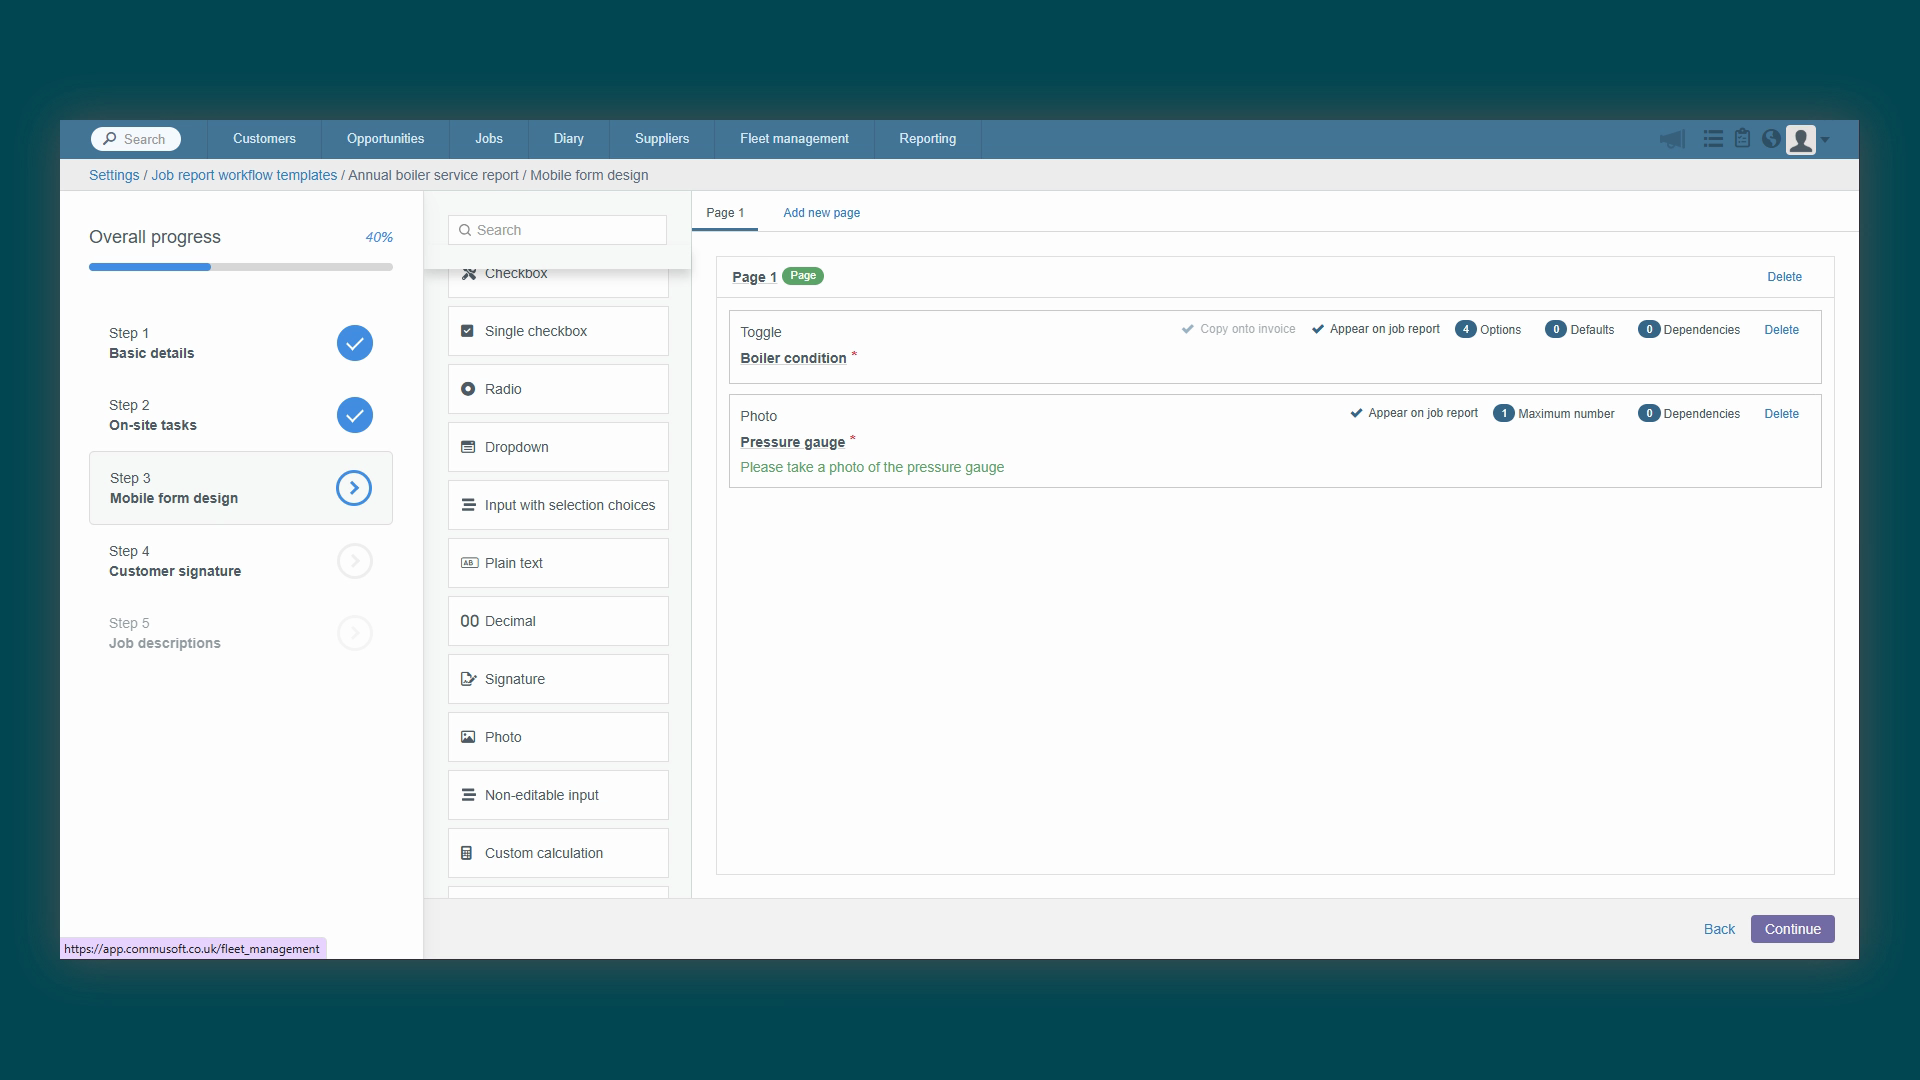
report itself. For our Annual Boiler Service report, we might build a form that includes
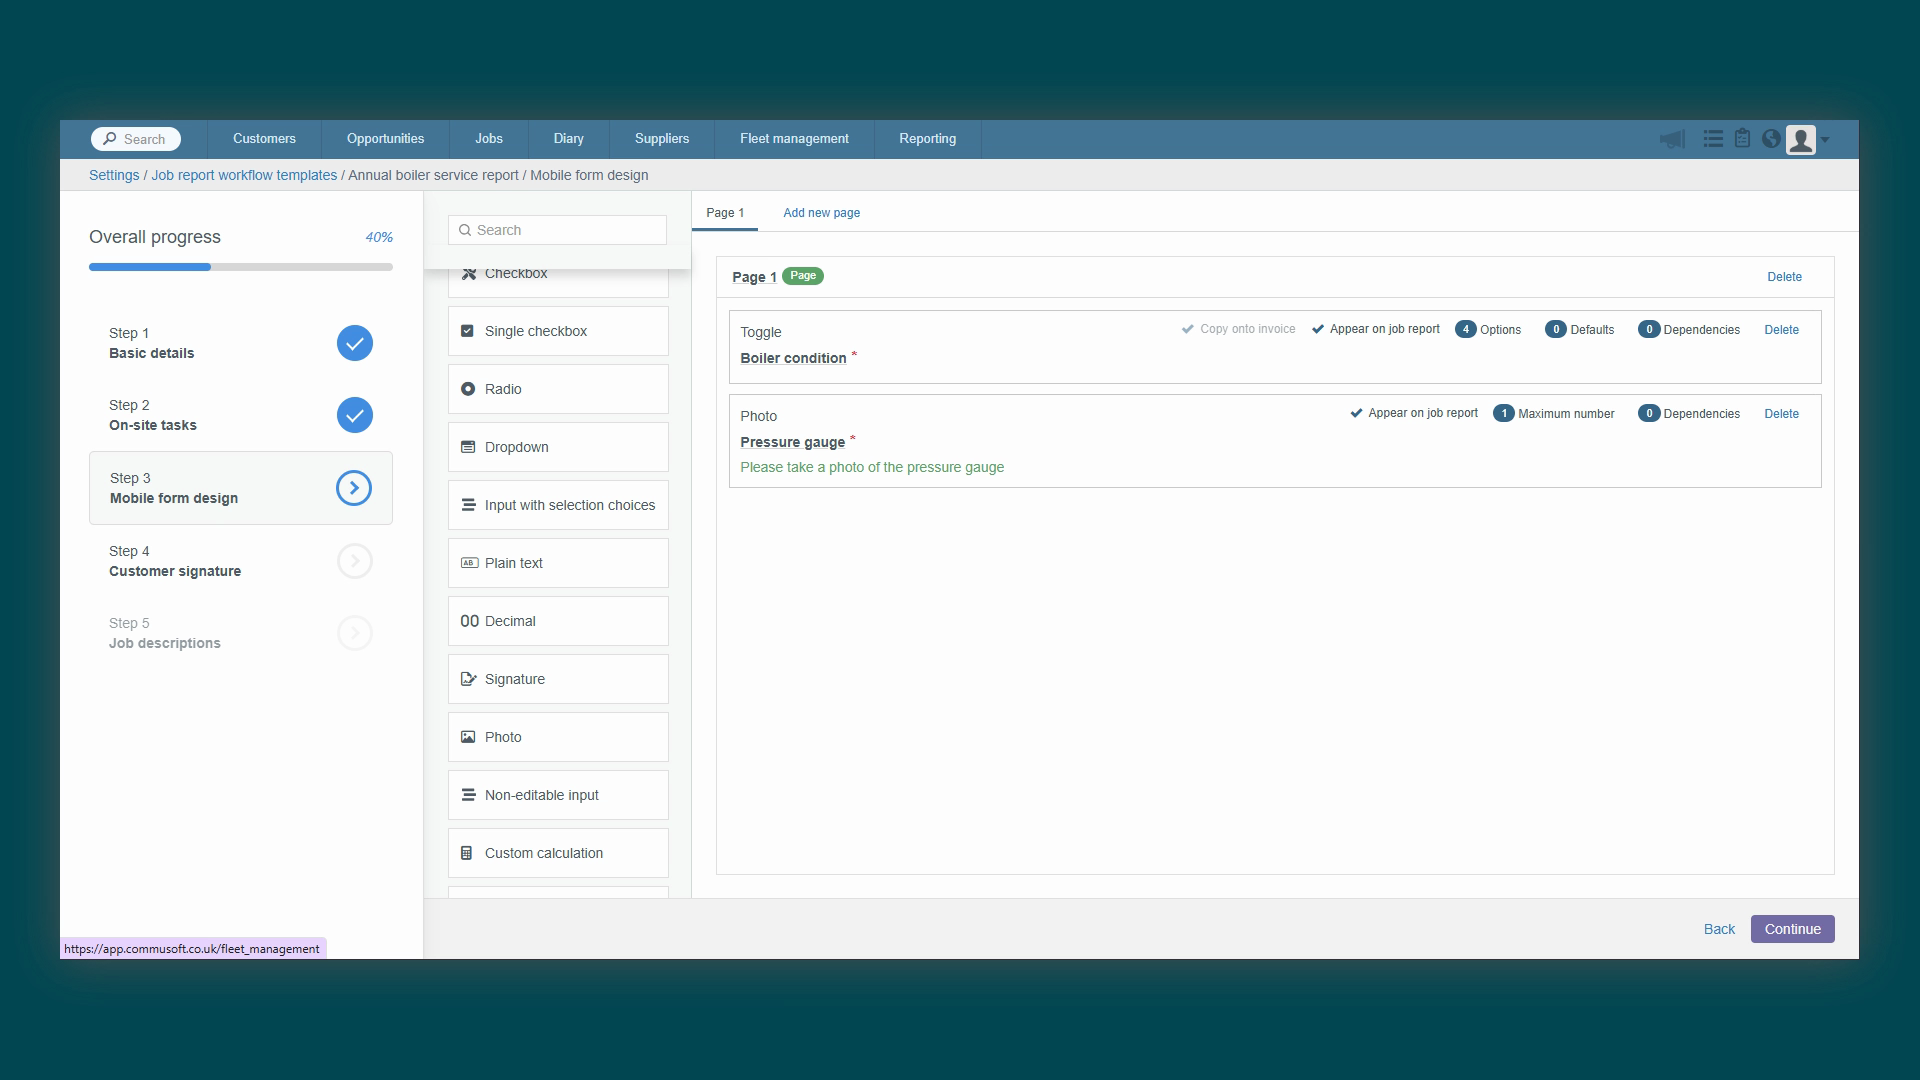
a good fair pool preset for the boiler's condition and a photo input to capture
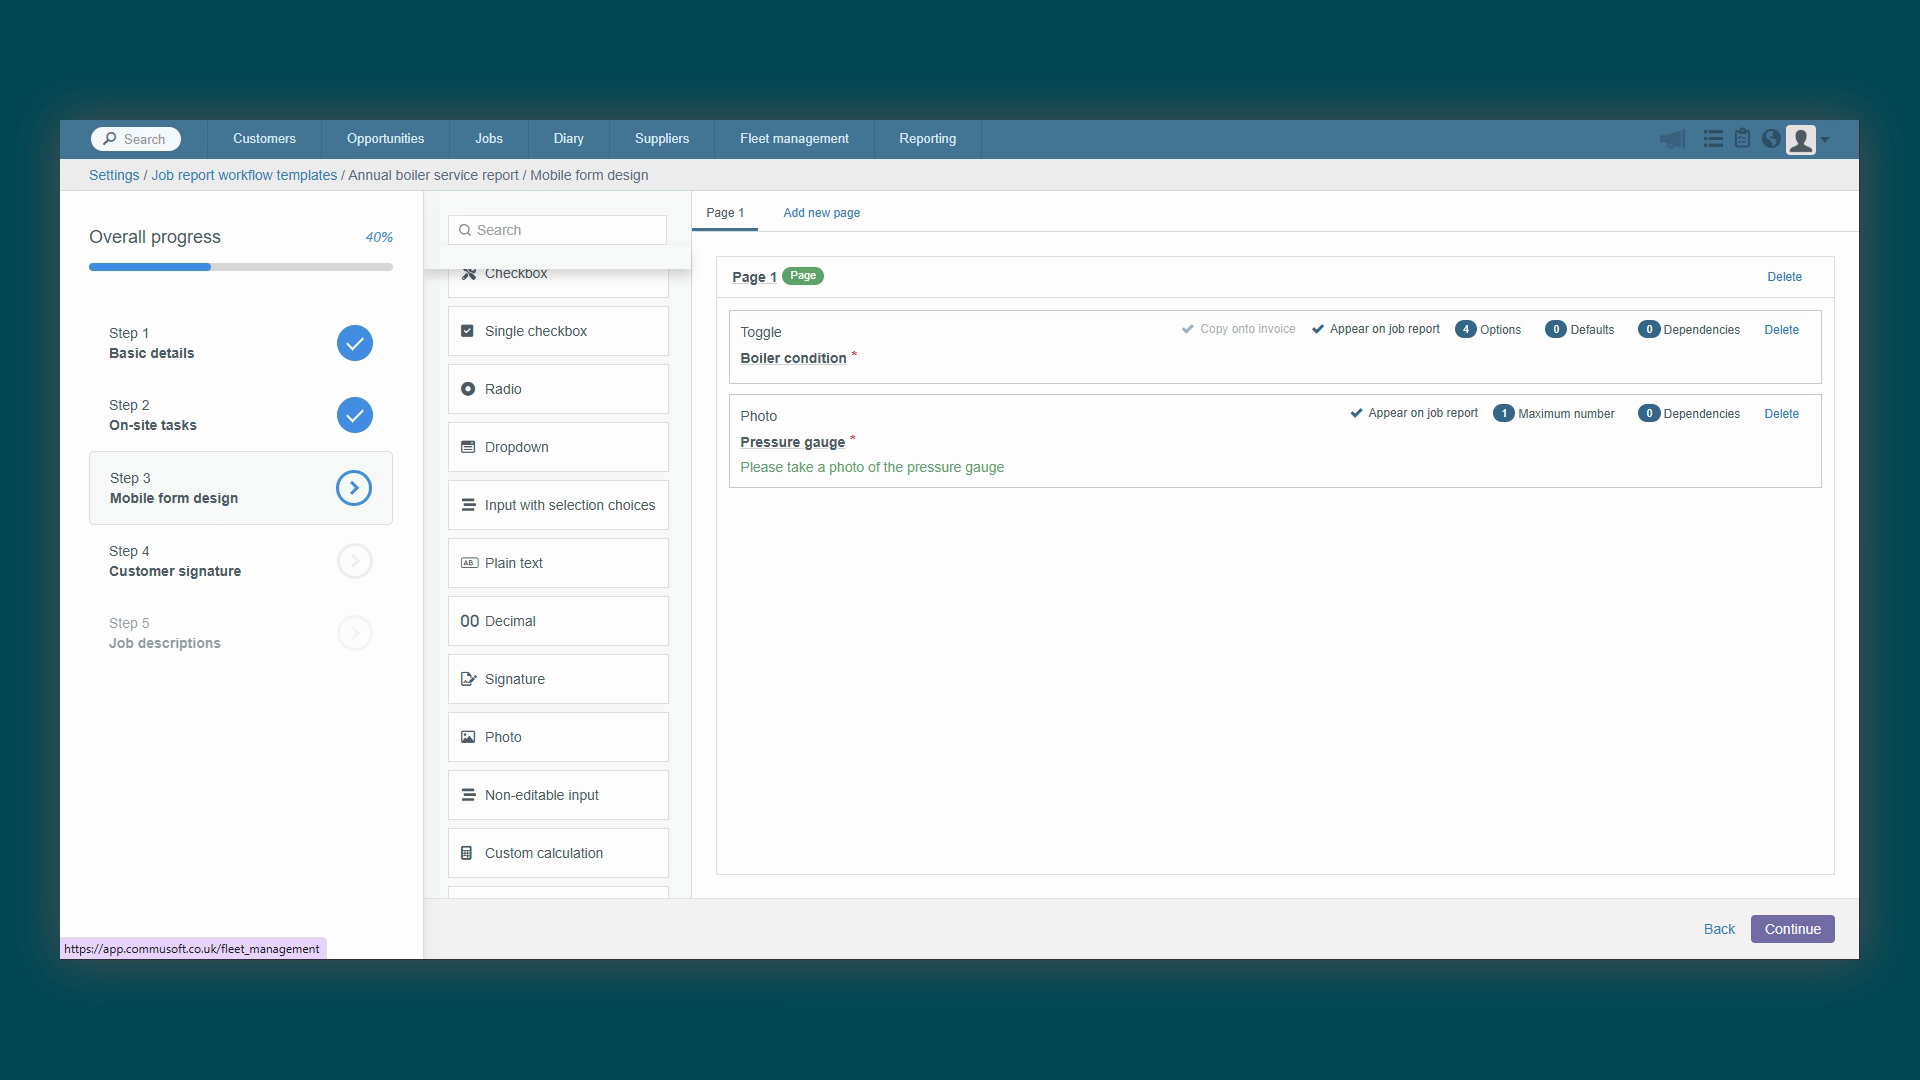
an image of the pressure gauge. After the mobile form, you have the Customer
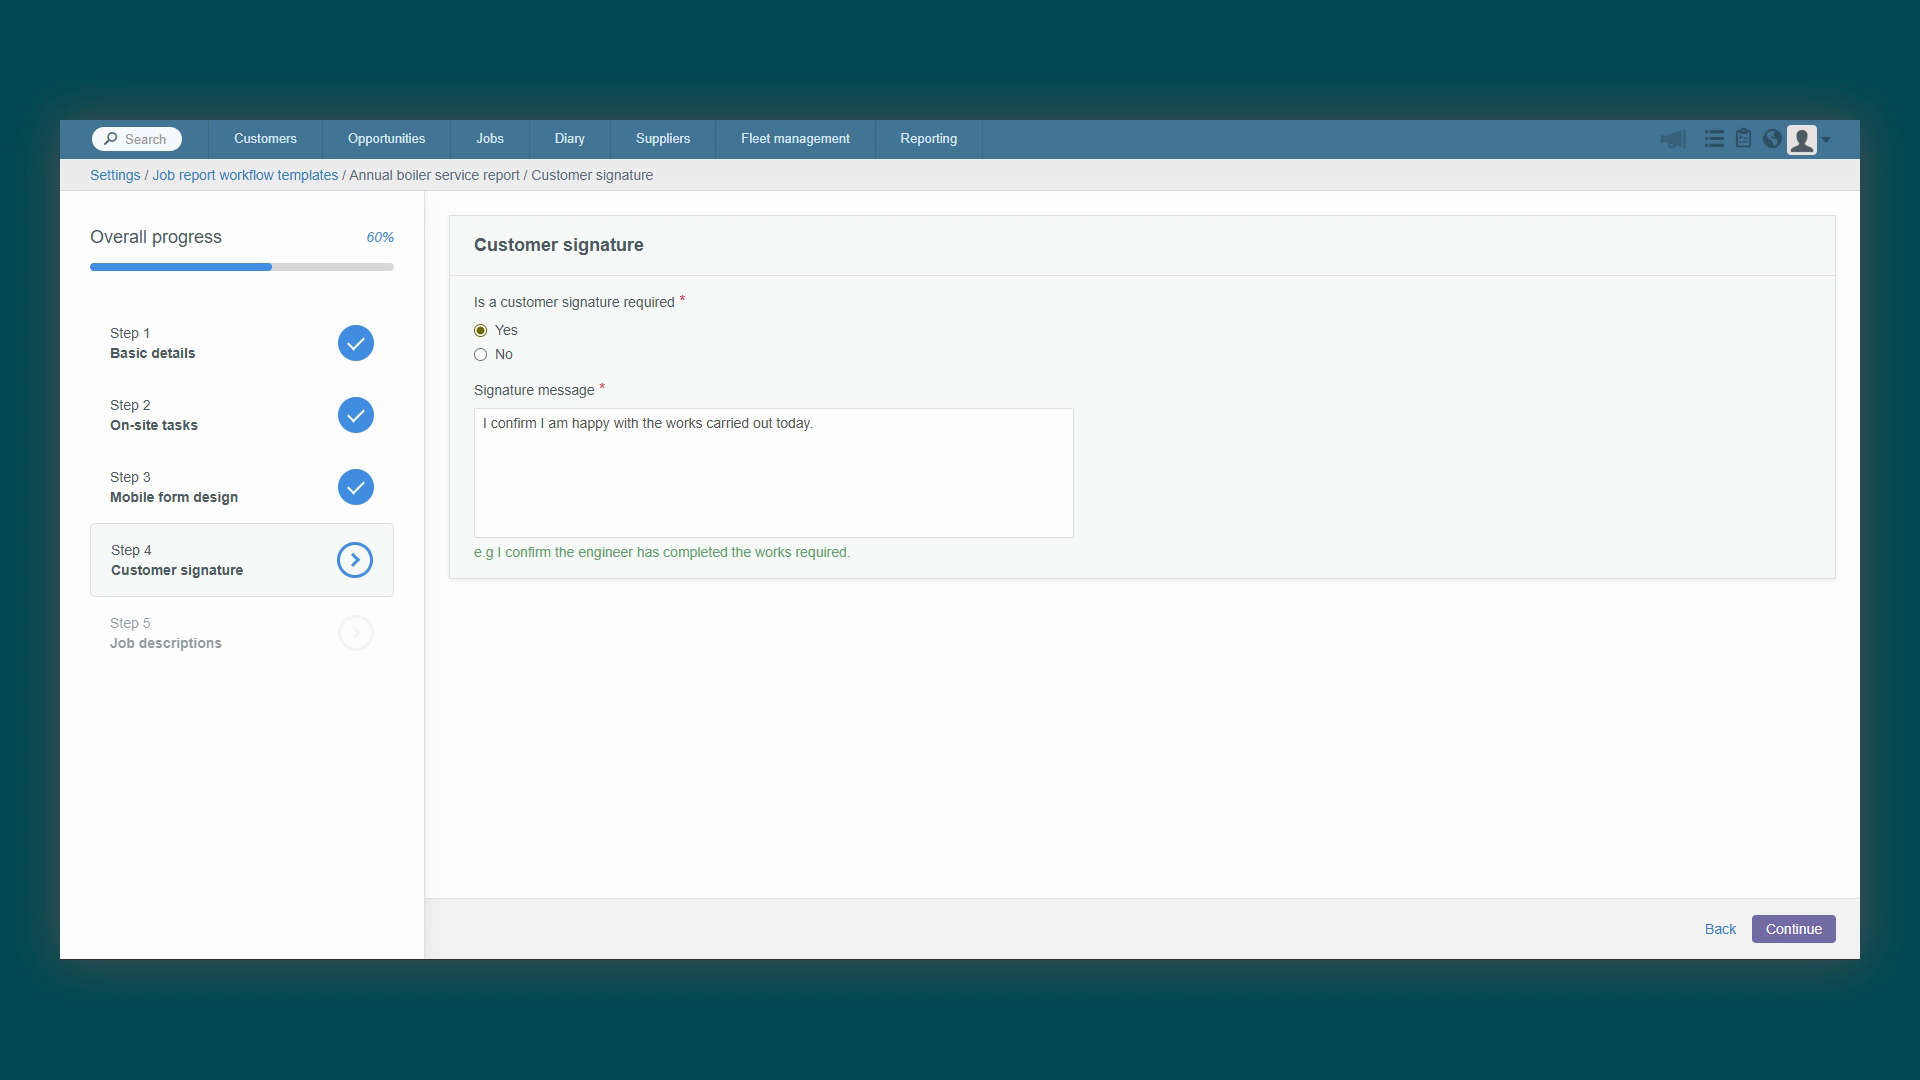
Signature step. Here you can enable the signature requirement and add a custom note for the
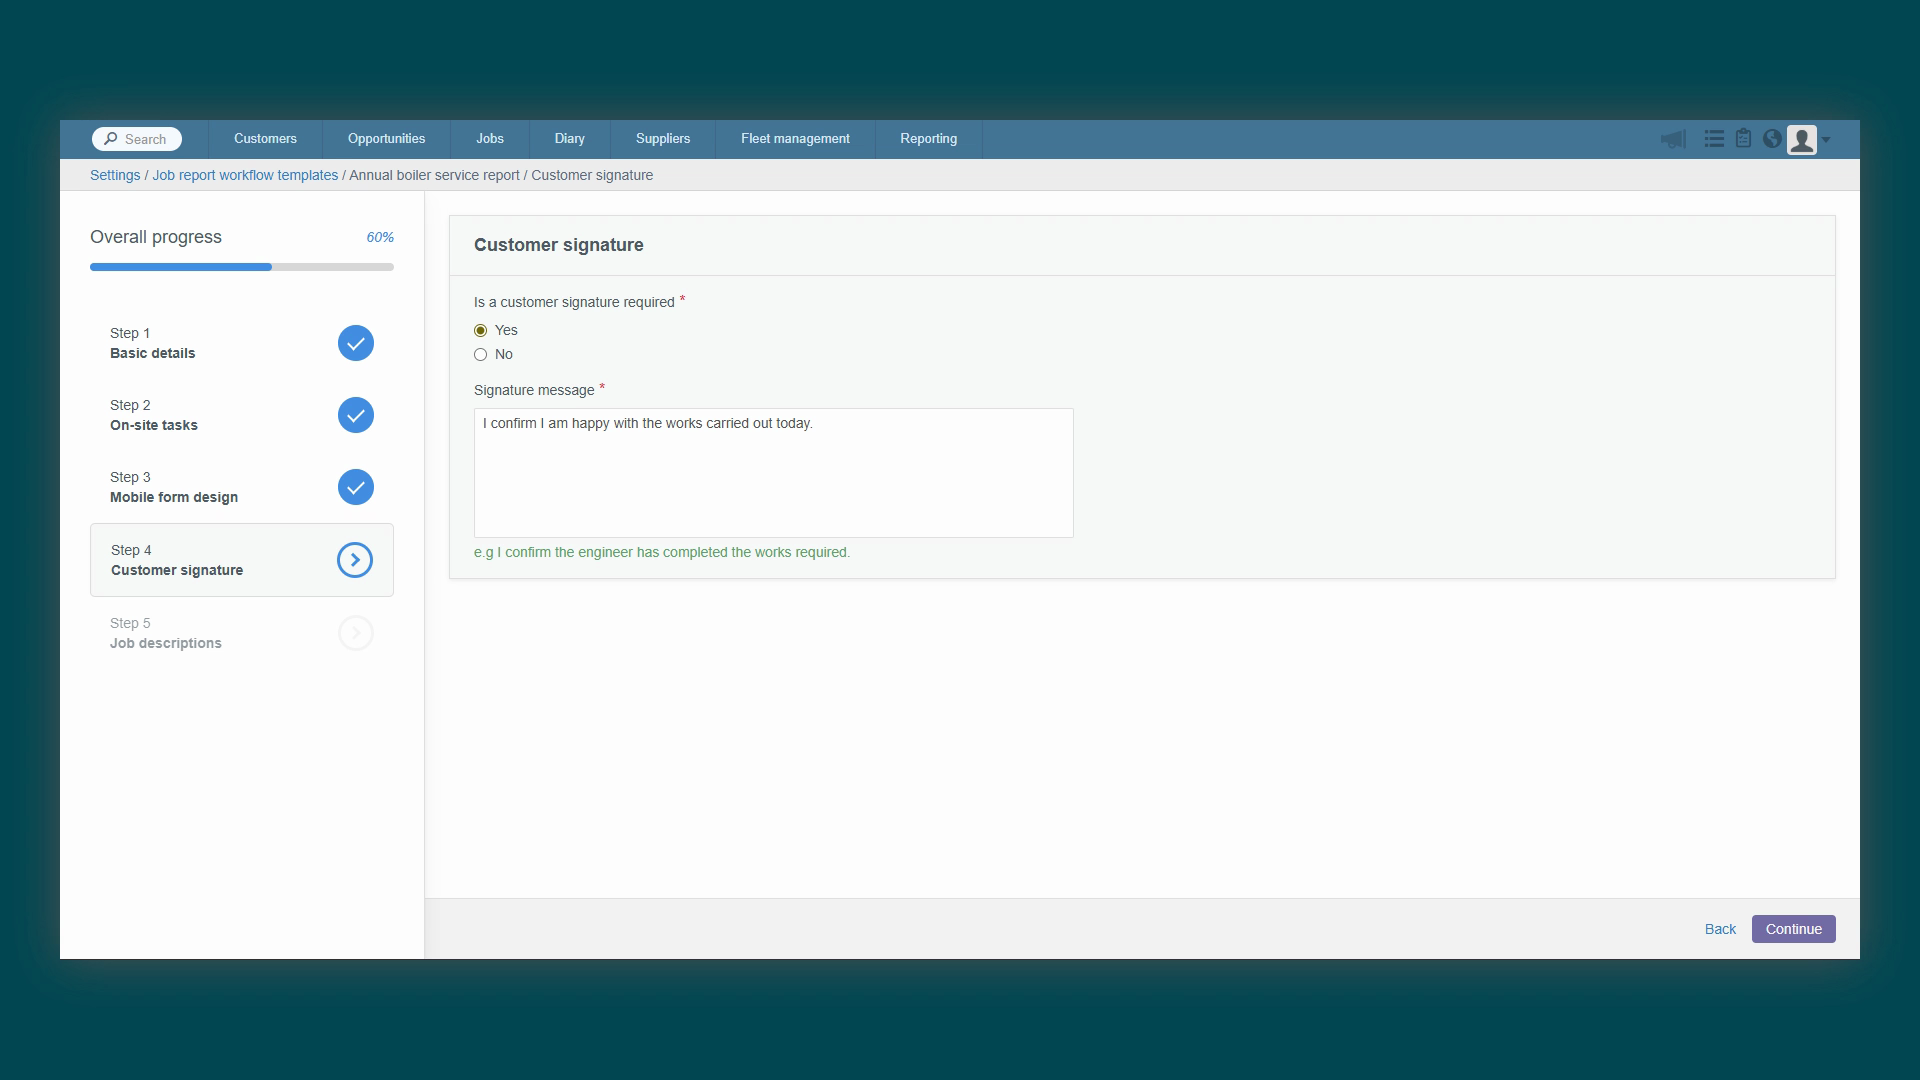
customer to read before they sign off on the job. This is the perfect place to
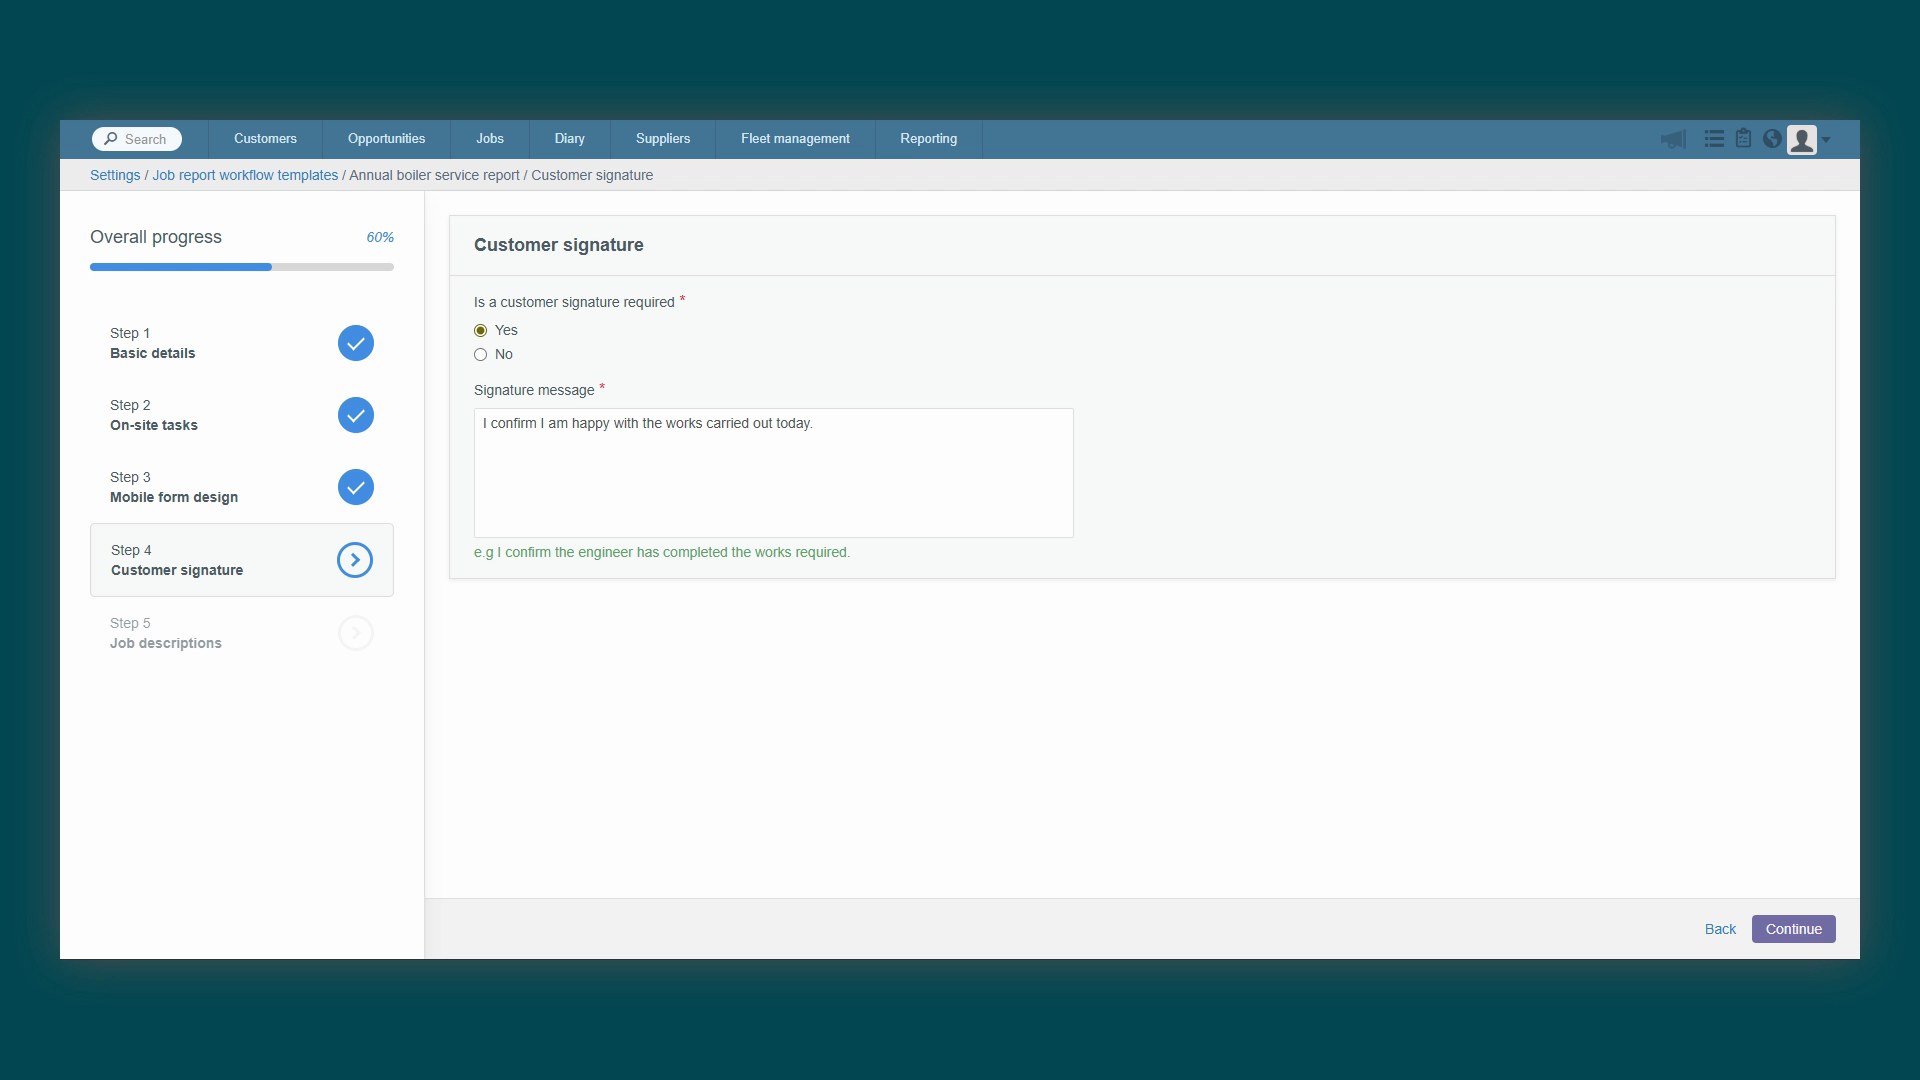
confirm they are happy with the work completed. The final step is to assign this
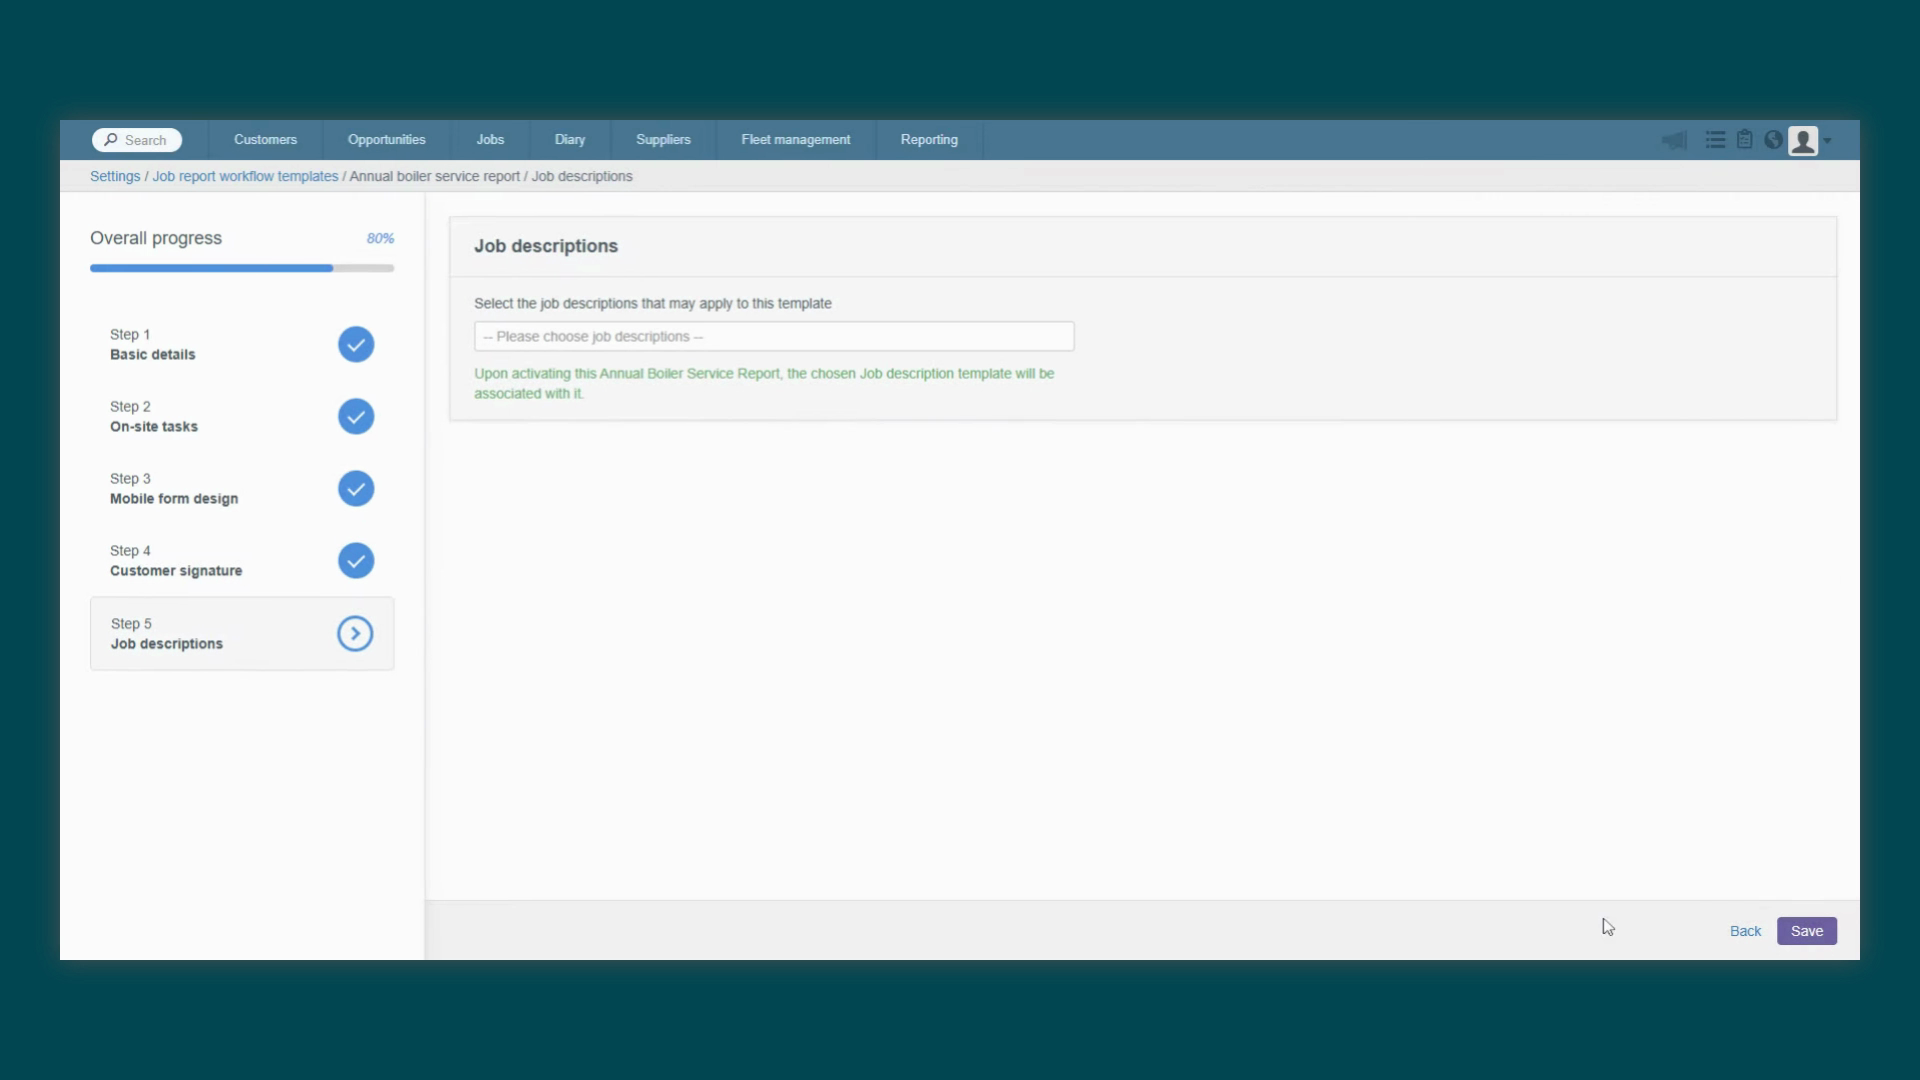
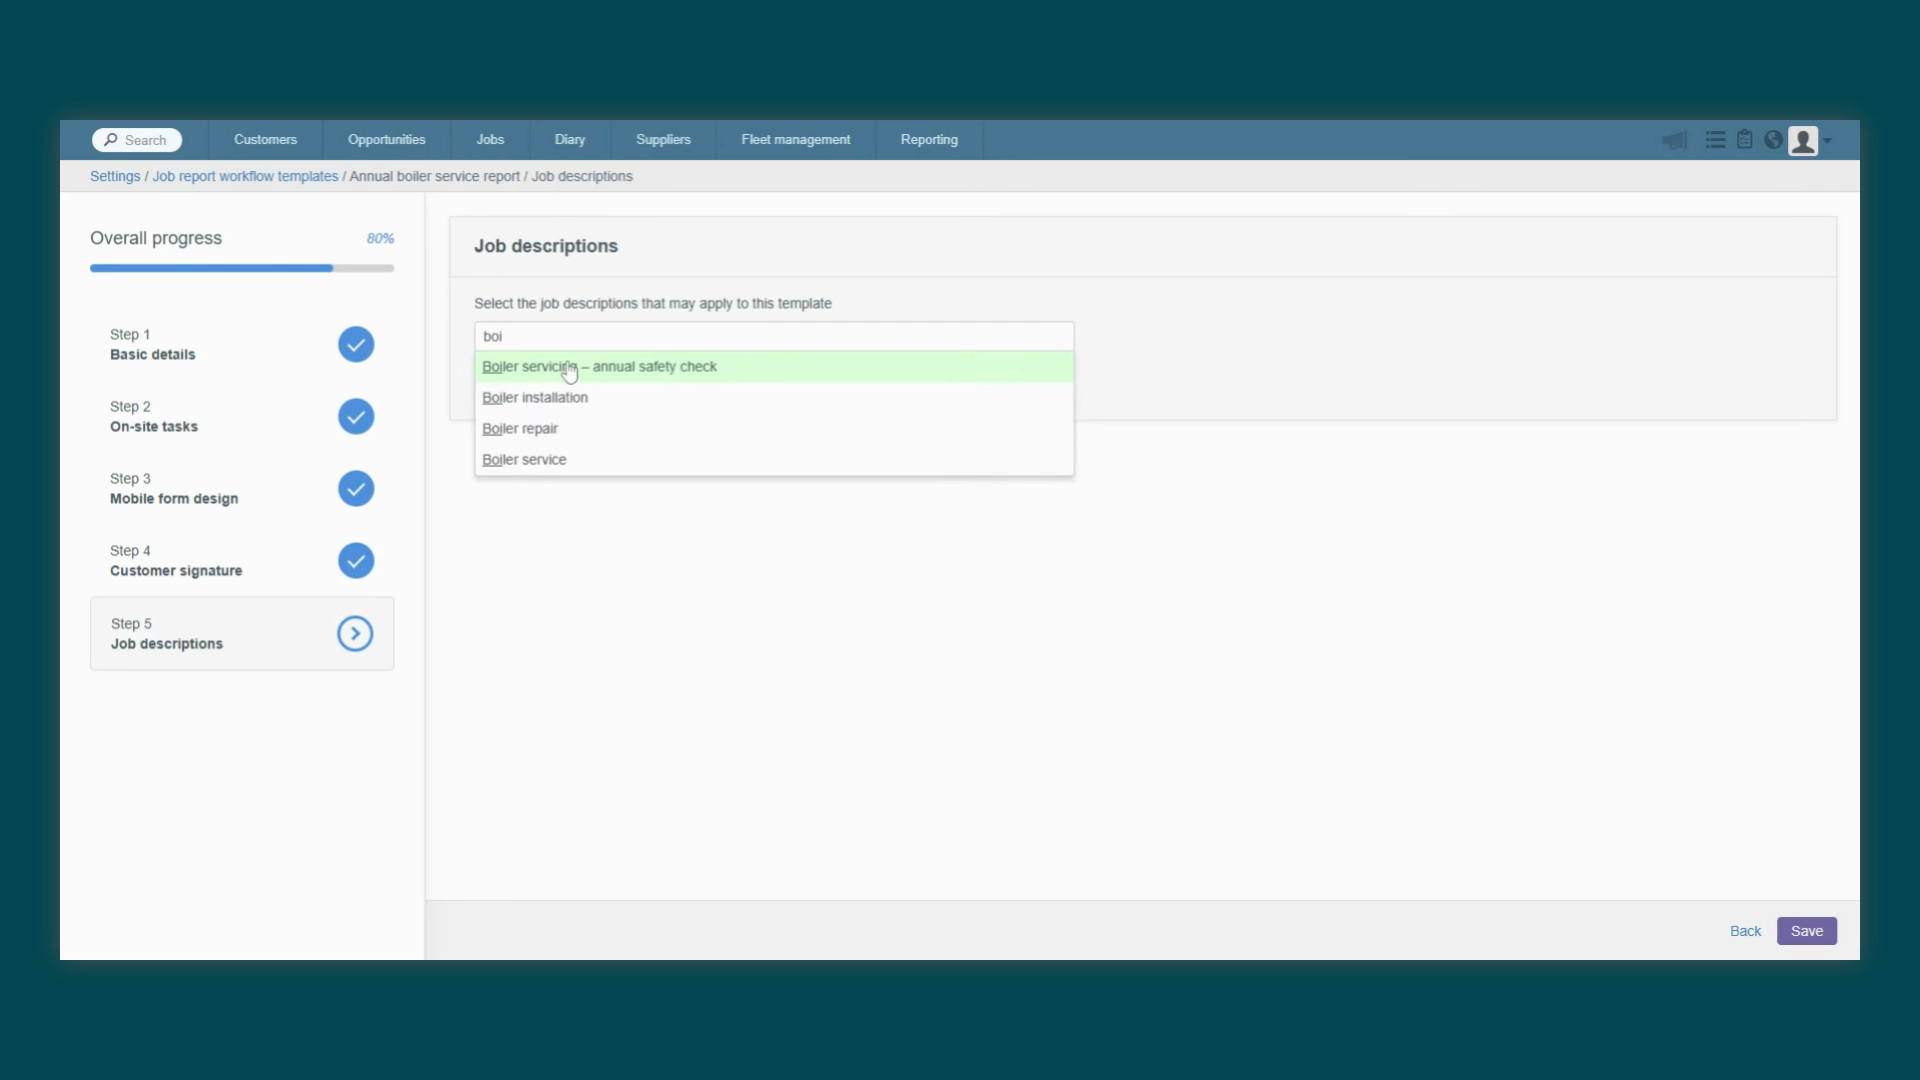
workflow to one or more job descriptions. You can search for and
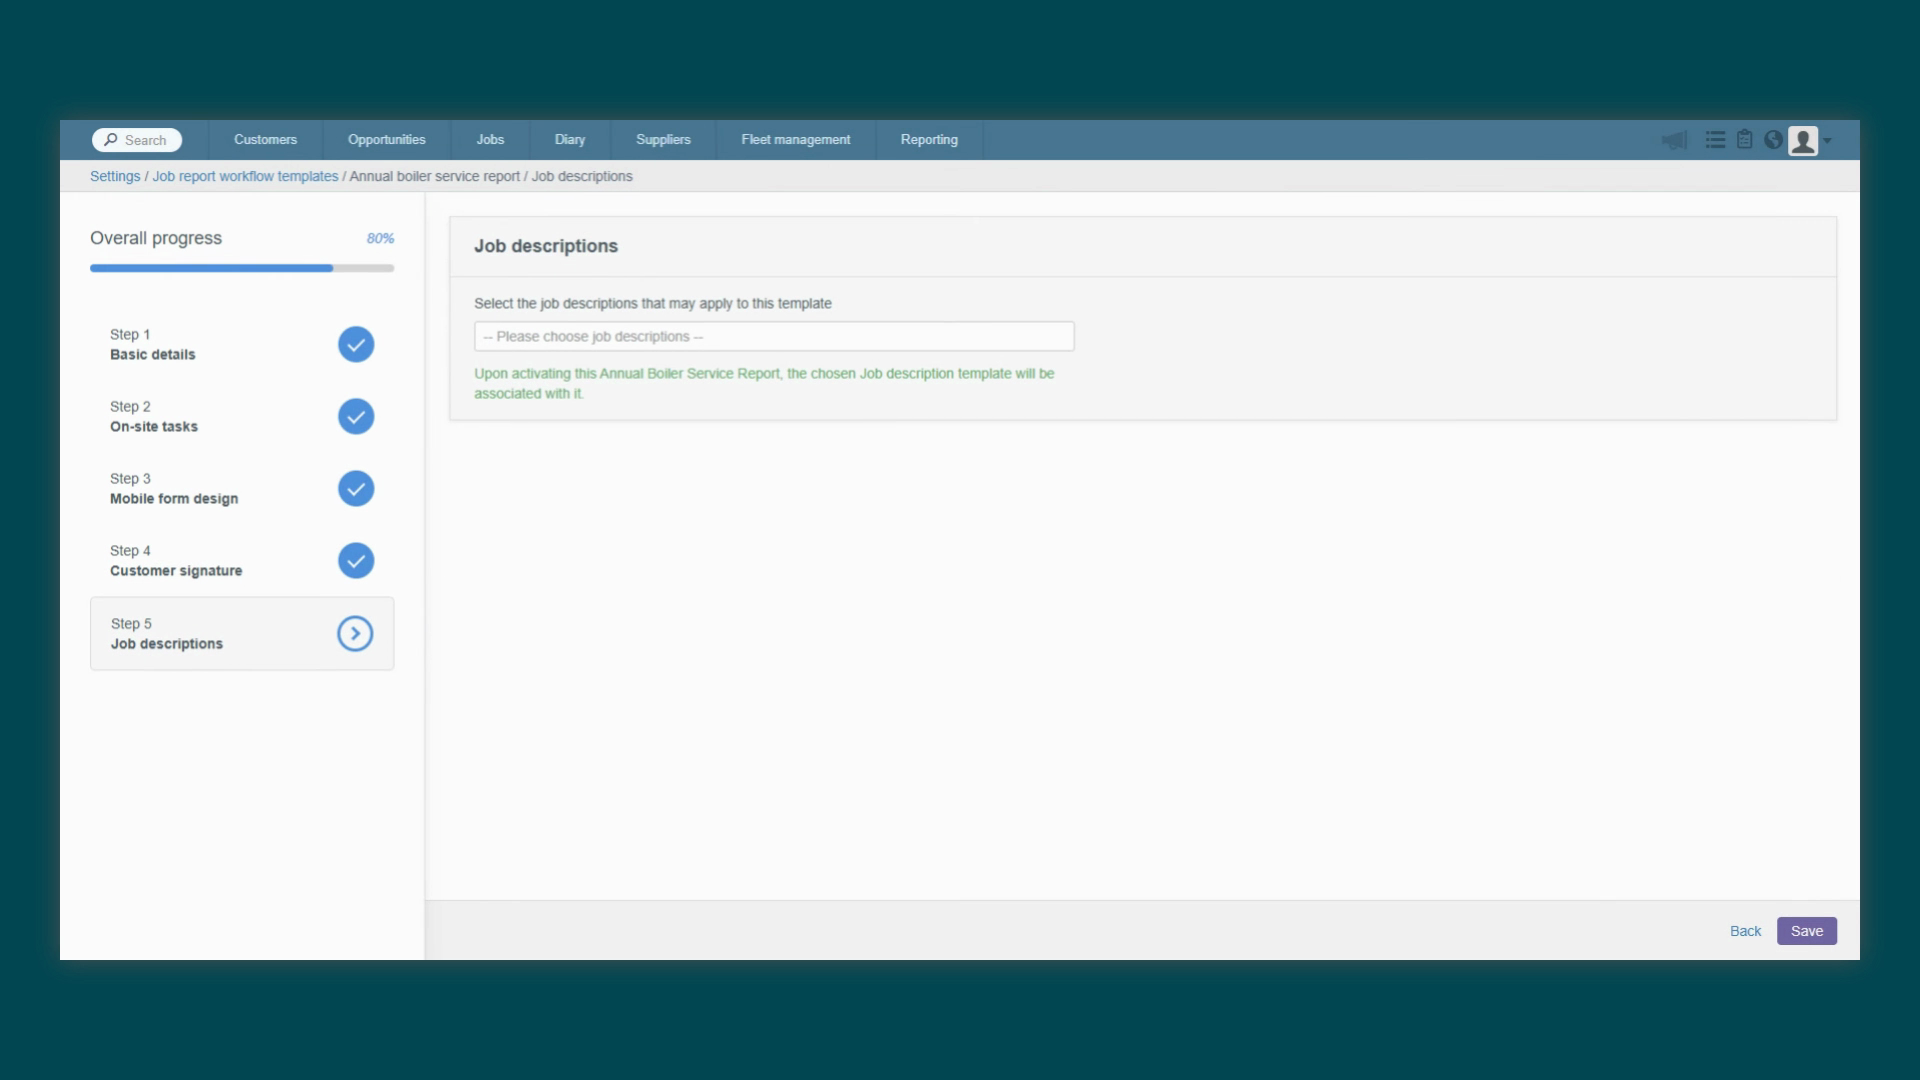
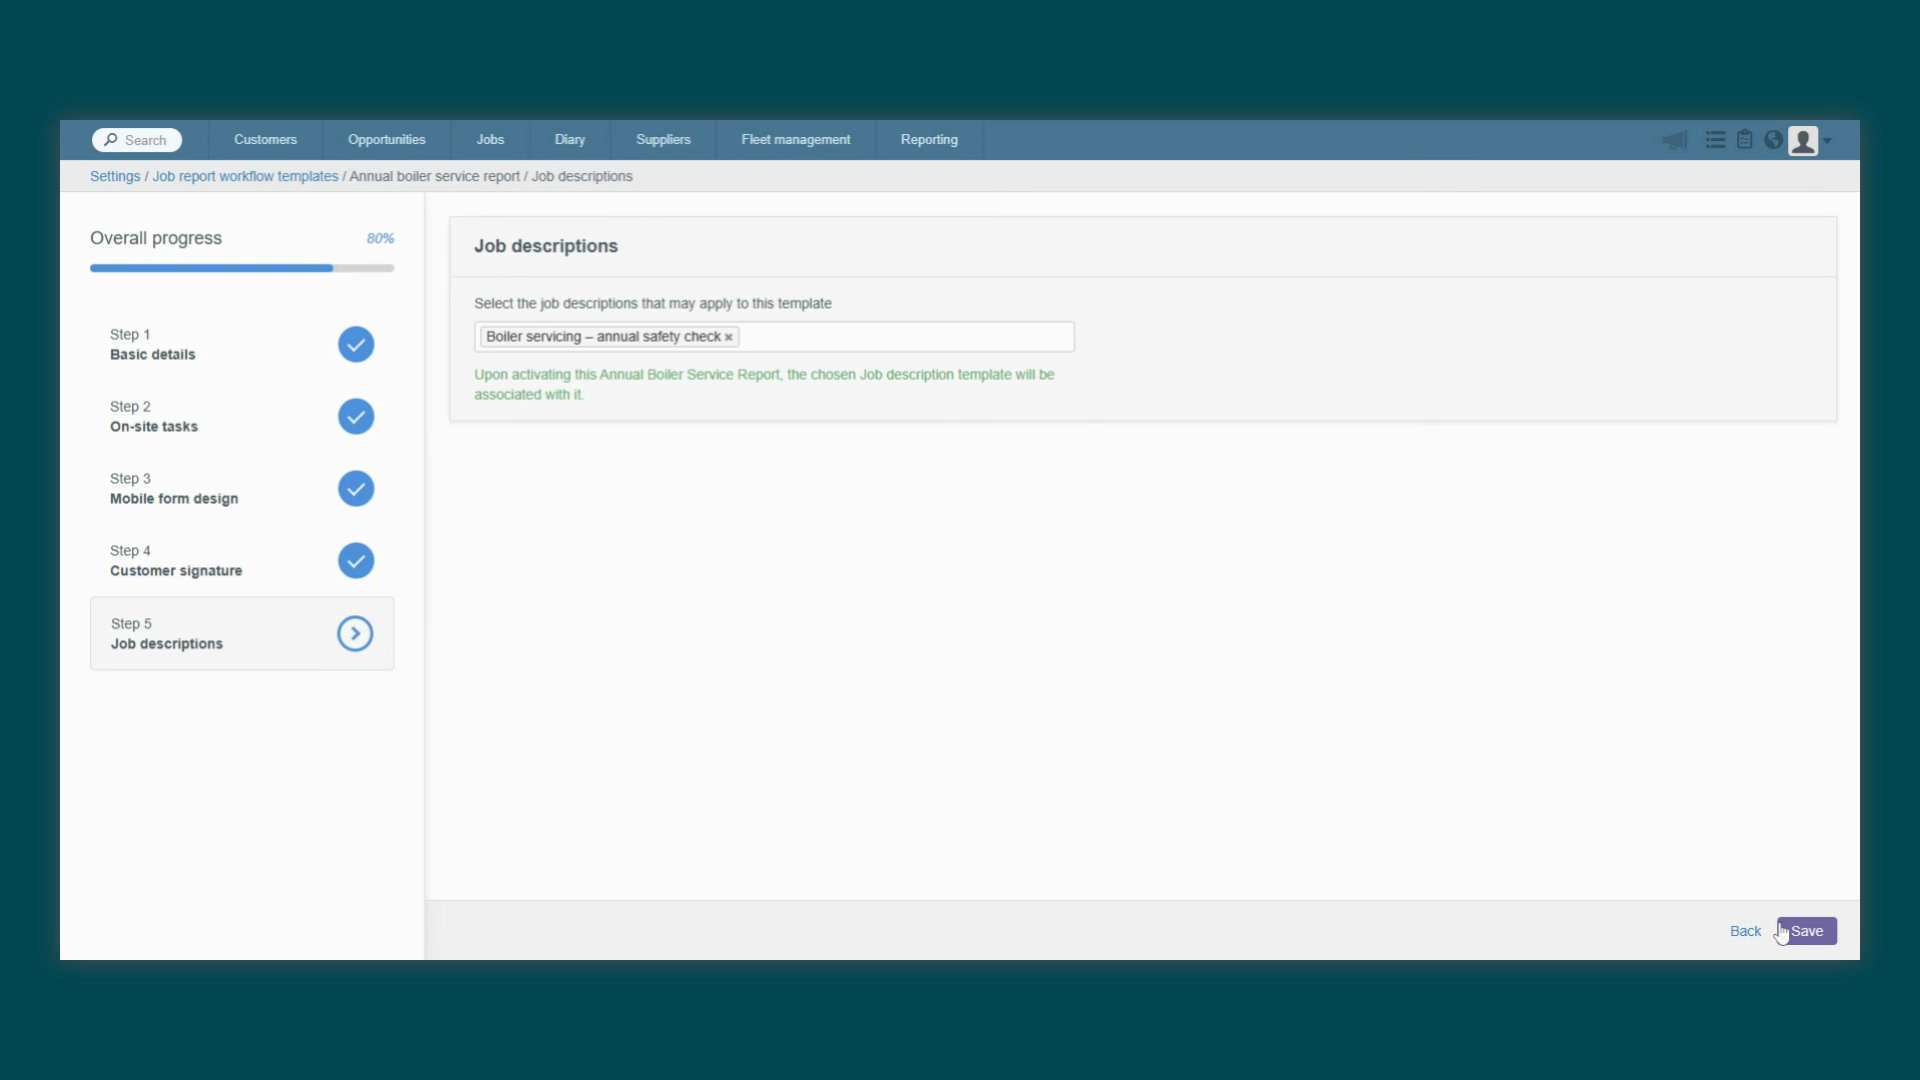
add as many as you need. Once you're ready, you can save and
activate the workflow. If you're not ready for it to be used, you can
save it as a draft and come back to it later. You can also manage your job report workflows
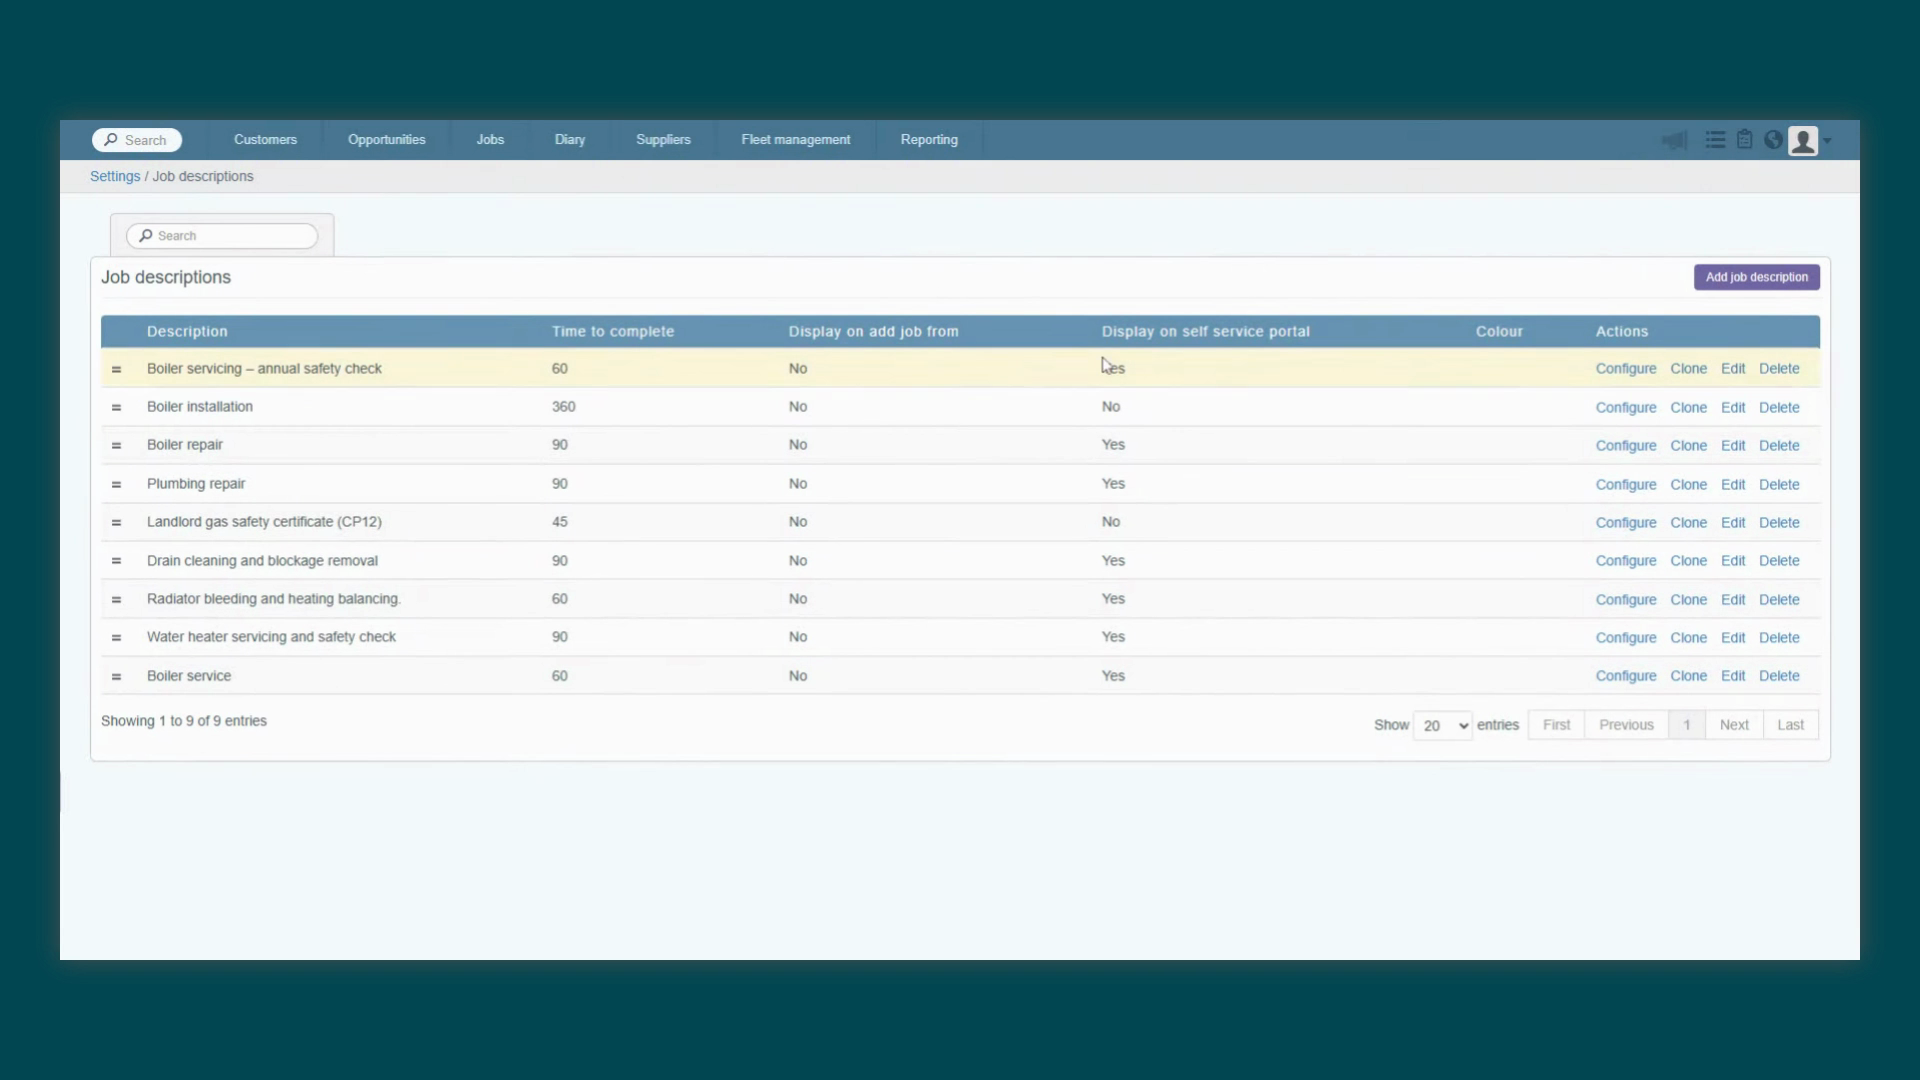
through directly from the job description settings. From here you can see all assigned
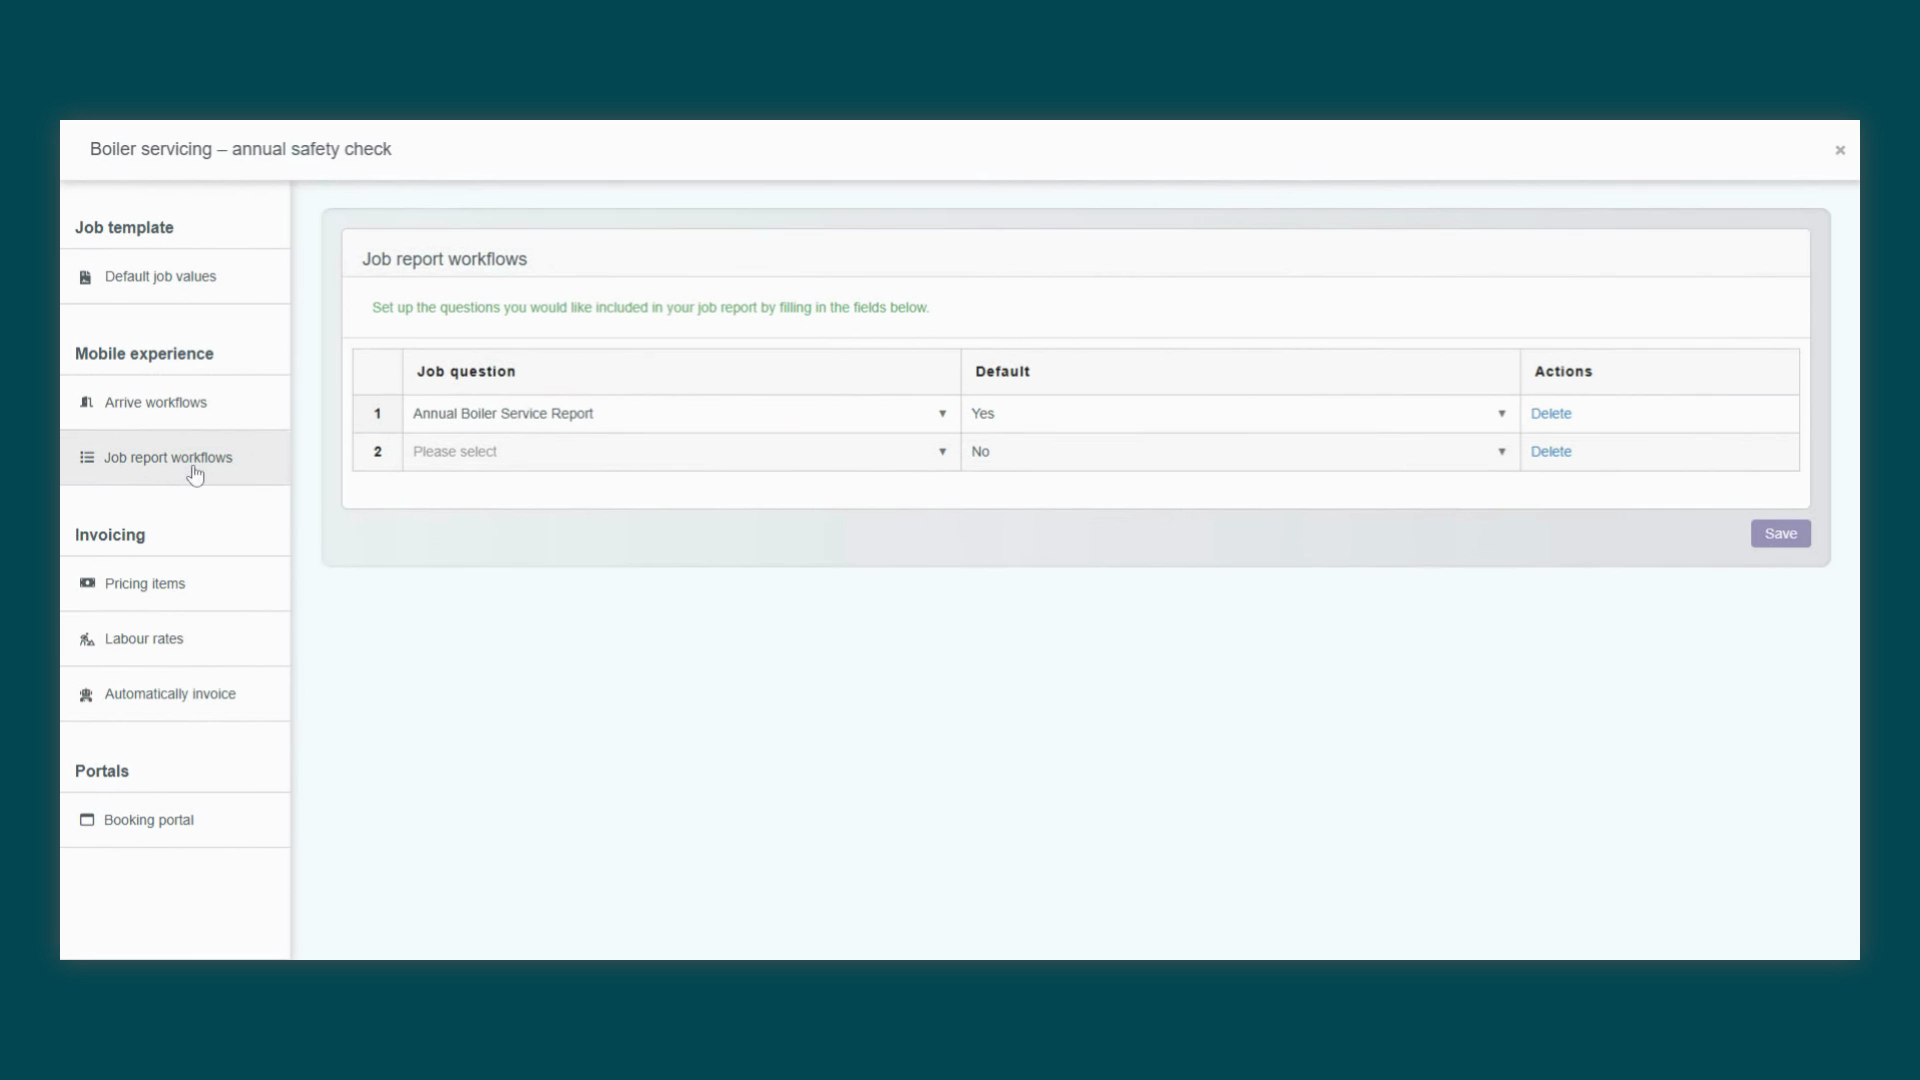
workflows and set which one is the default. It's important to know that if a job description
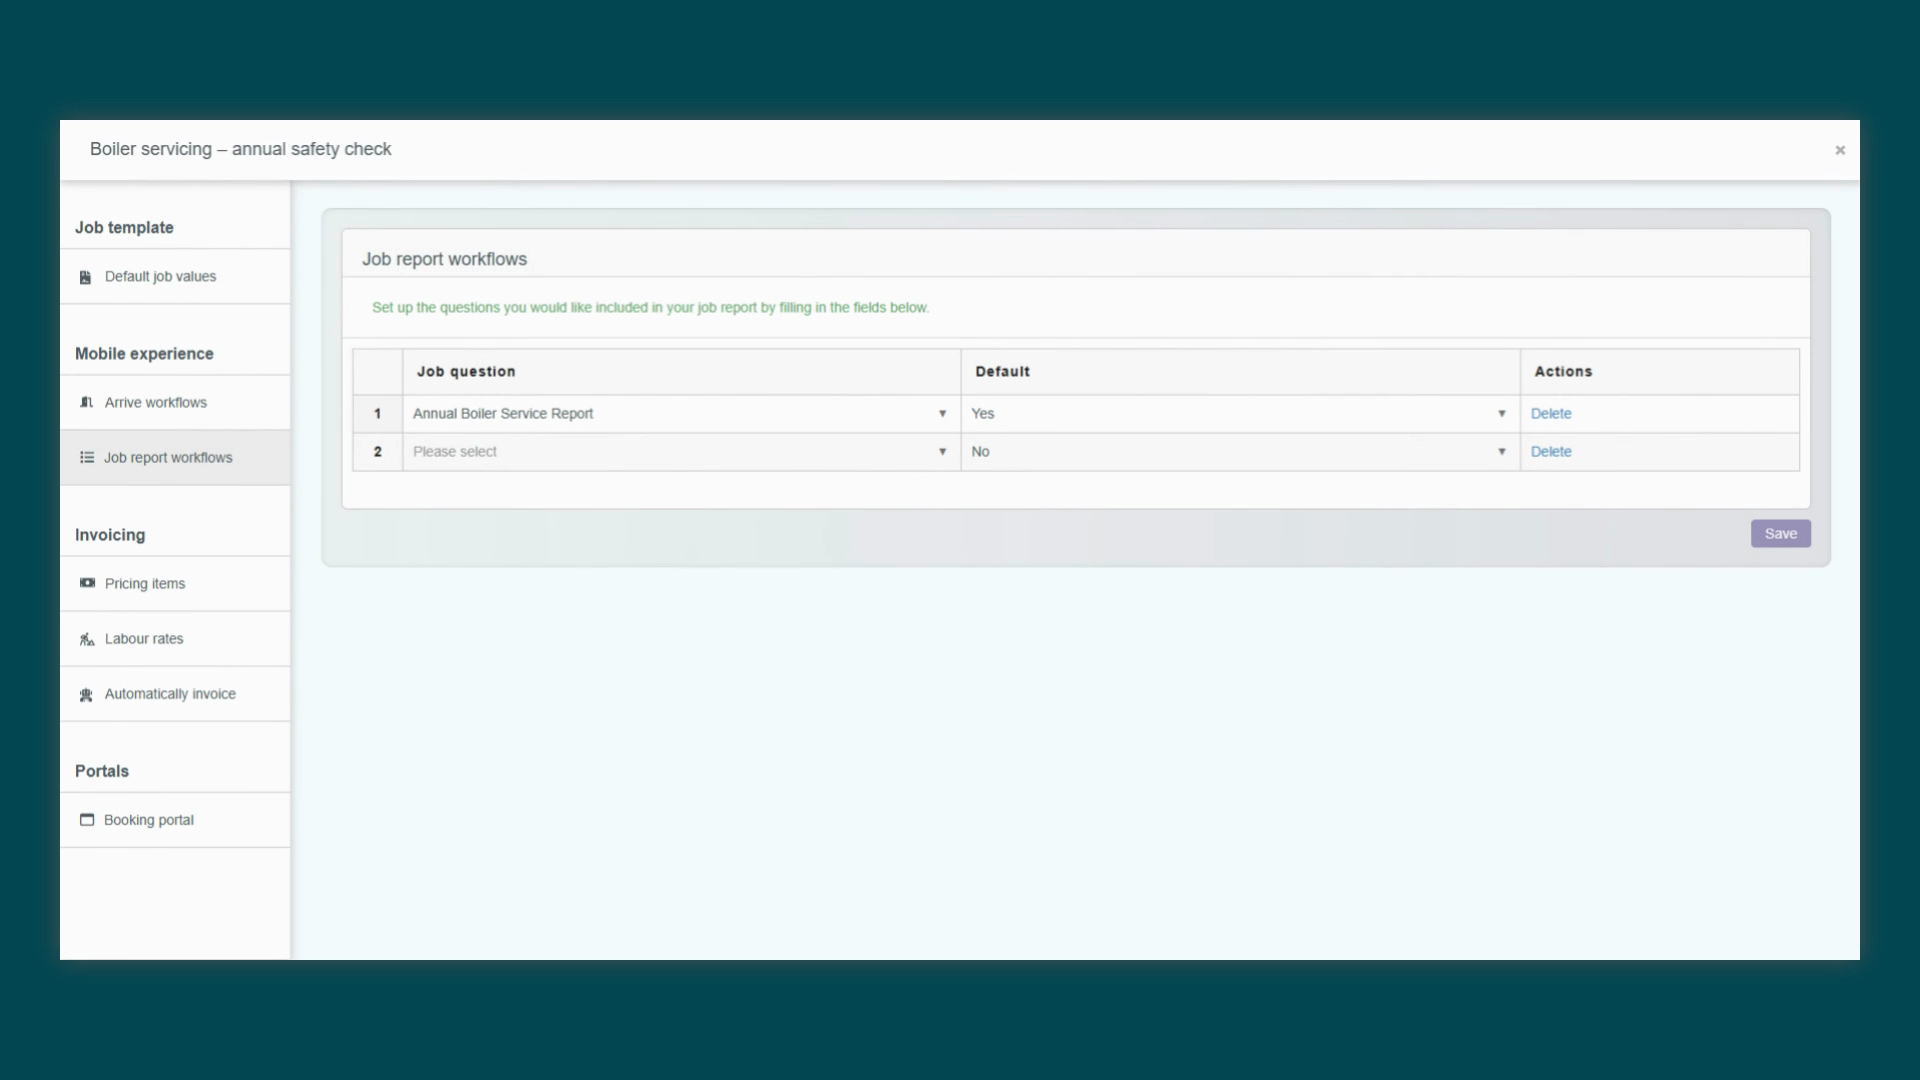
only has one report workflow assigned, it will always be the default. If multiple are assigned, your team will be
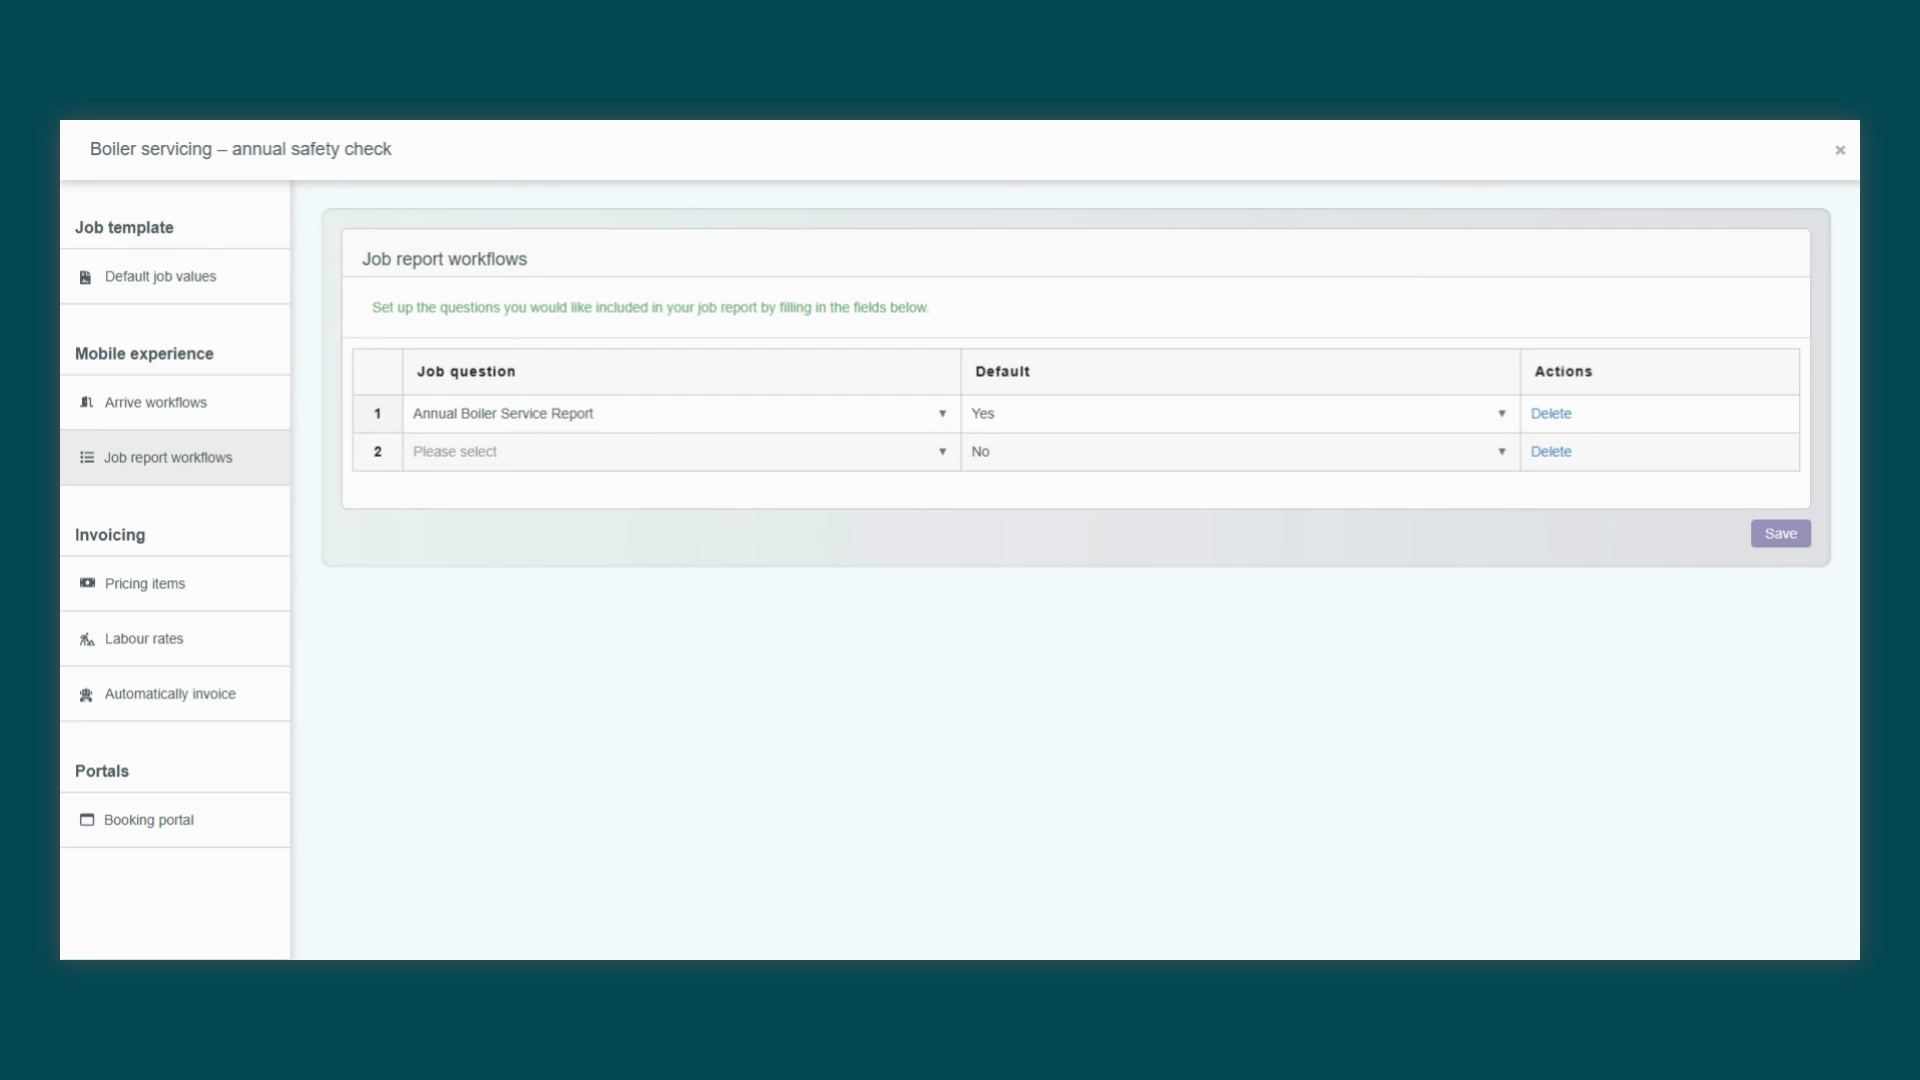
able to choose which one to use when scheduling appointments for
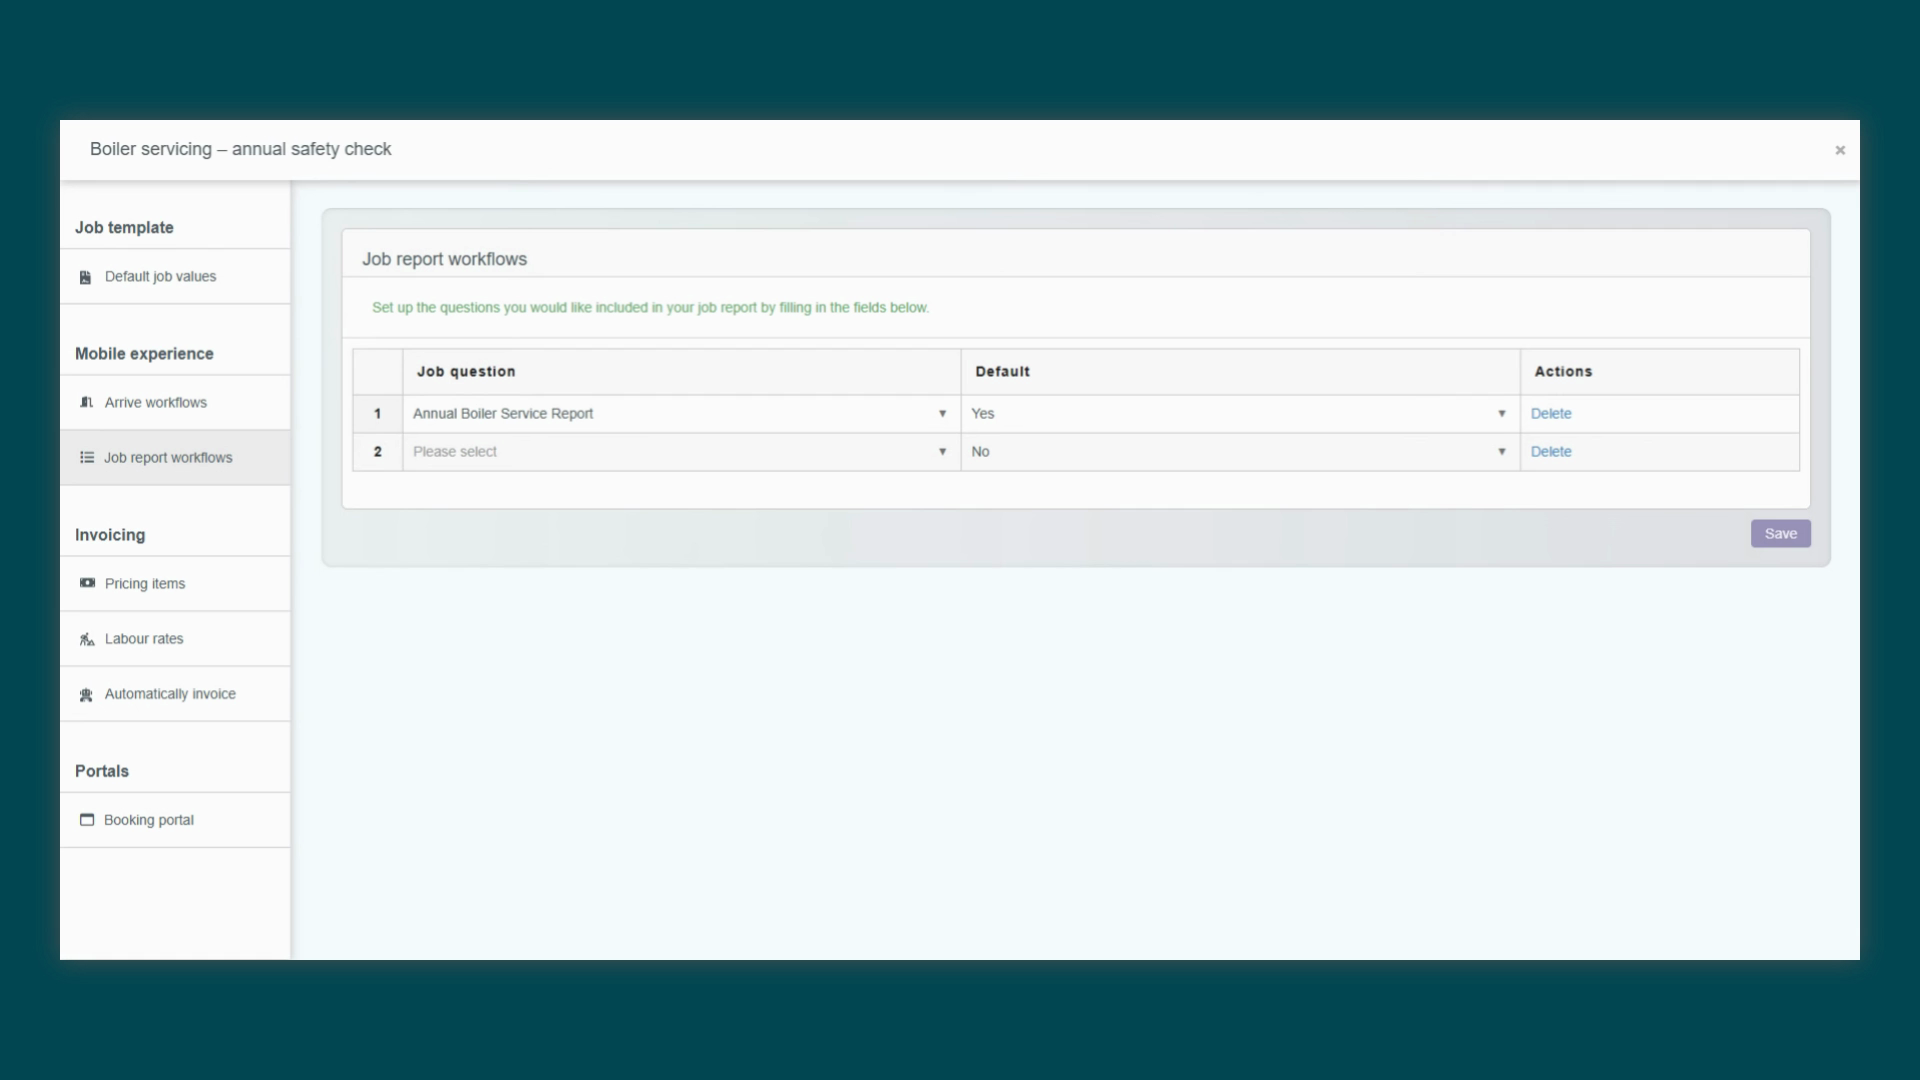
these jobs.
Created on
Did you find this article helpful?